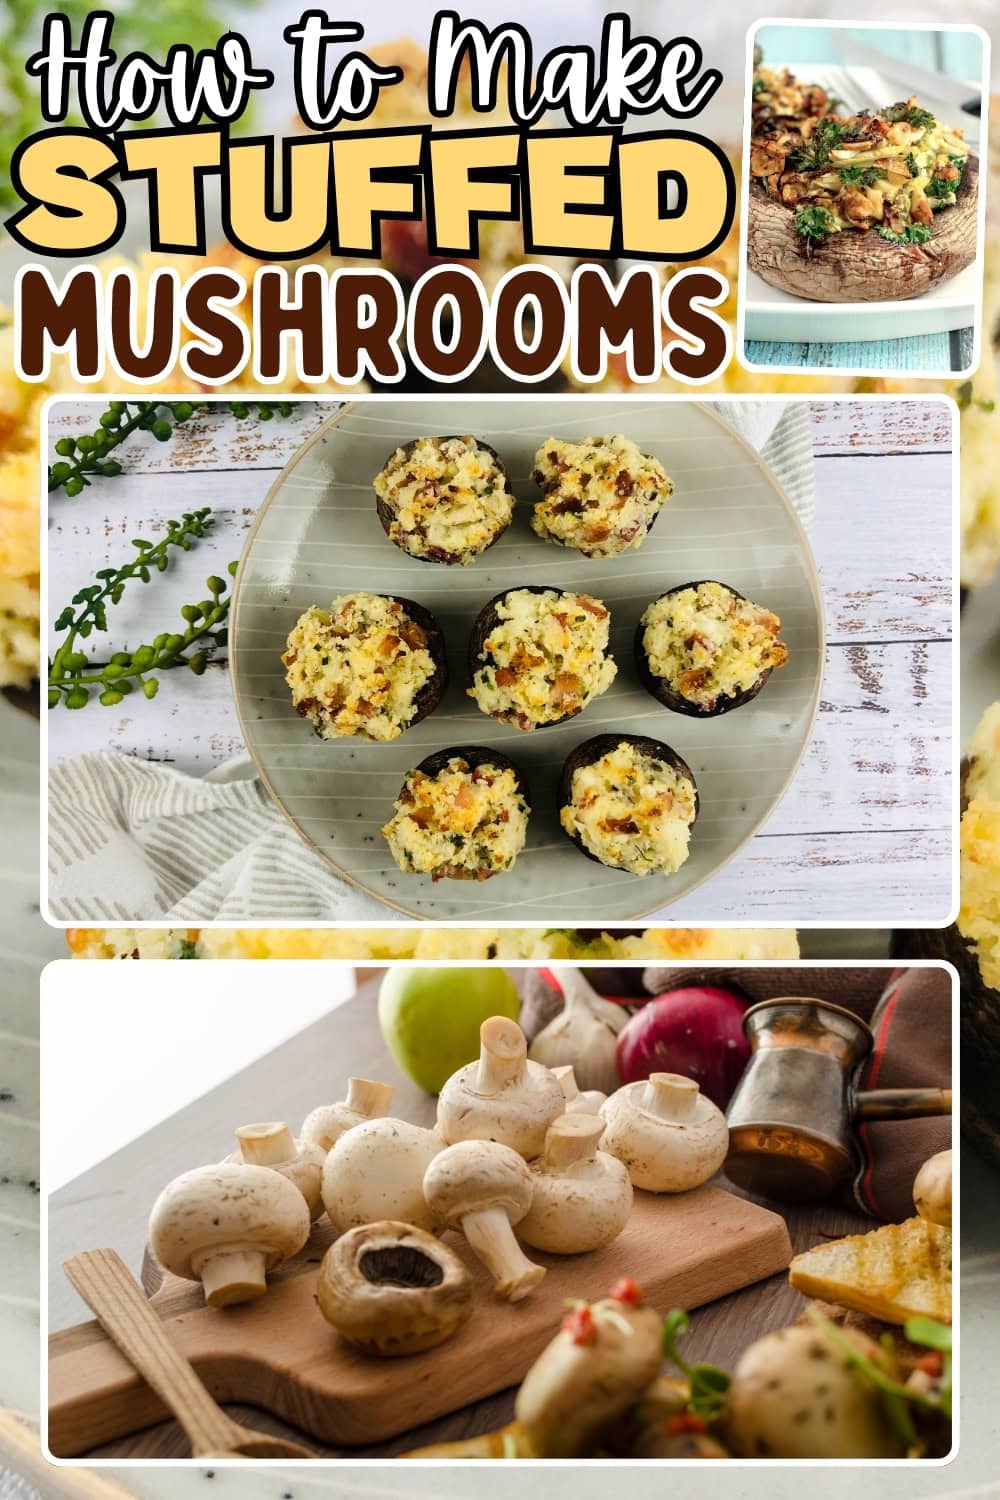
How to Make Stuffed Mushrooms (Easy Step-by-Step Guide)

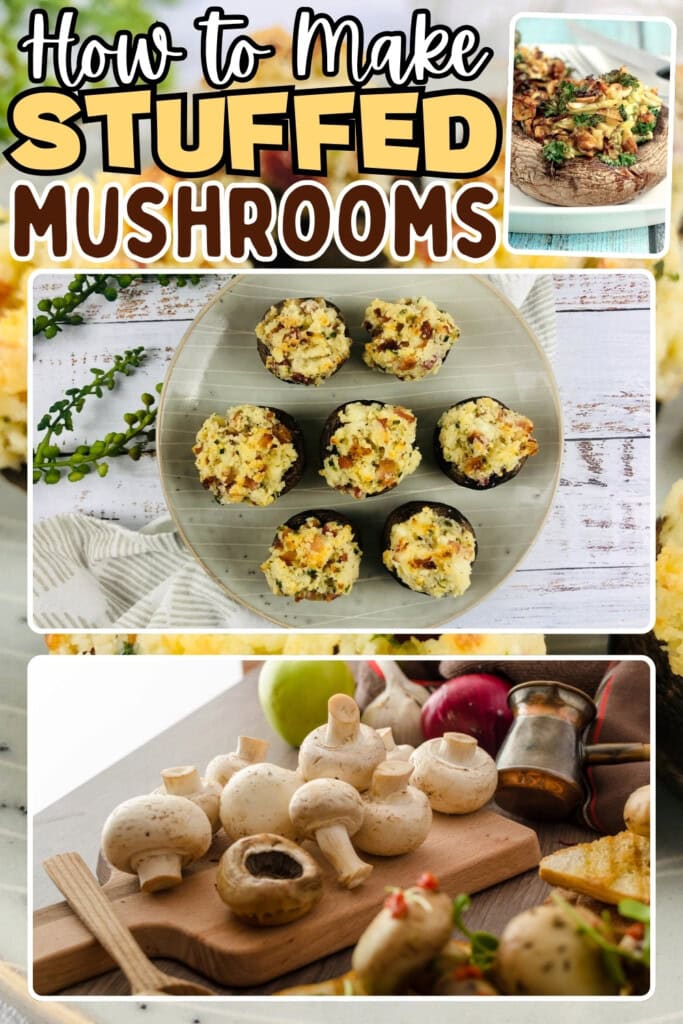
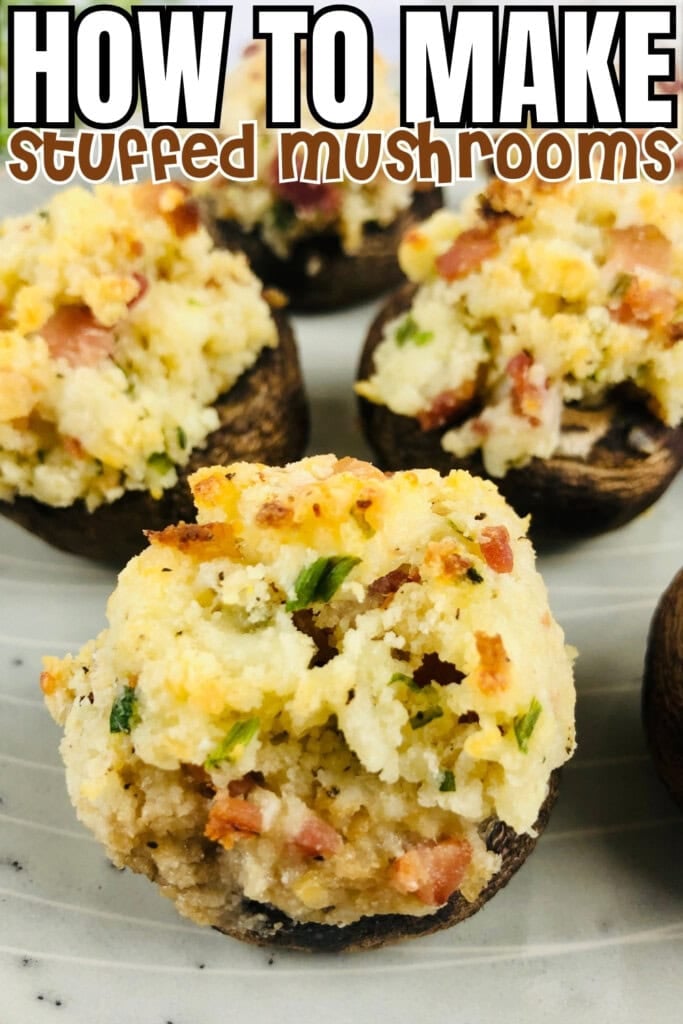
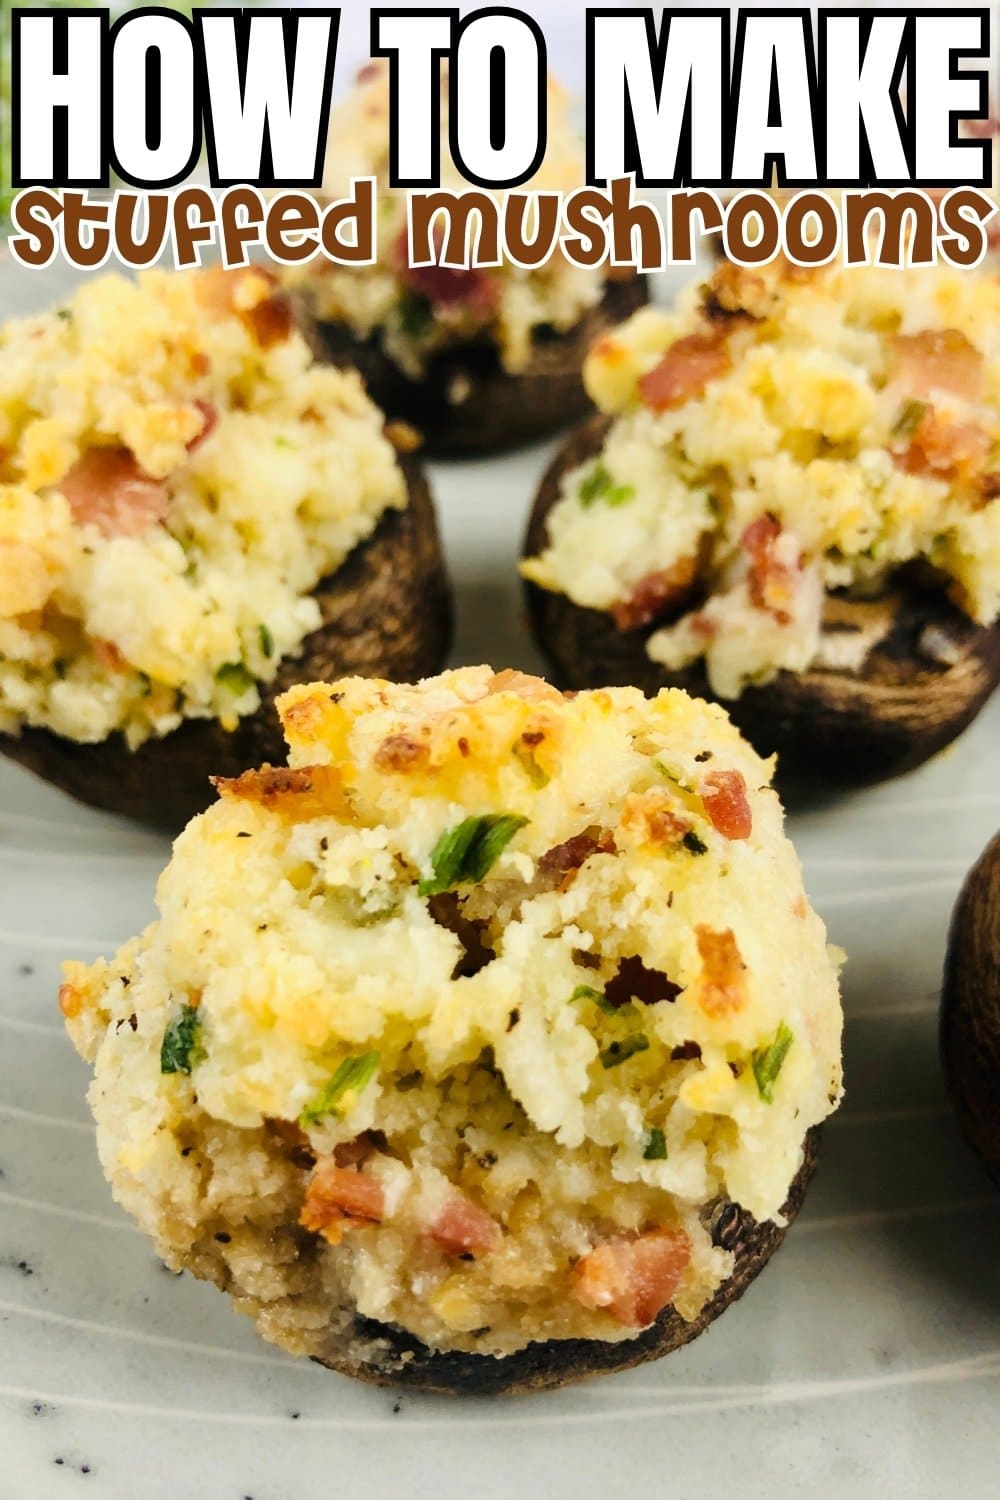
Stuffed mushrooms are one of those appetizers that look impressive but are surprisingly simple to make. Whether you’re hosting a holiday party, planning game day snacks, or just want a delicious bite-sized treat, learning how to make stuffed mushrooms opens up endless possibilities for flavor combinations and creative fillings.

Save This Post!
The beauty of stuffed mushrooms is their versatility. You can fill them with everything from creamy cheese mixtures to savory meats, vegetables, or even seafood. Once you master the basic technique, you’ll find yourself making these crowd-pleasers for every occasion.
If you love easy appetizers, you might also enjoy these Cheese and Bacon Stuffed Mushrooms for a tried-and-true flavor combination. They’re perfect alongside other party favorites from our collection of make ahead appetizers.
Choosing the Right Mushrooms
The first step in making great stuffed mushrooms is selecting the right type. Baby Bella mushrooms (also called cremini mushrooms) are the gold standard for stuffing. These small to medium-sized mushrooms have a rich, meaty flavor that stands up well to bold fillings without overwhelming them.
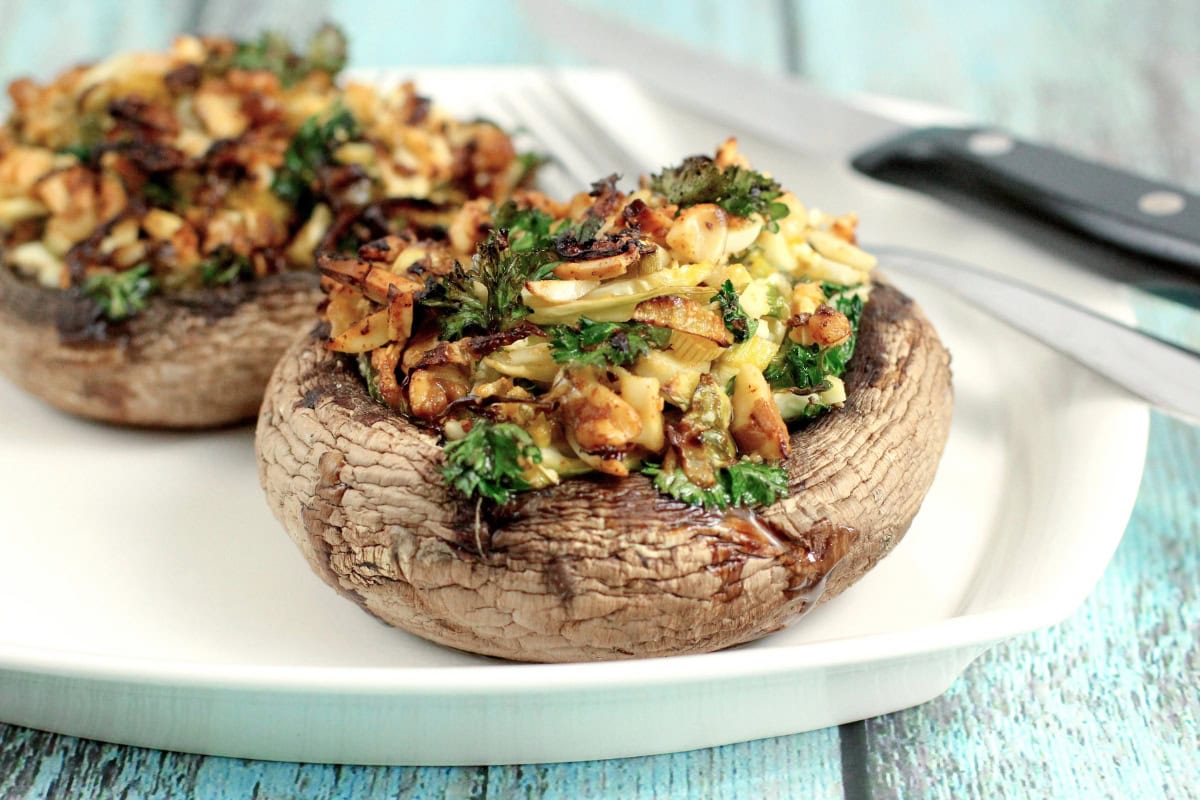
White button mushrooms work beautifully too, especially if you prefer a milder mushroom taste. Their firm texture holds up during baking, and they’re readily available at any grocery store. For a more elegant presentation, you can use larger portobello mushroom caps, though you’ll need to adjust cooking times accordingly.
When shopping for mushrooms, look for caps that are firm and intact with no soft spots. The gills should look fresh, not dried out or slimy. Mushrooms with caps about 1.5 to 2 inches wide are ideal because they’re large enough to hold a generous amount of filling but still easy to eat in just a bite or two.
Preparing Mushrooms for Stuffing
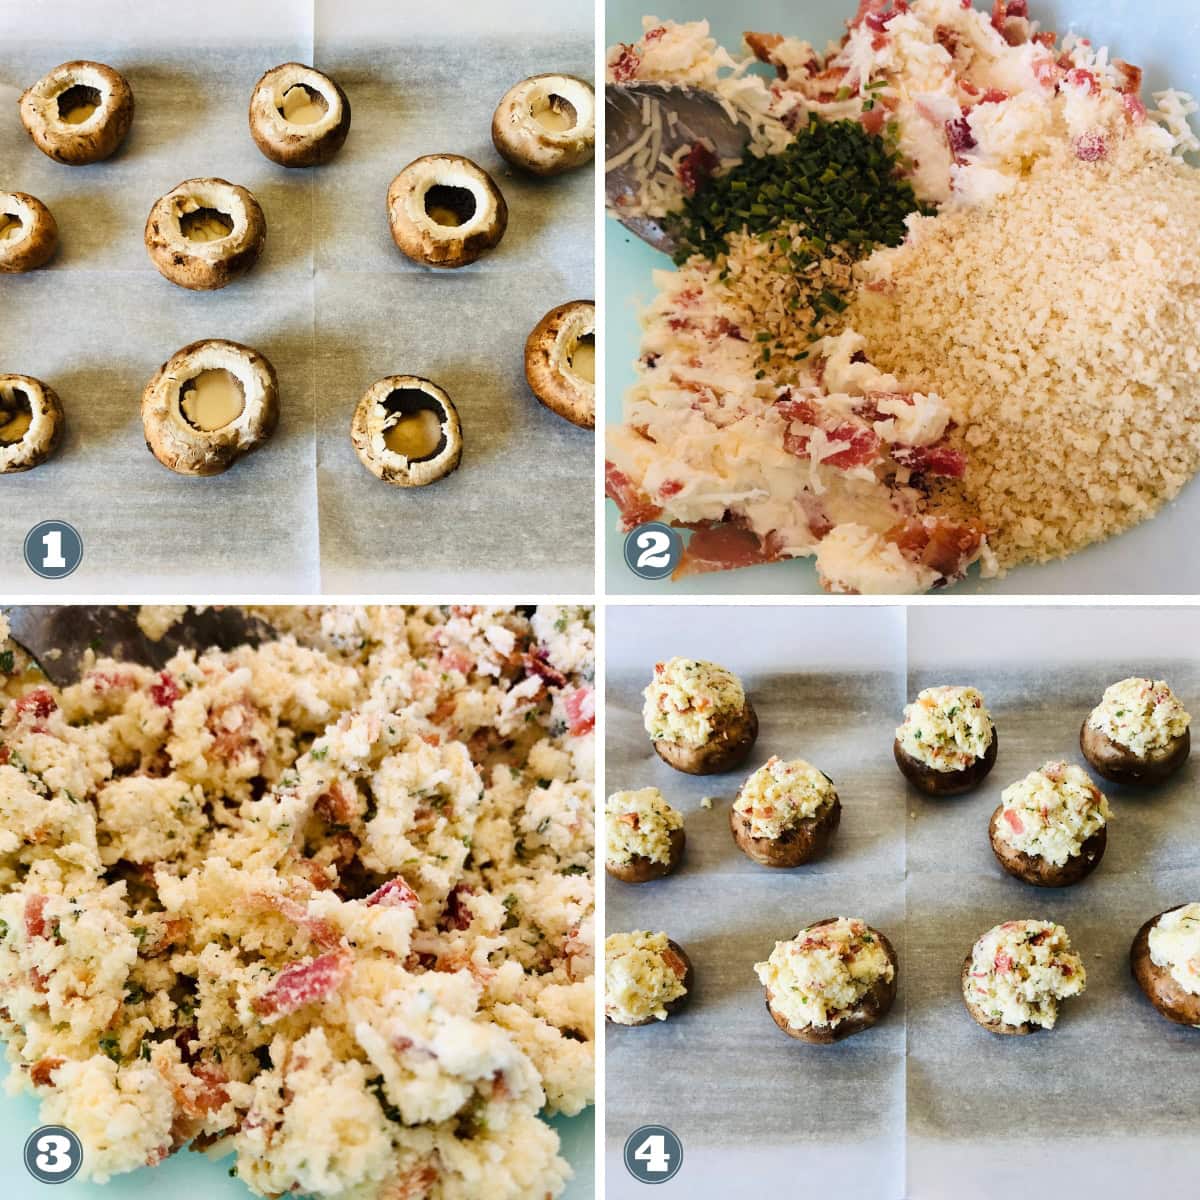
Proper preparation makes all the difference when you’re learning how to make stuffed mushrooms. Start by gently cleaning each mushroom with a damp cloth or paper towel. Avoid rinsing them under running water because mushrooms absorb moisture like sponges, which can make them soggy during baking.
Next, carefully remove the stems by gently twisting them until they pop out. Save those stems because they’re perfect for adding to your filling mixture. Use a small spoon to scoop out the gills if you’re using larger mushrooms, creating more room for your filling.
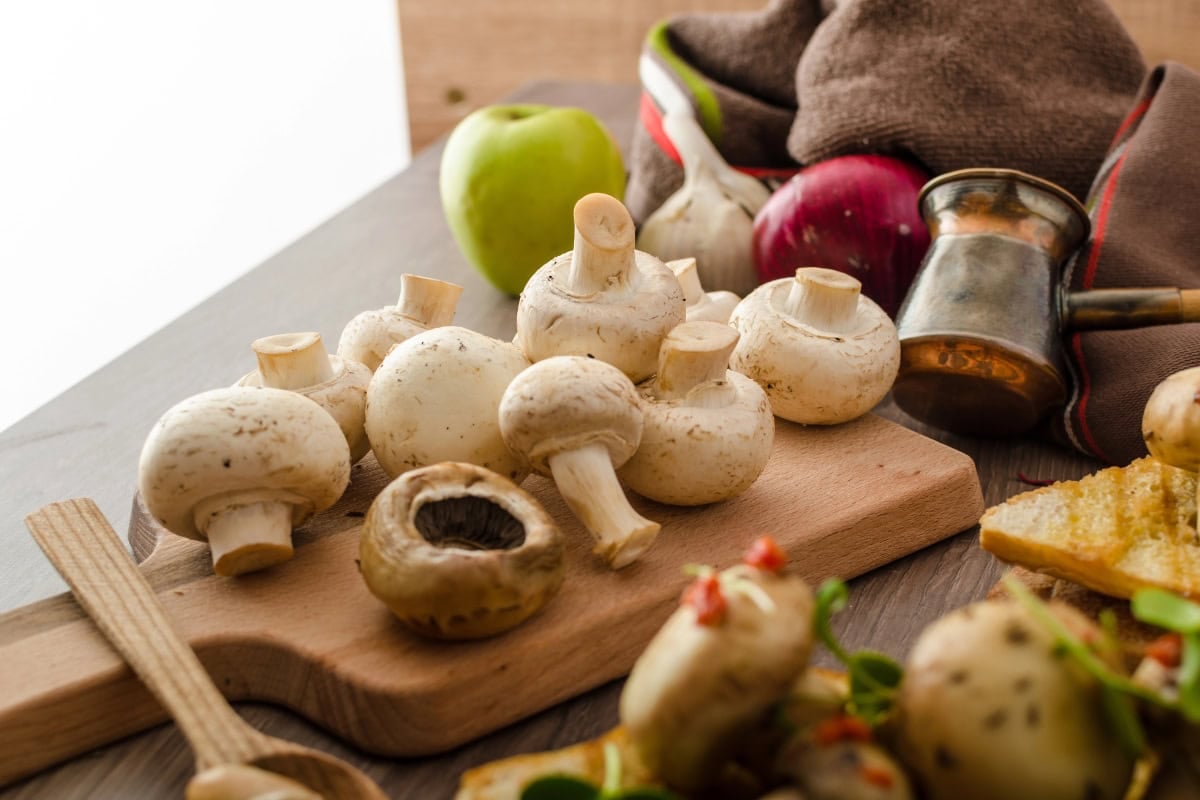
Some recipes call for lightly brushing the mushroom caps with olive oil before stuffing, which helps them stay moist during baking. This optional step adds a subtle richness to the finished dish and prevents the caps from drying out.
Essential Ingredients for the Filling
The filling is where you can really get creative with stuffed mushrooms. Most recipes start with a base of cream cheese or another soft cheese, which provides richness and helps bind the other ingredients together. Popular additions include shredded mozzarella, Parmesan cheese, goat cheese, or cheddar.
For savory depth, cooked bacon, sausage, or ground meat are classic choices. Vegetables like minced onions, garlic, spinach, or the chopped mushroom stems add texture and flavor. Breadcrumbs or panko create a pleasant contrast with their slight crunch, while fresh or dried herbs like chives, parsley, thyme, or Italian seasoning bring brightness to the mix.
The key is balancing creamy, savory, and textural elements. Too much cheese makes the filling heavy, while too many dry ingredients can make it crumbly. A good ratio is about 8 ounces of cream cheese to 1 cup of shredded cheese, with other ingredients added to taste.
Step-by-Step Stuffing Process
Once your mushrooms are prepped and your filling is mixed, it’s time to stuff them. Preheat your oven to 375°F and prepare a baking sheet by lining it with parchment paper or lightly greasing it.
Take each mushroom cap and generously fill it with your prepared mixture. Don’t be shy here – you want the filling to mound slightly over the top of each cap. Use your fingers or a small spoon to gently press the filling into place, ensuring it adheres to the mushroom and won’t fall off during baking.
Arrange the stuffed mushrooms on your prepared baking sheet with a little space between each one. This allows heat to circulate evenly and helps them cook uniformly. If you’re adding a topping like extra cheese or breadcrumbs, sprinkle it on now.
Baking to Perfection
Bake your stuffed mushrooms for 20 to 25 minutes at 375°F. You’ll know they’re done when the mushrooms are tender, the filling is heated through, and the tops are golden brown. The mushrooms will release some liquid as they cook, which is perfectly normal.
If you want extra browning on top, you can finish them under the broiler for 1-2 minutes. Watch them carefully during this step because the tops can go from golden to burnt quickly. The broiler step is optional but creates an appealing crispy texture on the surface.
Let the mushrooms cool for about 5 minutes before serving. They’ll be extremely hot right out of the oven, and a short rest helps the filling set up slightly, making them easier to pick up and eat.
Flavor Variations and Creative Fillings
Once you understand how to make stuffed mushrooms, the possibilities are endless. For an Italian-inspired version, combine cream cheese, Parmesan, sun-dried tomatoes, and fresh basil. Greek-style mushrooms are delicious with feta cheese, spinach, and a hint of lemon zest.
Try a Mexican twist with cream cheese, pepper jack, diced jalapeños, and cilantro. For seafood lovers, crab or shrimp mixed with cream cheese and Old Bay seasoning creates an elegant appetizer. Vegetarians will love mushrooms stuffed with quinoa, roasted vegetables, and goat cheese.
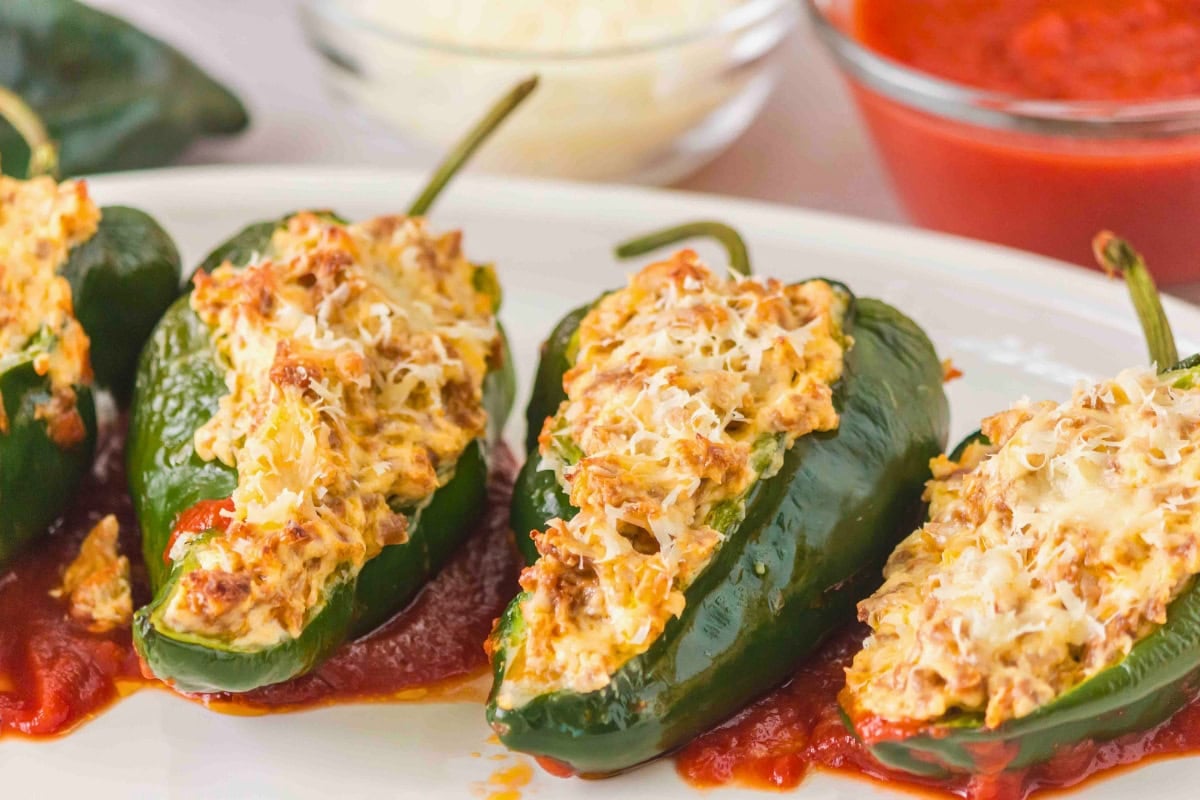
The stuffing technique works for other vegetables too. If you enjoy this method, you might want to try Chorizo-Stuffed Poblano Peppers or Instant Pot Stuffed Peppers for a heartier main course option. The same principles of preparing the vegetable, creating a flavorful filling, and baking to perfection apply across different stuffed vegetable recipes.
Tips for Make-Ahead Preparation
Stuffed mushrooms are perfect for make-ahead entertaining. You can prepare the filling up to 2 days in advance and store it covered in the refrigerator. Clean and prep your mushroom caps the day before, storing them separately.
To fully assemble ahead of time, stuff the mushrooms up to 24 hours before baking and refrigerate them covered with plastic wrap. When you’re ready to cook, let them sit at room temperature for about 15 minutes, then bake as directed. You may need to add 5 minutes to the cooking time if they’re still cold from the fridge.
For longer storage, you can freeze stuffed mushrooms before baking. Arrange them on a baking sheet and freeze until solid, then transfer to a freezer bag. Bake from frozen, adding about 10 minutes to the cooking time. This makes them perfect for keeping on hand for unexpected guests or last-minute gatherings.
Serving Suggestions and Pairings
Stuffed mushrooms work beautifully as part of a larger appetizer spread. Serve them alongside easy summer appetizers for warm-weather gatherings or include them in your Christmas party appetizers during the holiday season.
For game day entertaining, pair them with other crowd-pleasers from a collection of 4th of July appetizers or add them to your Halloween party appetizers menu. They also work wonderfully on a crockpot potluck table alongside slow-cooked main dishes.
These bite-sized treats pair well with crisp white wines, light beers, or sparkling beverages. For non-alcoholic options, serve them with sparkling water, iced tea, or citrus-infused beverages that cut through the richness of the cheese filling.
Common Mistakes to Avoid
One of the biggest mistakes when making stuffed mushrooms is overcrowding the filling. While you want a generous amount, packing it too tightly can cause it to spill out during baking. The filling should be mounded but not overflowing.
Don’t rinse mushrooms under water – this is a common error that leads to soggy results. The damp cloth method keeps them dry enough to crisp up nicely in the oven. Also, avoid undercooking the filling ingredients like raw sausage or bacon before adding them to the mixture. Everything should be fully cooked before stuffing.
Overbaking is another pitfall. Mushrooms that cook too long become rubbery and release excessive moisture. Set a timer and check them at the 20-minute mark. They’re ready when the filling is bubbly and lightly browned.
Storage and Reheating
Store leftover stuffed mushrooms in an airtight container in the refrigerator for up to 3 days. The mushrooms will release more moisture as they sit, so they won’t be quite as firm as when freshly baked, but they’ll still taste delicious.
To reheat, place them on a baking sheet and warm in a 350°F oven for 10-12 minutes until heated through. Avoid microwaving if possible, as it can make the mushrooms rubbery. If you must use a microwave, heat in short 30-second bursts to prevent overcooking.
While you can freeze baked stuffed mushrooms, the texture won’t be quite as good as freezing them before baking. The mushrooms tend to become slightly watery after freezing and thawing. For best results, freeze them unbaked and cook from frozen when needed.
FAQs
Absolutely. Try a breadcrumb-based filling with herbs, garlic, and olive oil for a dairy-free option. Nutritional yeast can add a cheesy flavor without actual cheese, and tahini or cashew cream work as binders.
Choose firm, fresh mushrooms and clean them with a damp cloth instead of rinsing. Make sure any vegetables in your filling are well-drained, and don’t overstuff the caps. Baking at the right temperature helps moisture evaporate rather than accumulate.
The mushrooms should be tender when pierced with a fork, the filling should be heated through and bubbling, and the tops should be golden brown. This typically takes 20-25 minutes at 375°F.
Yes, but cooking times may vary. Baby Bella and white button mushrooms are ideal for appetizer-sized portions. Portobello caps work well for a main course but need longer cooking times. Shiitake mushrooms have a different texture and may not hold filling as well.
You can stuff them up to 24 hours before baking if stored covered in the refrigerator. For longer storage, freeze them unbaked and cook from frozen, adding extra baking time as needed.