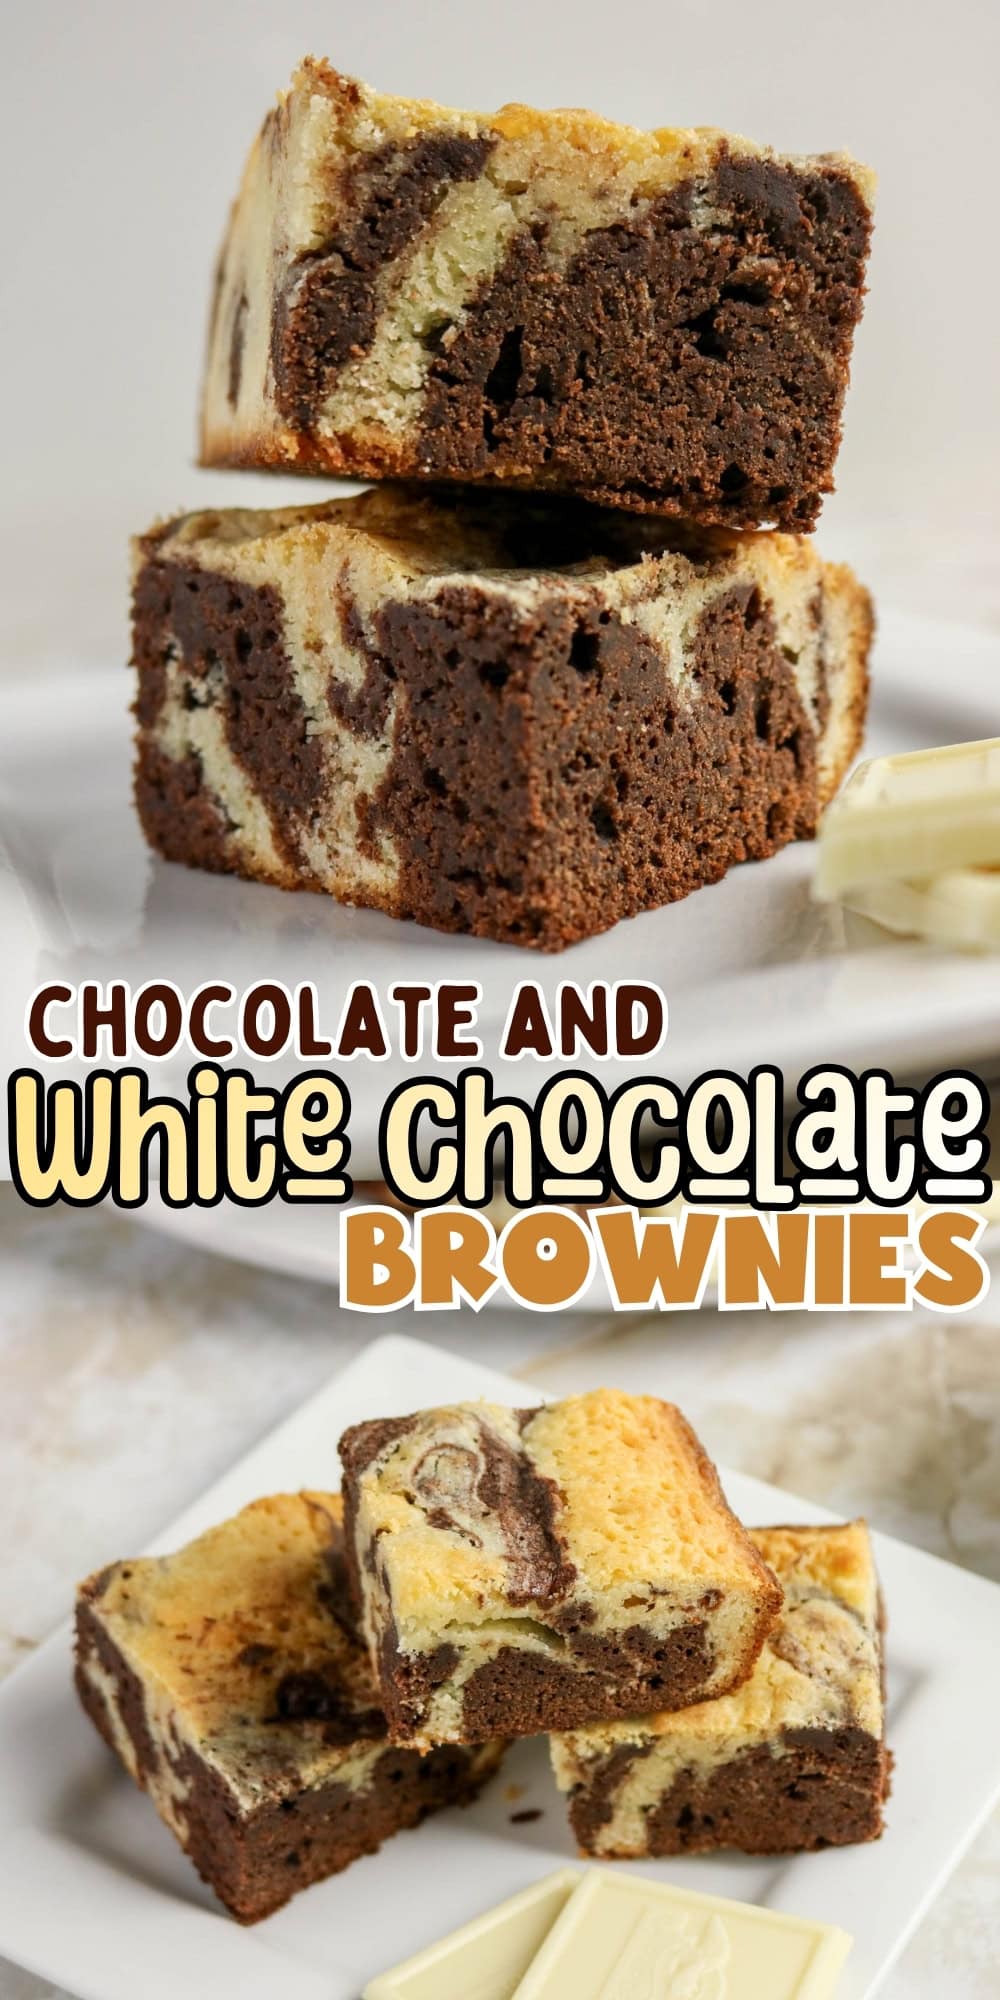
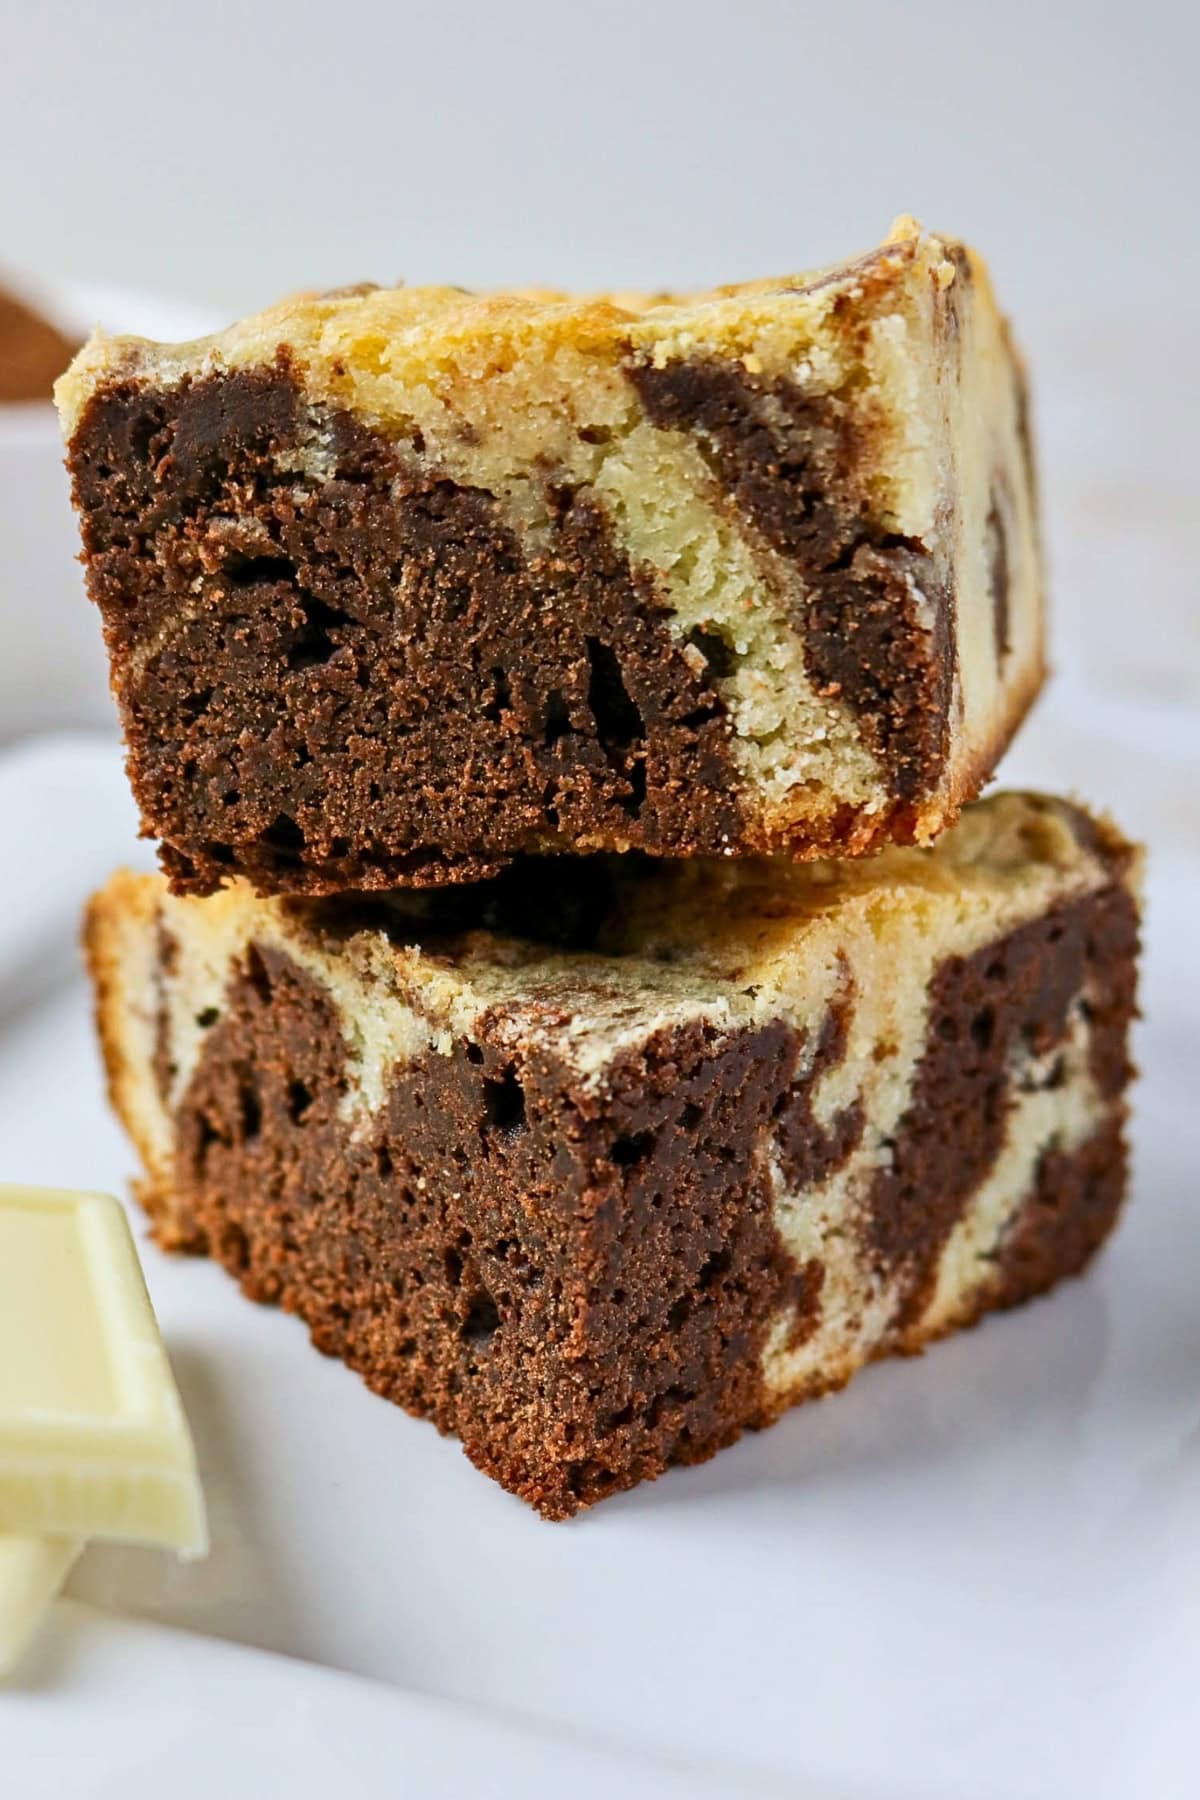
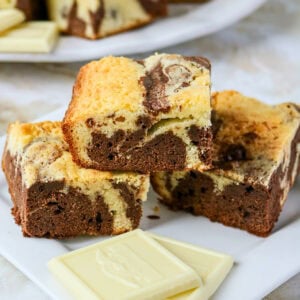
Marbled Chocolate and White Chocolate Brownies
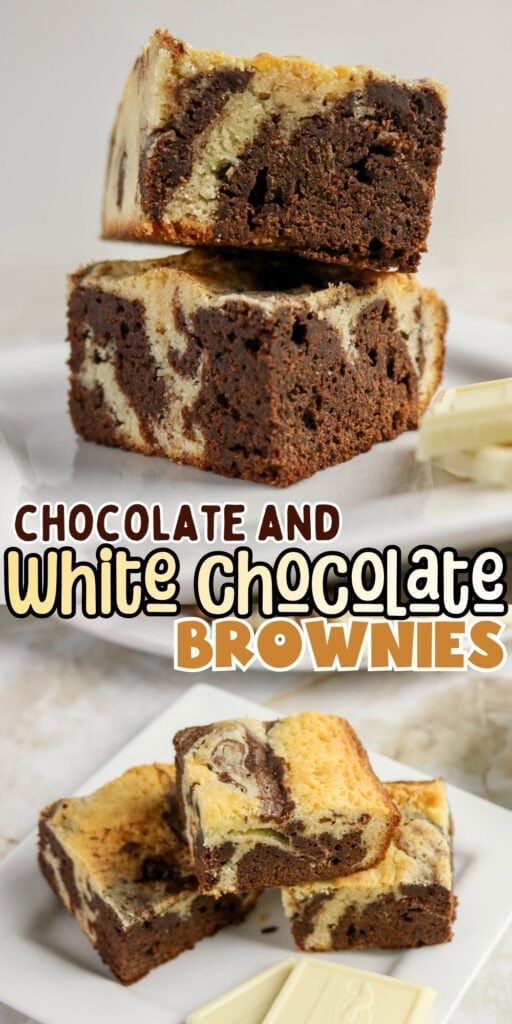
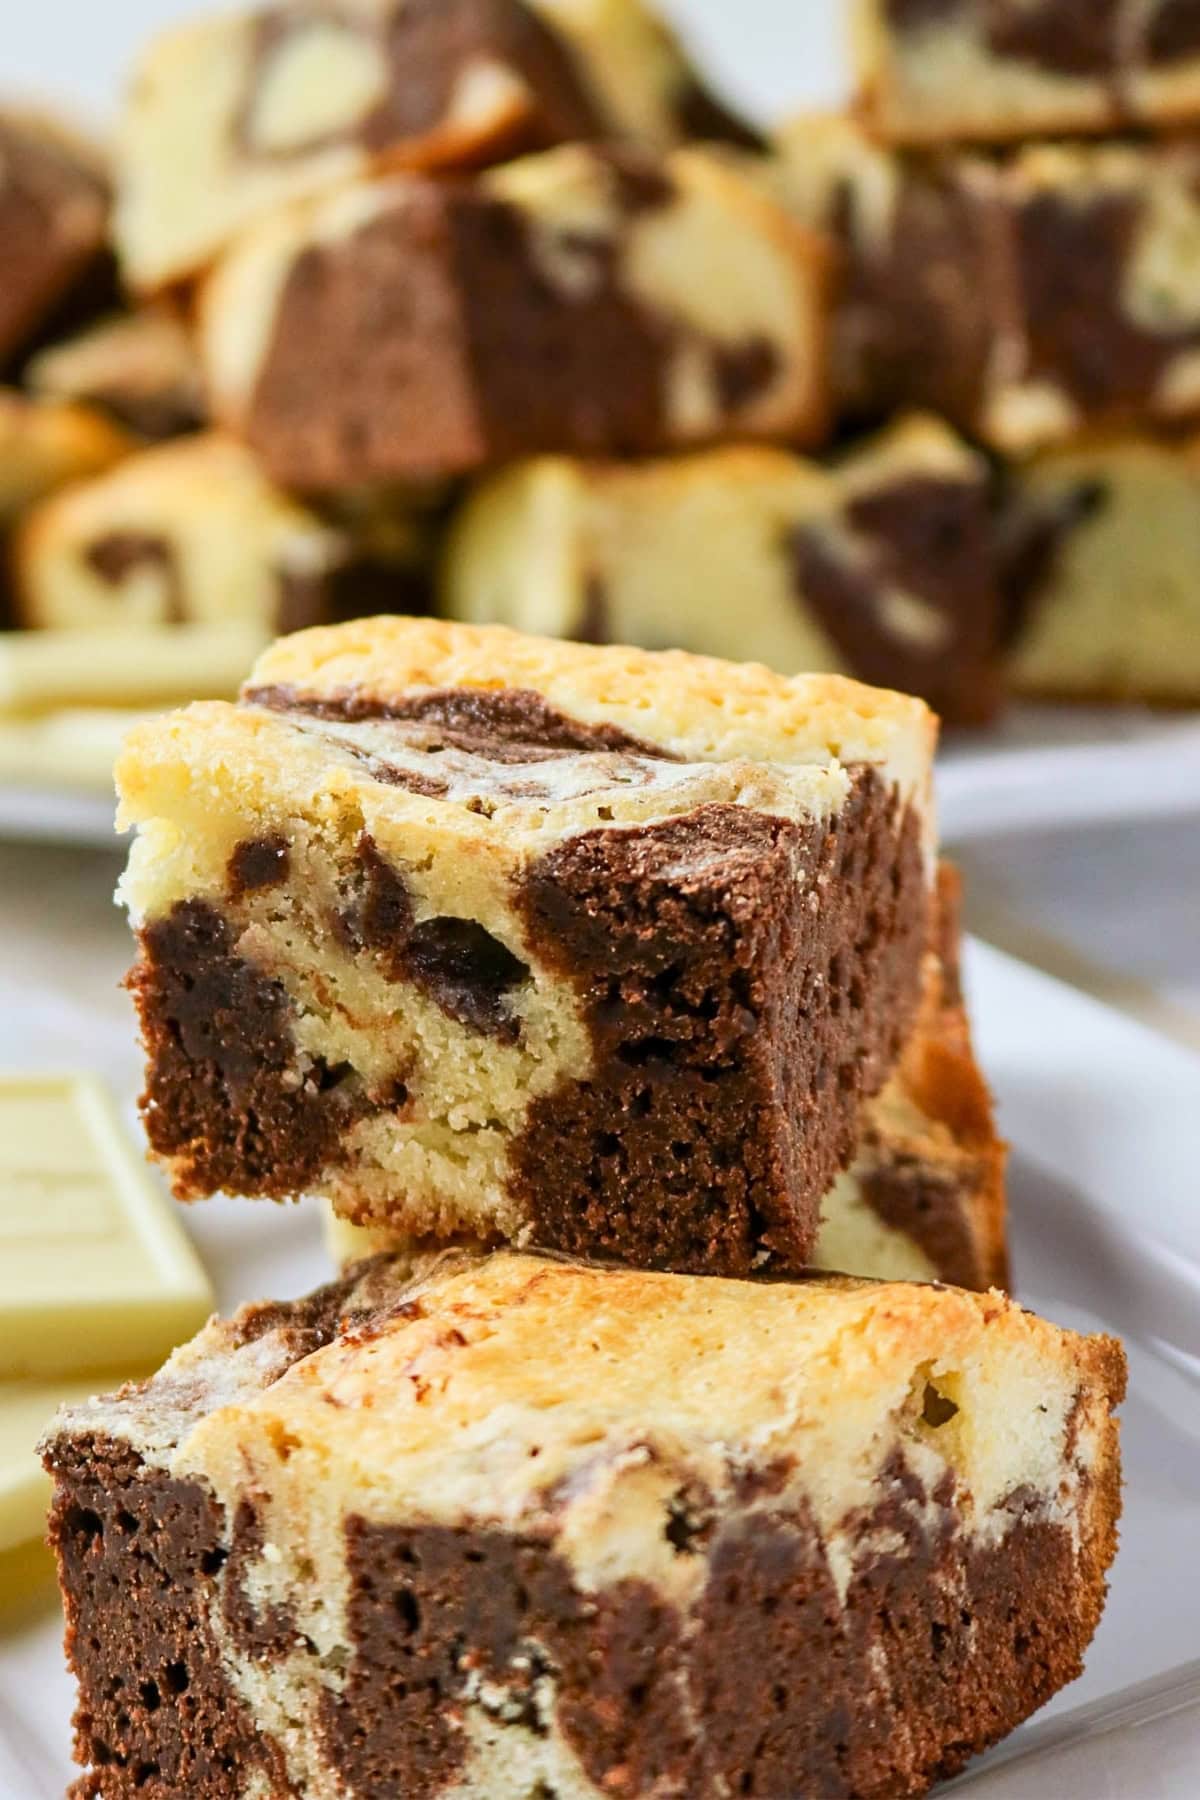
These Chocolate and White Chocolate Brownies have dark cocoa batter marbled with pale white chocolate batter. You can see the pretty swirls in the middle and on top, giving the brownies a striking two-tone look. Both batters bake in the same pan, with no separate layers to assemble. This is an easy dessert that’s always satisfying.
Save This Post!
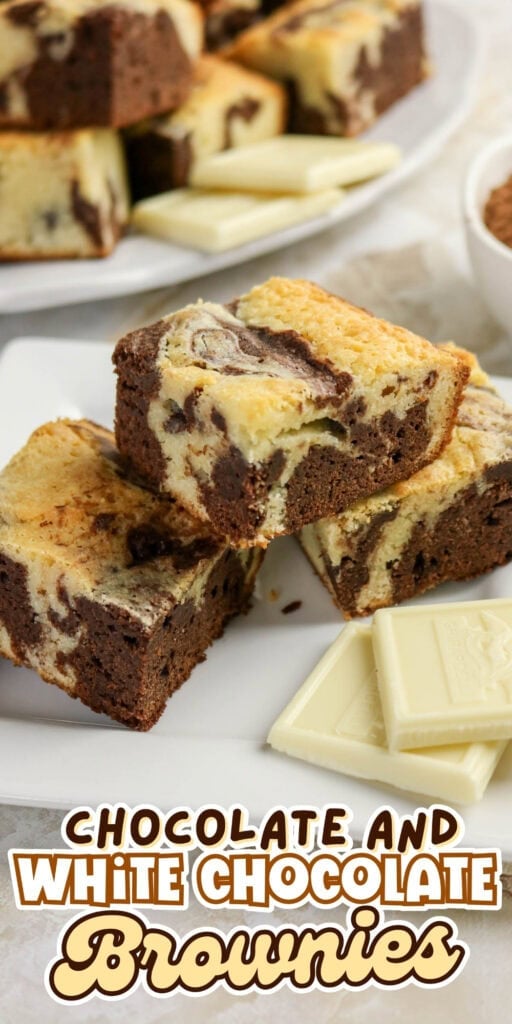
Marbled white chocolate brownies combine fudgy cocoa batter with a sweeter white chocolate batter. The swirly finish on these swirled brownies makes them look extra special.
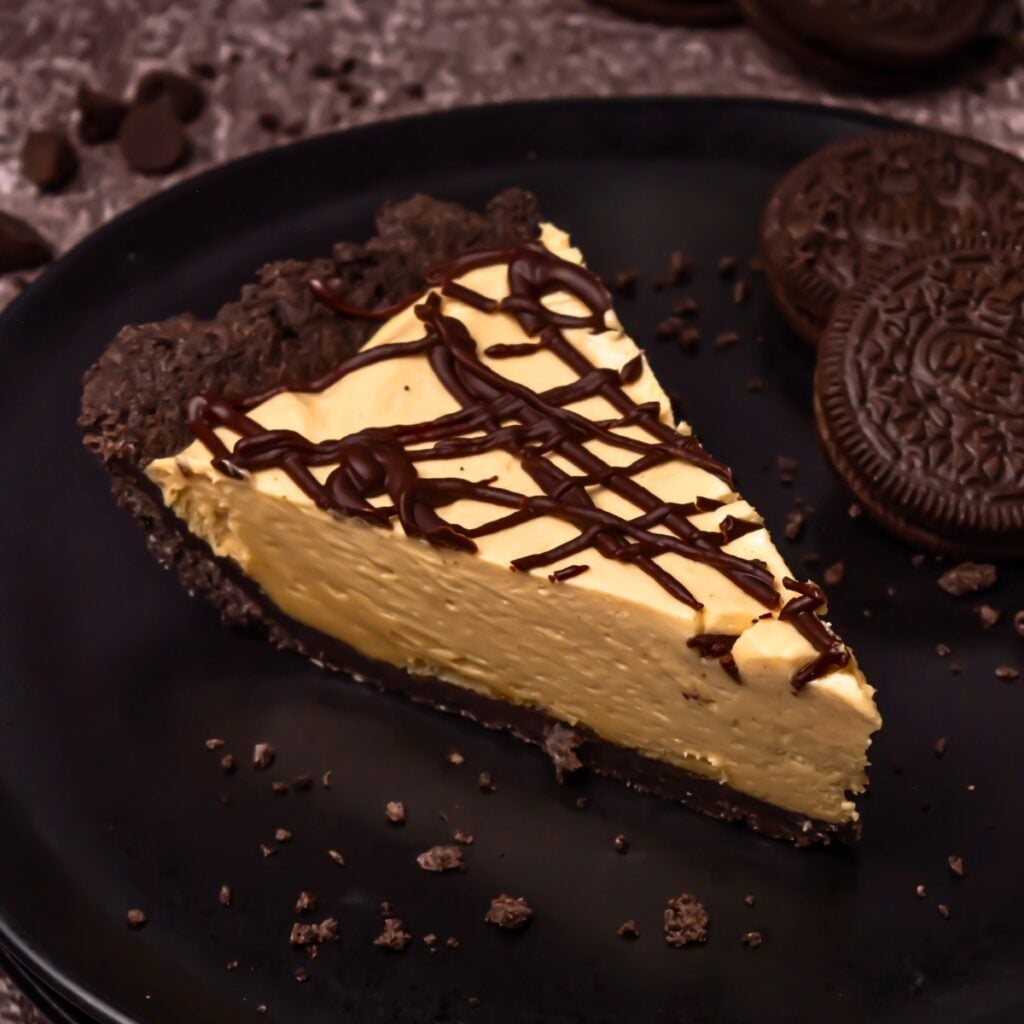
For another traybake, try my Sheet Pan Brownies, which have lots of edge pieces. These Swirl Cheesecake Brownies have a cheesecake swirl and my Oatmeal Chocolate Chip Bars are thick bar cookies with oats and chocolate chips.
Why You’ll Love It
- Two batters in one pan: Both brownie batters bake together, so you don’t have to assemble two separate layers.
- Marbled finish: Gentle swirling leaves dark and light ribbons in the center and on top. I always find this part of the recipe so satisfying!
- No mixer needed: A whisk and spatula handle both batters. I tried using an electric mixer for one batch but I found that it made the brownies too dense. It’s better to stop mixing once the ingredients are just combined.
- They taste delicious: It goes without saying that brownies are always good but if you want to try something new, the white chocolate part adds something extra tasty to the mix! You might even prefer this marbled version to regular brownies.
Marbled White Chocolate Brownies Ingredients
See the recipe card below for the full list of ingredients and exact measurements.
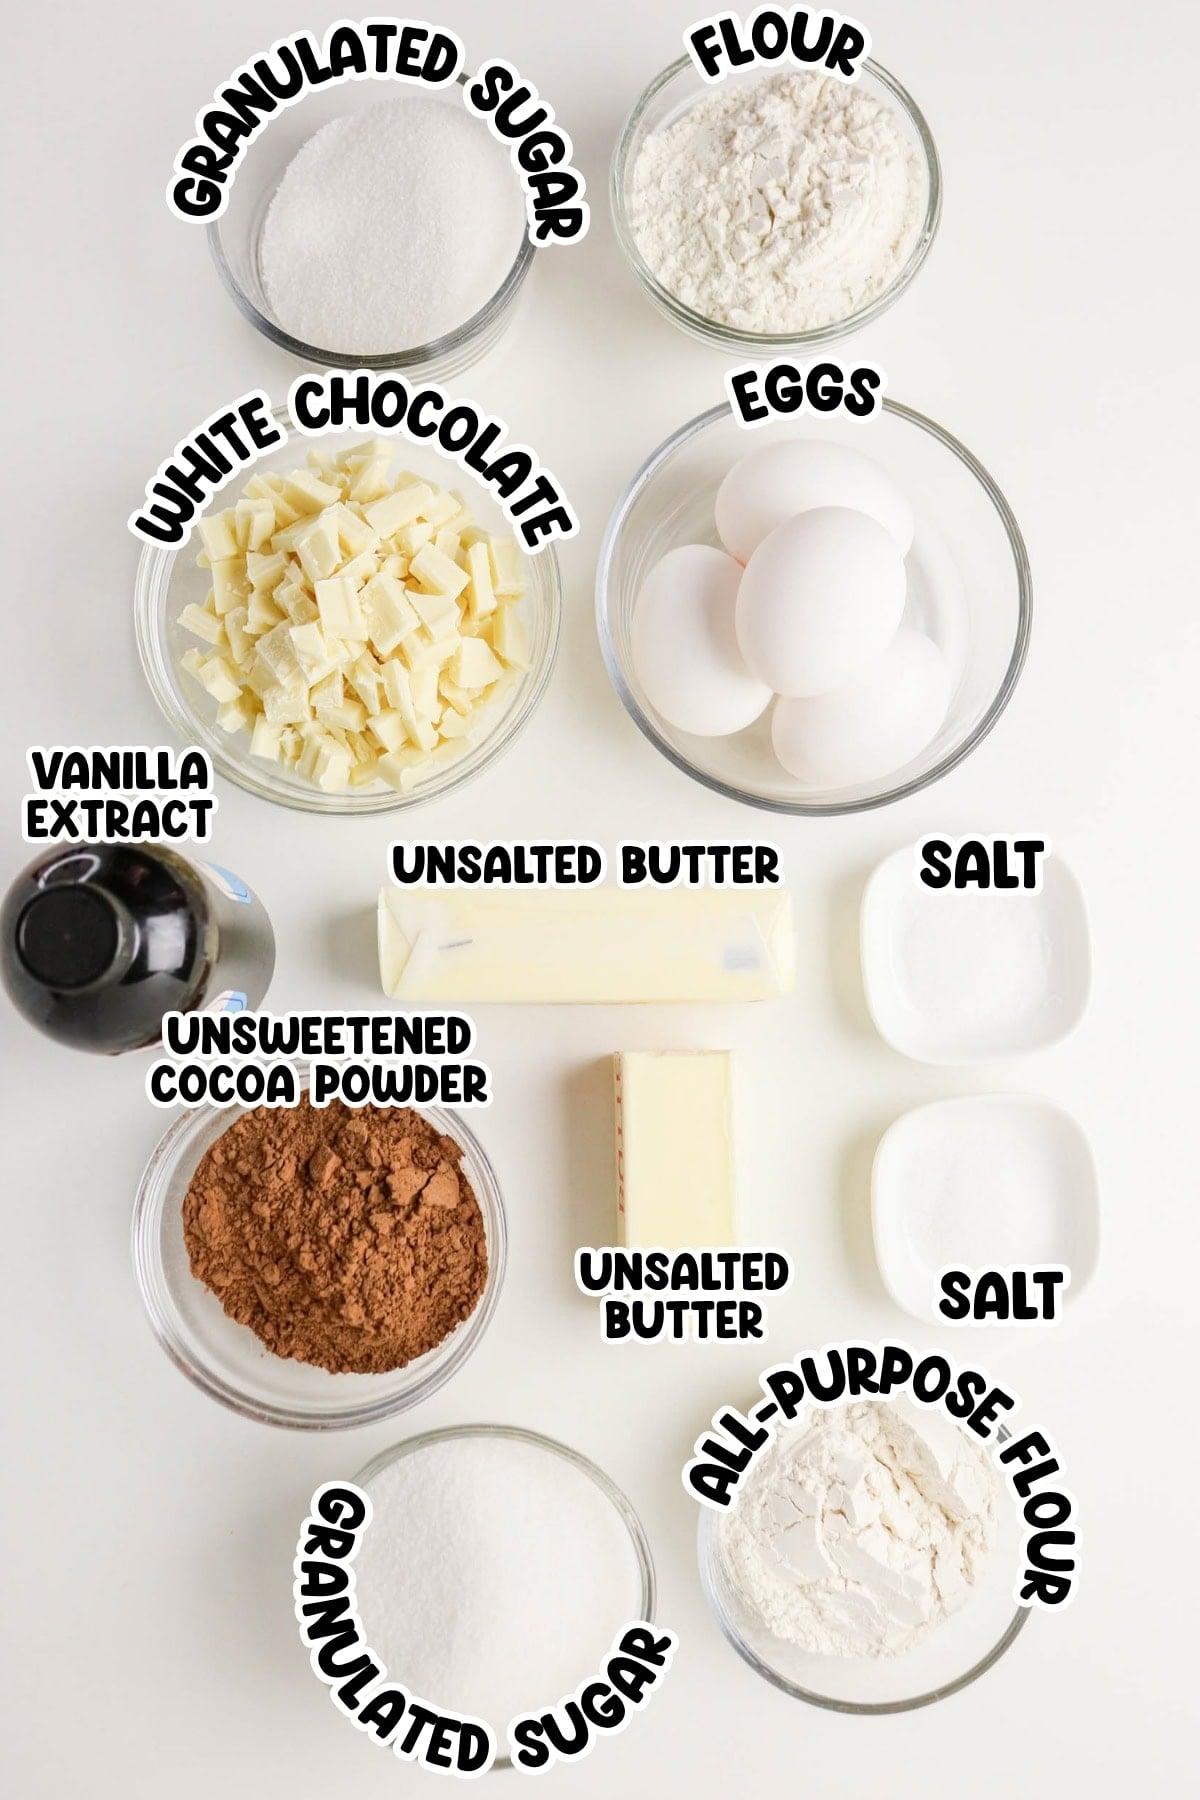
- Unsalted butter: This adds moisture and richness to both batters. If you only have salted butter, just omit the added salt or reduce the amount.
- Granulated sugar: Sugar sweetens both batters and contributes to the brownie texture.
- Large eggs: You’ll need two eggs for each batter mixture.
- Vanilla extract: Vanilla adds flavor to both batters. I always use pure vanilla extract because it tastes so much better than the synthetic kind.
- Unsweetened cocoa powder: Cocoa powder forms the dark chocolate batter. I like to use Dutch process cocoa powder for a rich-tasting result.
- All-purpose flour: To provide structure in both batters.
- Salt: Just a pinch to balance the sweetness.
- White chocolate: Melted white chocolate goes into the light-colored batter and leaves lighter ribbons in the brownies.
Substitutions and Variations
- Gluten-free flour: Use a 1:1 gluten-free baking flour in place of the all-purpose flour.
- Dairy-free brownies: Use plant-based butter and dairy-free white chocolate.
- Add chopped nuts: I sometimes fold ½ cup chopped pecans or walnuts into the cocoa batter for some crunch.
- Smaller portions: Cut into 25 smaller squares for a dessert tray instead of 16 larger ones for dessert sized portions.
How to Make Chocolate Marbled Brownies
STEP 1. Heat the oven to 350°F and prepare a parchment-lined 9×9-inch pan.
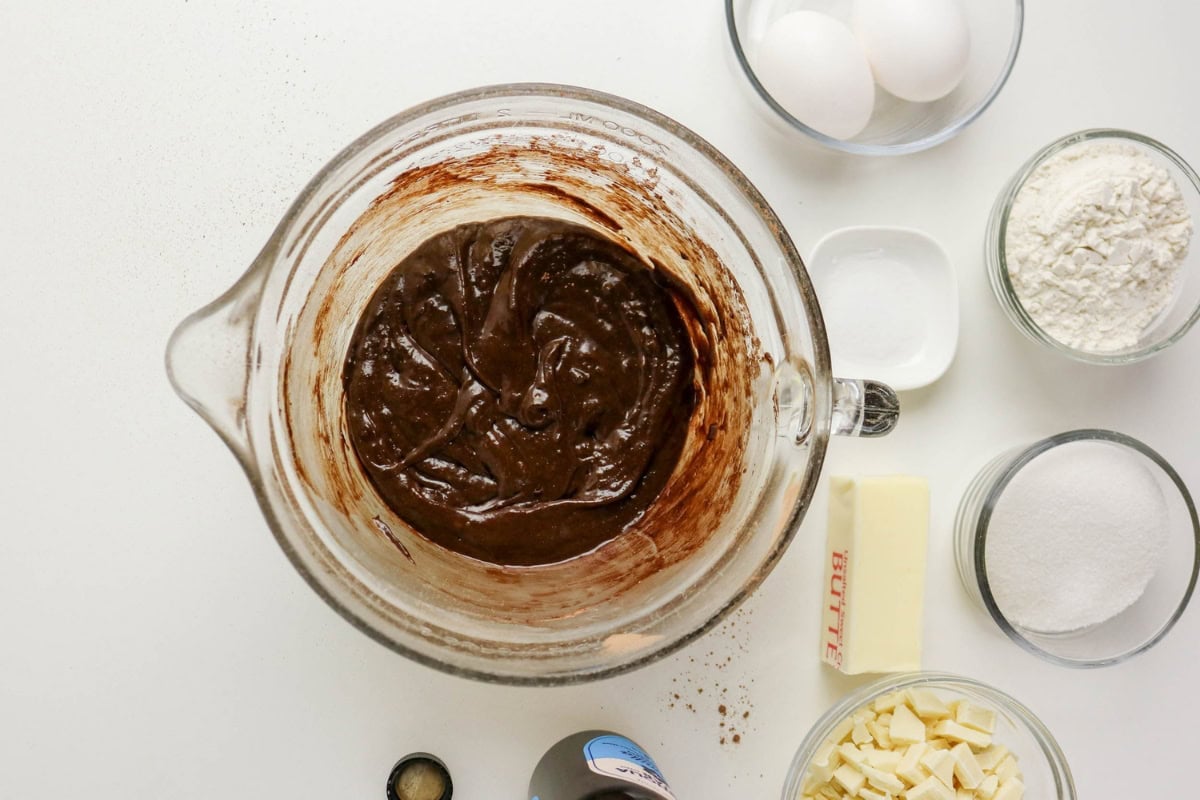
STEP 2. Stir together the cocoa brownie mixture.

STEP 3. Prepare the melted white chocolate mixture.

STEP 4. Spoon both batters into the pan in alternating dollops and add a few gentle swirls.
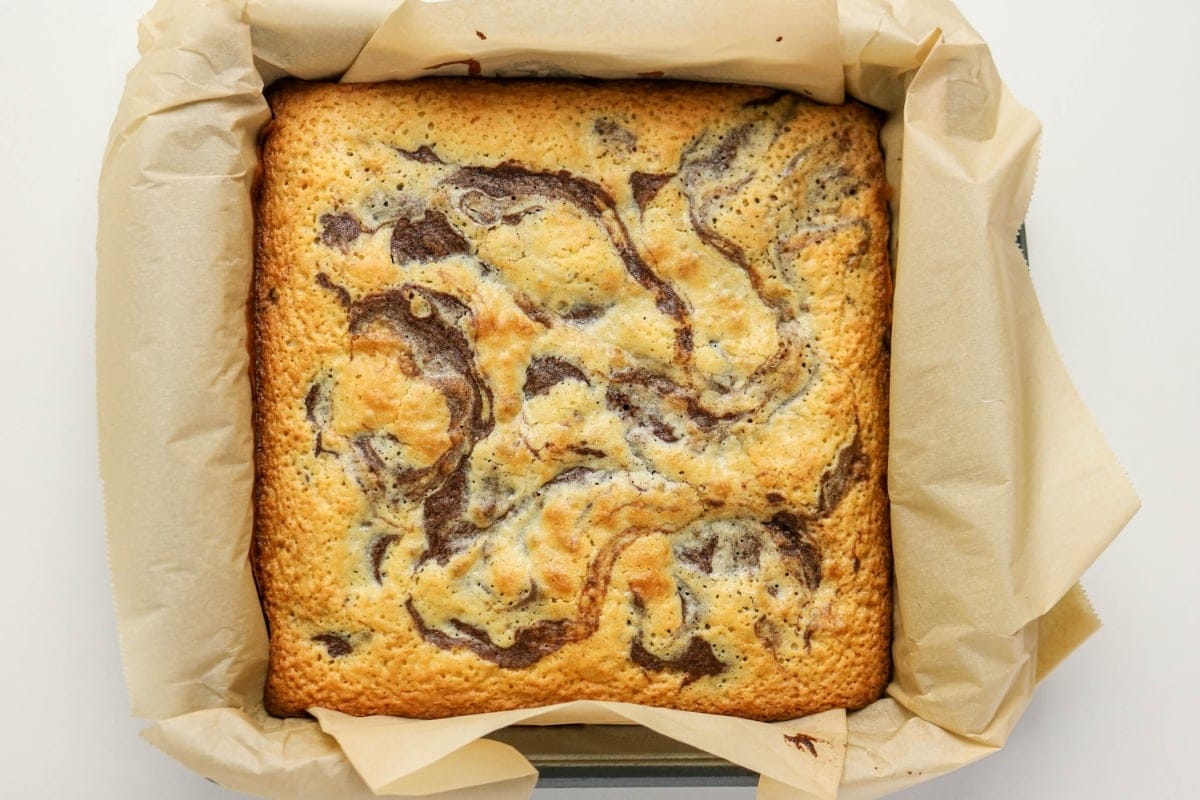
STEP 5. Bake until the center has a few moist crumbs when checked with a toothpick.
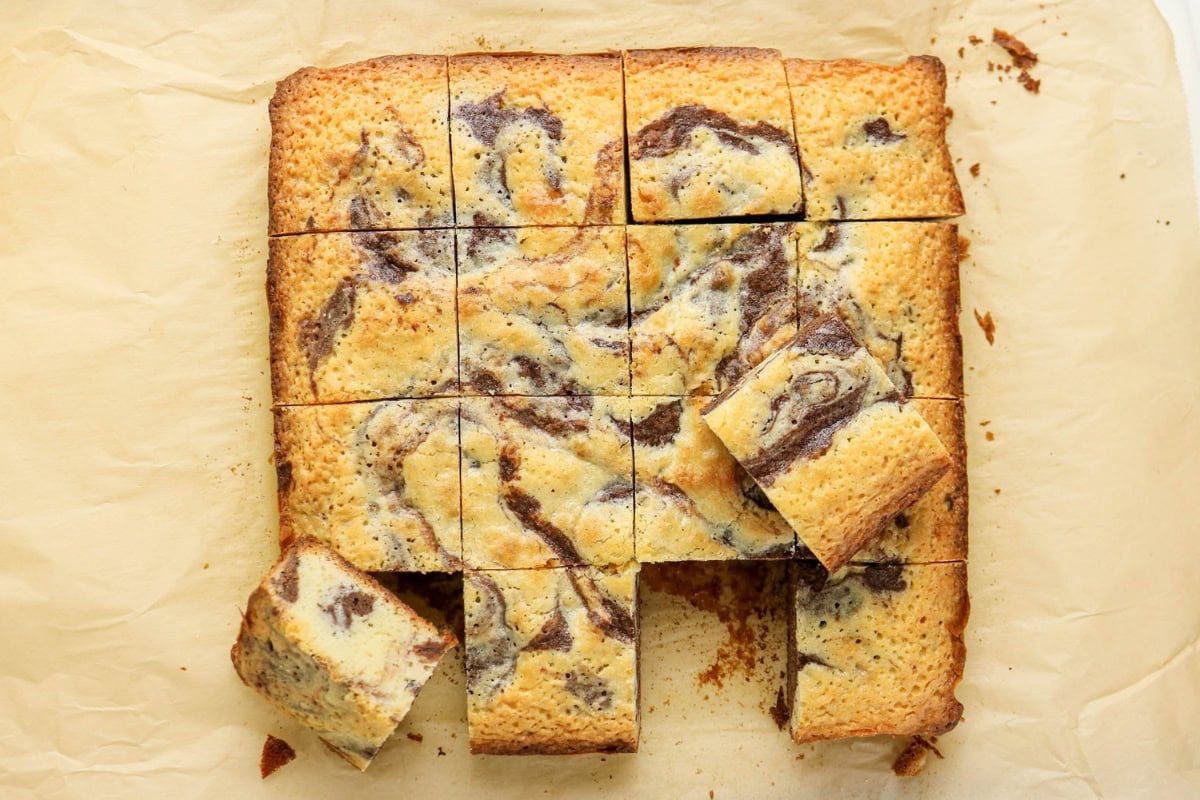
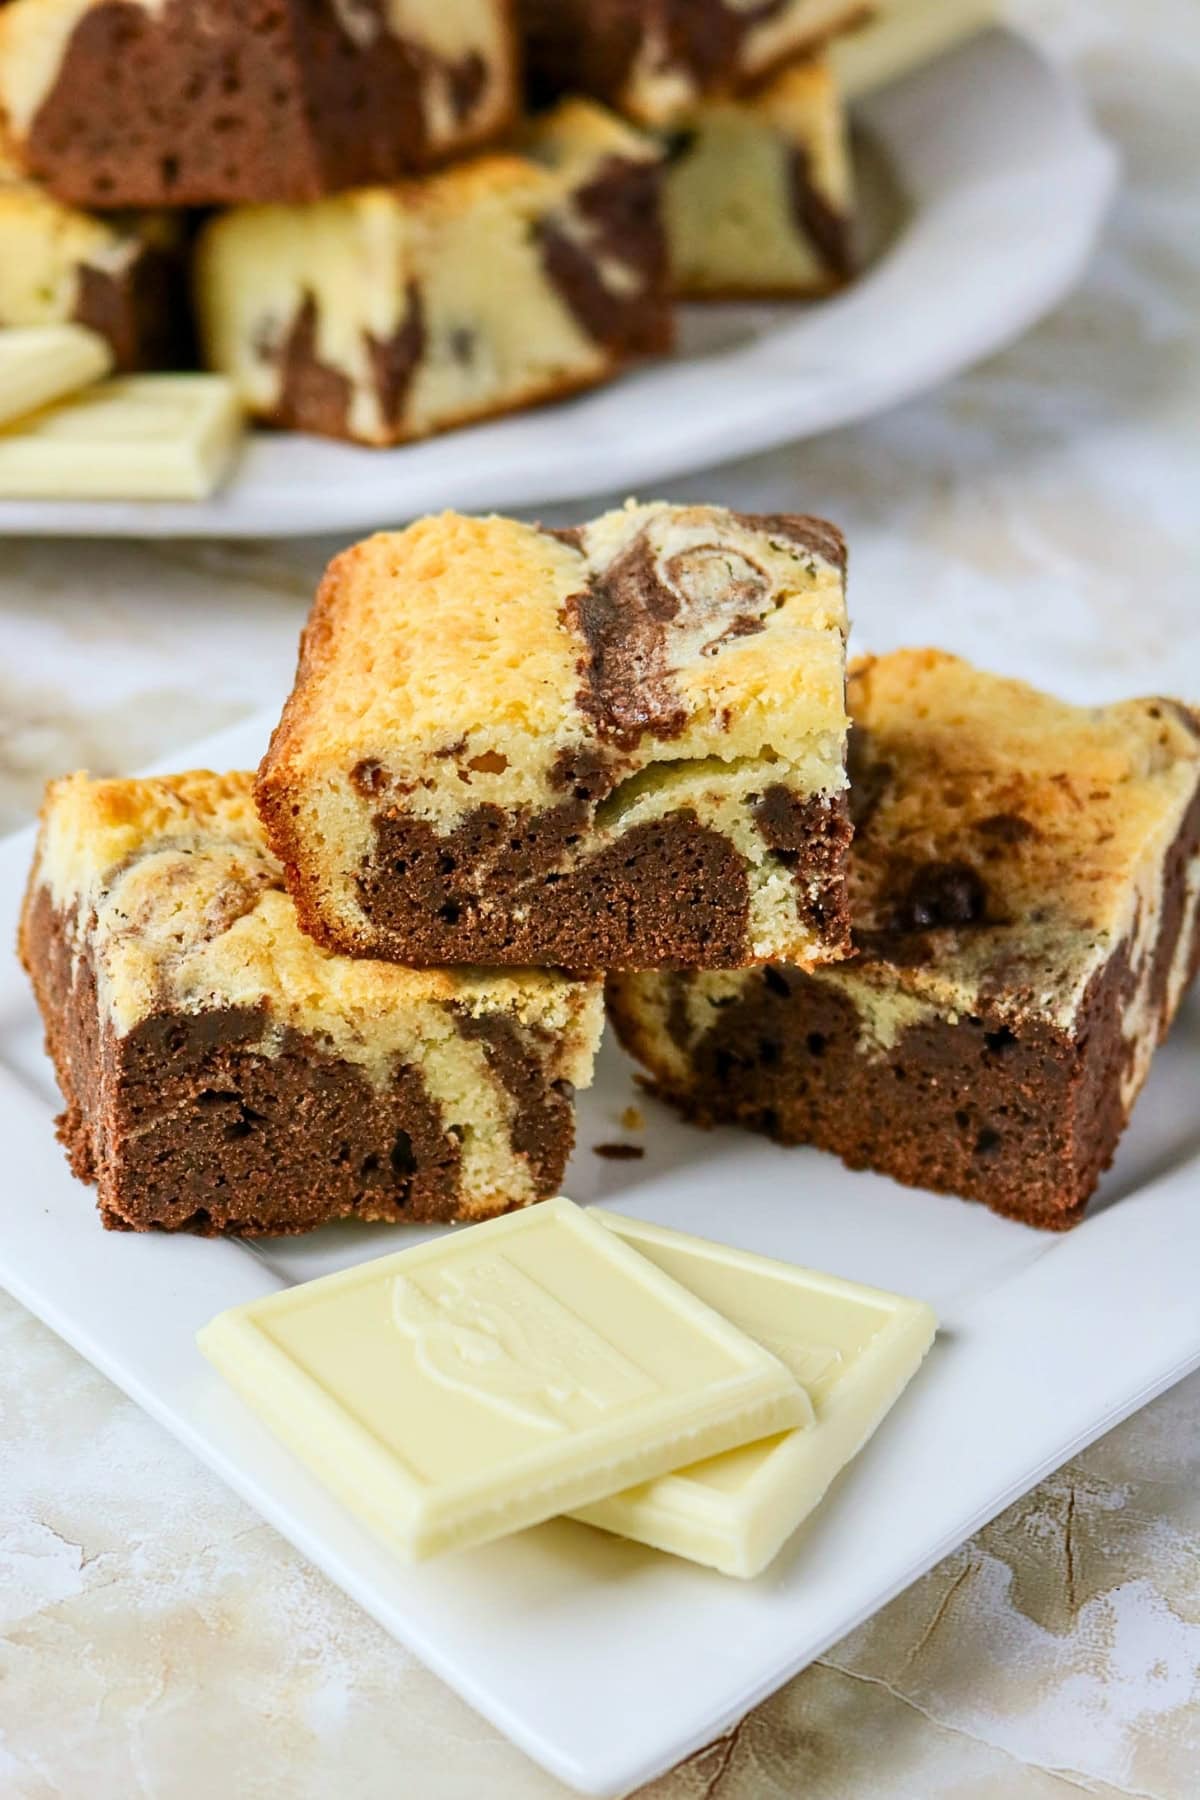
STEP 6. Cool the brownies fully, remove them from the pan, and cut into squares.
Top Tips
- Melt the white chocolate gently: Use 15-second microwave bursts and stir after each one, or use a double boiler. I find that white chocolate can scorch quickly!
- Let the white chocolate mixture cool briefly: Warm is fine. A hot mixture can start cooking the eggs.
- Keep the swirling light: A few passes with a knife or skewer are enough. Too much swirling blends the colors.
- Check the center carefully: A toothpick should come out with a few moist crumbs. Wet batter means the brownies need a few more minutes.
- Cool completely: I’ve experimented slicing them while still warm but cutting them when fully cooled gives cleaner cuts and less crumbling.
How to Store
- Storage: Keep cooled brownies in an airtight container at room temperature and eat within 4 days. If you have a sweet tooth like me, they may not last that long!
- Refrigerator: Store the brownies in a sealed container in the refrigerator for up to 1 week.
- Freezing: Wrap individual squares and freeze them in a freezer-safe container for up to 3 months.
- Thawing: Leave frozen brownies at room temperature until defrosted.
Serving Suggestions
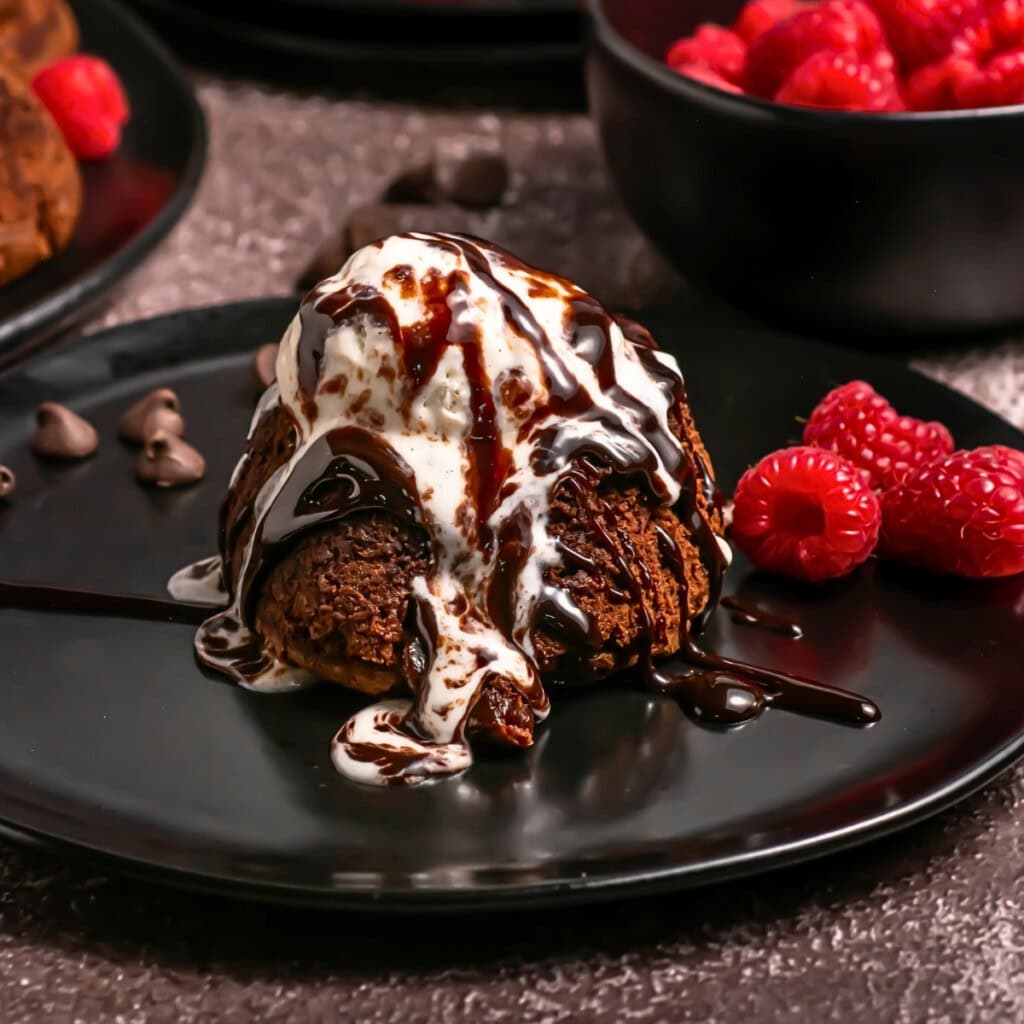
Serve these brownies with vanilla ice cream, whipped cream or fresh strawberries. For a dessert tray, you could add Orange Creamsicle Cupcakes, Lemon Oatmeal Cookies and Crumbl Copycat Coconut Lime Cookies. A Fresh Blackberry Milkshake pairs nicely with the brownies.
Marbled White Chocolate Brownies FAQs
I used a 9-inch square pan. Don’t forget to line it with parchment paper for easier removal after baking.
No. A whisk and spatula are enough for both batters.
The batters may have been swirled too many times. A few passes with a knife or skewer should leave the dark and light sections clearly defined.

Chocolate and White Chocolate Brownies
Equipment
- Knife or Skewer
Ingredients
For the Chocolate Brownie Batter
- ½ cup unsalted butter
- ¾ cup granulated sugar
- 2 large eggs
- 1 teaspoon vanilla extract
- ½ cup unsweetened cocoa powder
- ½ cup all-purpose flour
- ¼ teaspoon salt
For the White Chocolate Brownie Batter
- 6 ounces white chocolate chopped
- ⅓ cup unsalted butter
- ½ cup granulated sugar
- 2 eggs large
- 1 teaspoon vanilla extract
- ¾ cup all-purpose flour
- ¼ teaspoon salt
Instructions
- Preheat the oven to 350°F and line a 9-inch square baking pan with parchment paper.
Prepare the Chocolate Brownie Batter
- Melt the butter then stir in the sugar.
- Whisk in vanilla and eggs until smooth.
- Sift in the flour and cocoa powder and add the salt, mixing just until combined.
Prepare the White Chocolate Batter
- Melt the butter and white chocolate together until smooth.
- Let it cool for a few minutes, then, whisk in the eggs, vanilla and sugar.
- Stir in the salt and flour until just combined.
Bake the Brownies
- Add alternating dollops of each batter into your prepared pan.
- Gently swirl the batters together using a knife or skewer, stopping when you have visible streaks of each.
- Bake for 35 to 40 minutes, or until the center is set. Check by inserting a toothpick into the center. If it comes out with a few moist crumbs, the brownies are done.
- Cool the brownies completely before slicing so you get defined swirls and clean edges.
Notes
- Line the pan with parchment: Leave some overhang on two opposite sides, so the cooled brownies are easier to lift out.
- Sift the cocoa powder: Breaking up any lumps helps the chocolate batter mix evenly. I always sift my flour too, just to make sure it’s lump-free.
- Use separate spoons: Spoon each batter into the pan with a different spoon to keep the colors distinct before swirling.
Nutrition Information
Hungry for more?
Follow me on Pinterest and make sure to comment below!