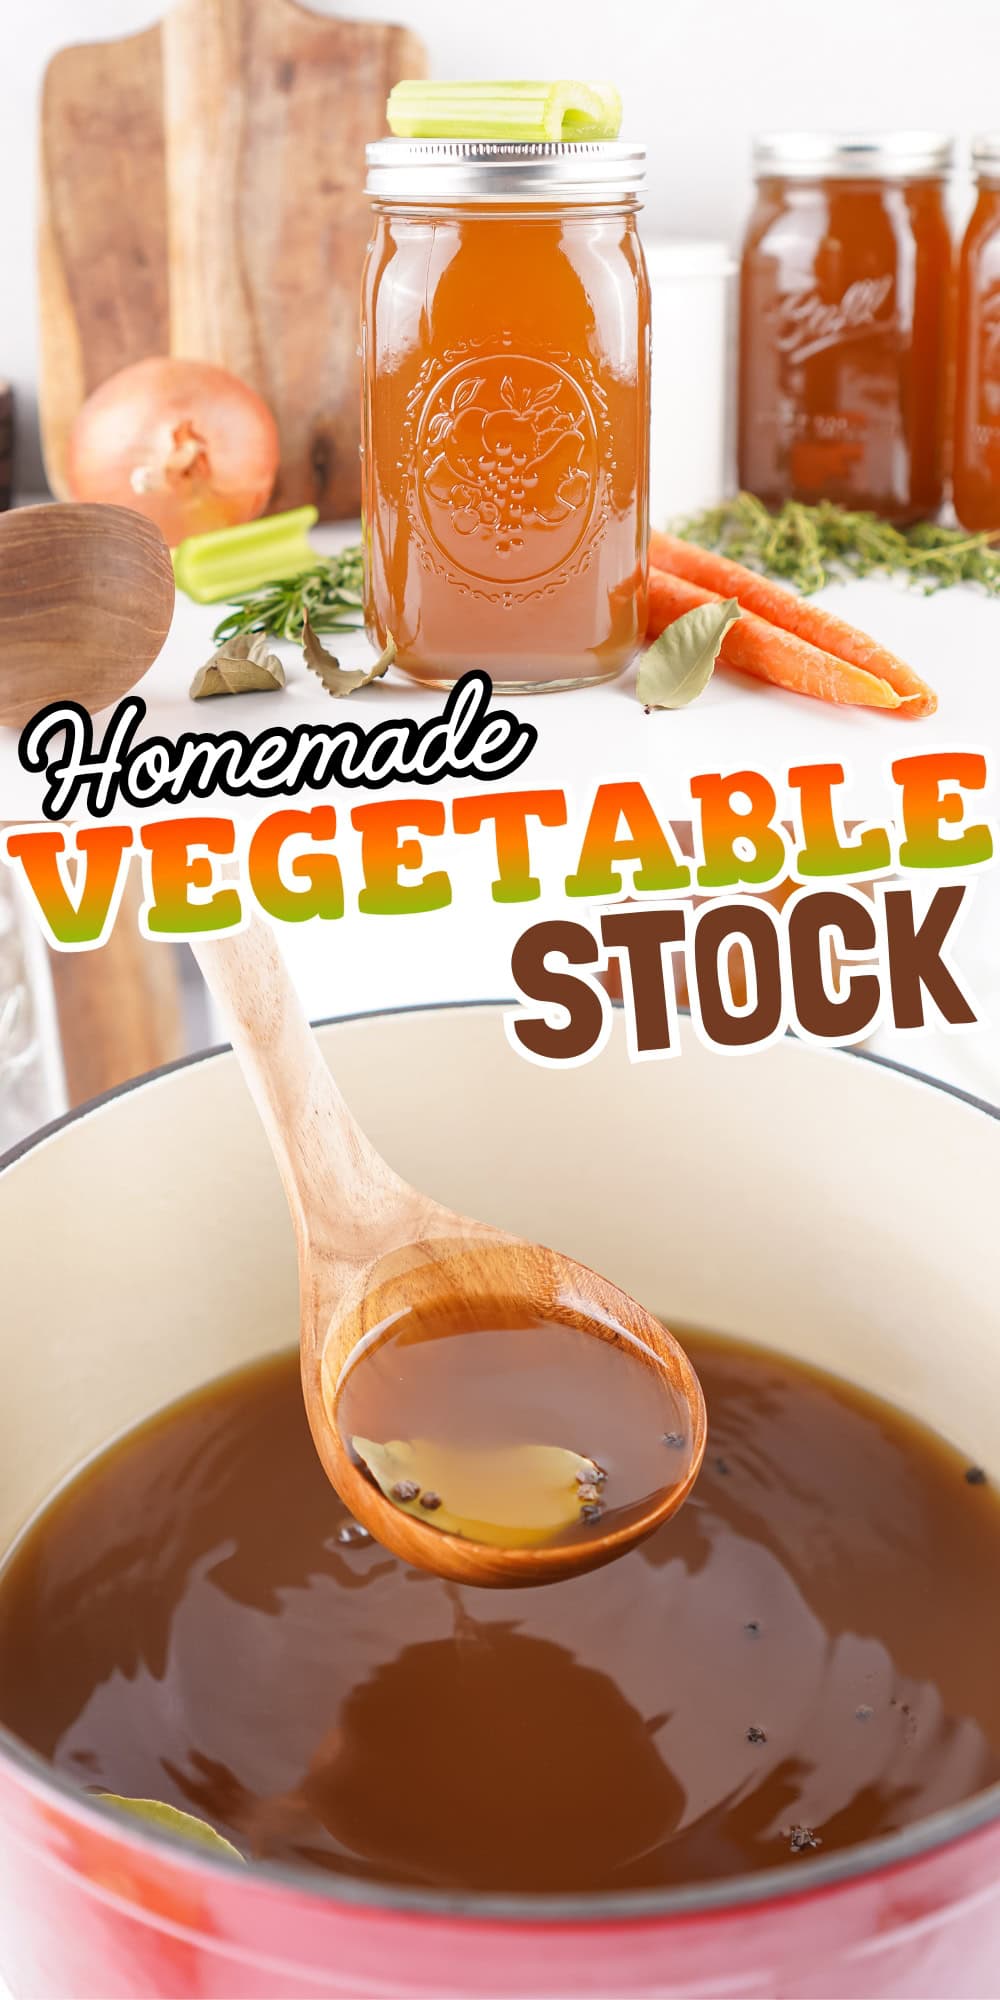
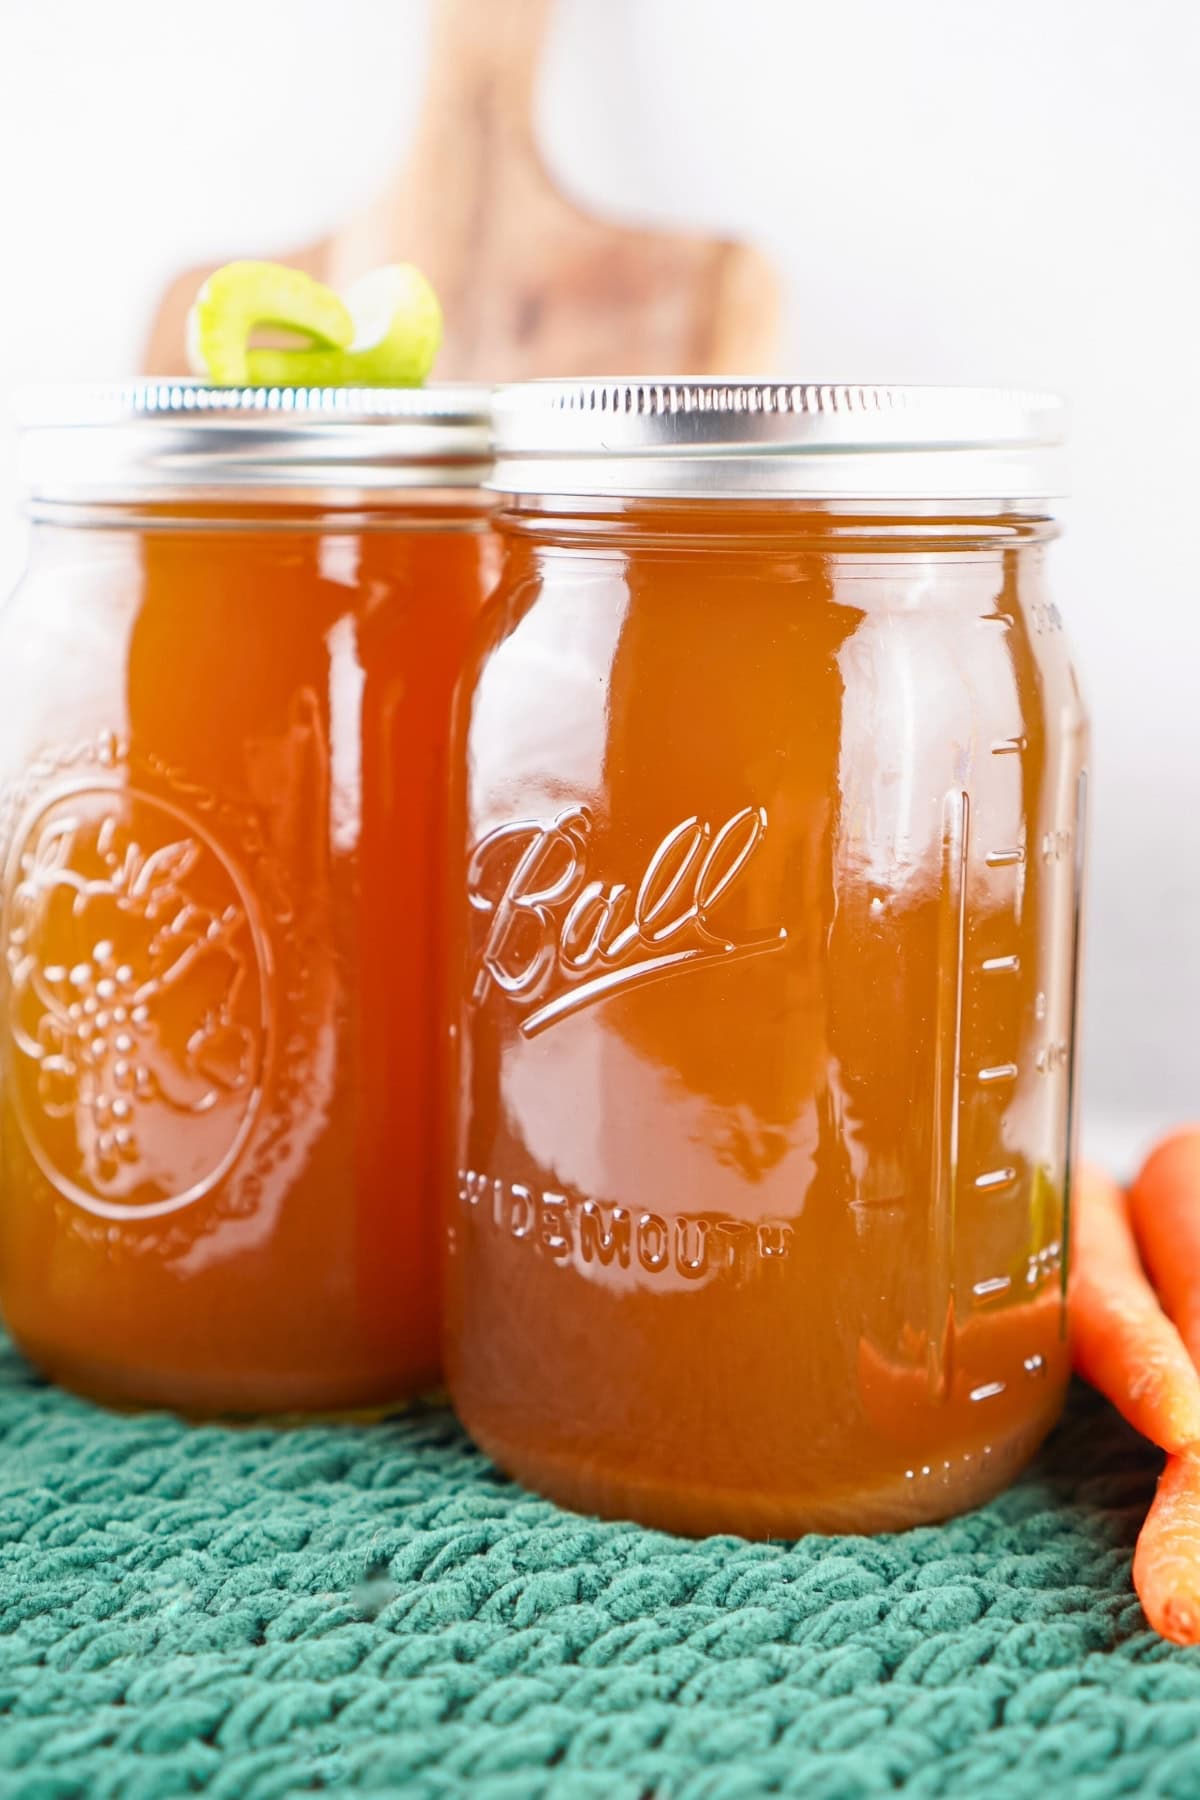
Homemade Vegetable Stock Recipe (Easy & Flavorful!)

Homemade vegetable stock is one of the easiest recipes you can make at home, ready in just about 90 minutes. Throw some veggies, herbs, spices, and water in a pot and let it simmer to perfection—it sure does make the house smell wonderful, too!
Save This Post!
This simple vegetable stock recipe uses whole vegetables with their skins and roots to create layers of flavor and nutrients that store-bought versions can’t match. Plus, you control exactly what goes into your stock, making it perfect for soups, stews, and countless other recipes.
Looking for more foundational recipes to elevate your cooking? Try this slow cooker pot roast for a comforting main dish, or use your homemade stock in crockpot Spanish rice for extra flavor. If you’re in the mood for cozy comfort food, this stock is perfect for making chicken cheese enchiladas.
Reasons You’ll Love This Recipe
- Budget-Friendly: Making your own vegetable stock costs a fraction of store-bought versions, and you can use vegetable scraps you’d normally throw away. It’s a smart way to stretch your grocery budget while getting superior flavor.
- Customizable: Unlike store-bought stock, you have complete control over the ingredients and salt levels. You can adjust the vegetables and herbs based on what you have on hand or tailor it to your specific dietary needs.
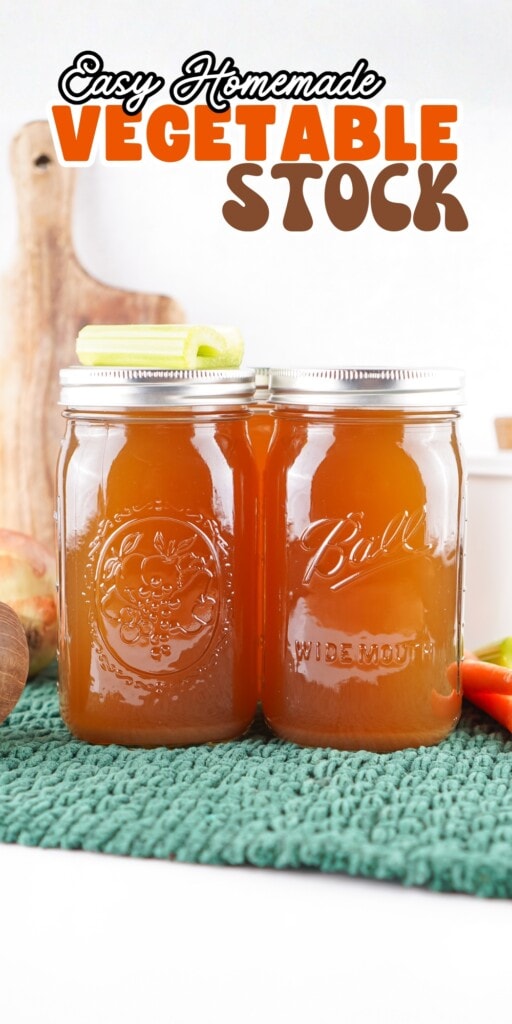
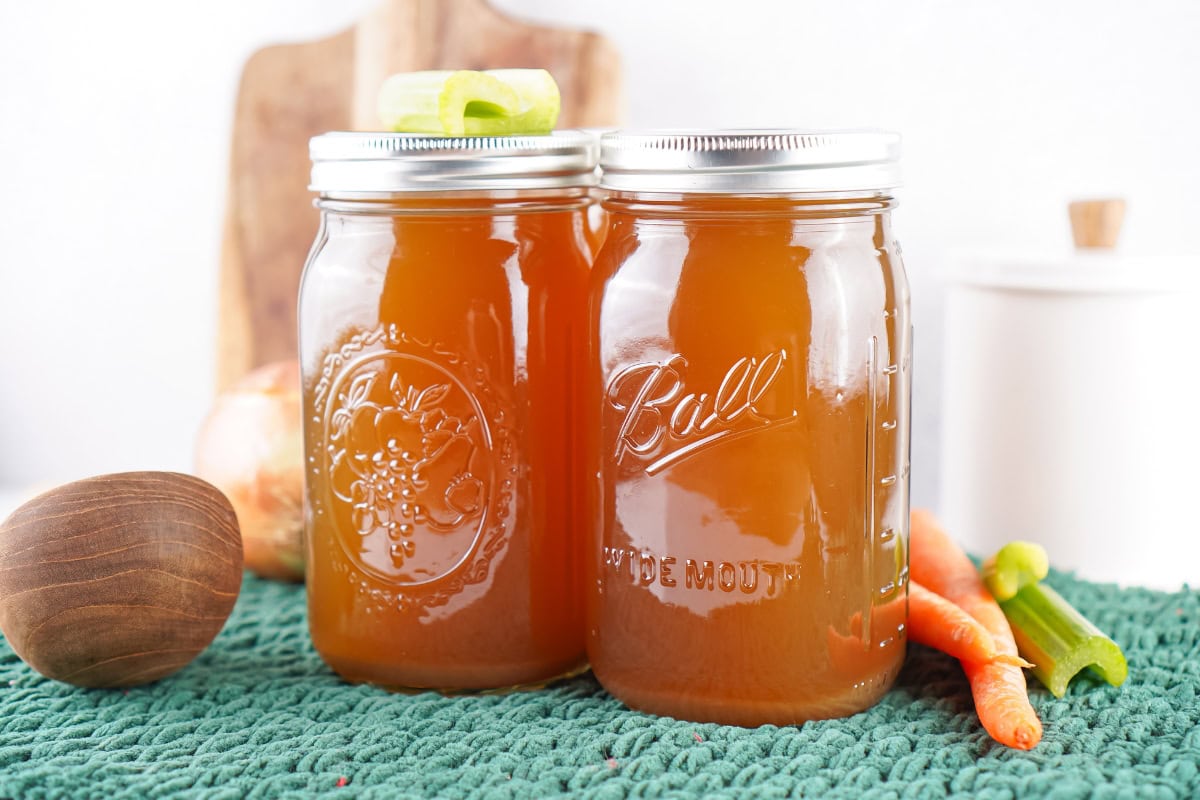
- Stores Beautifully: This homemade stock can be refrigerated for up to 2 months in sealed mason jars or frozen for 3 months. Having homemade stock ready to go makes weeknight cooking so much easier.
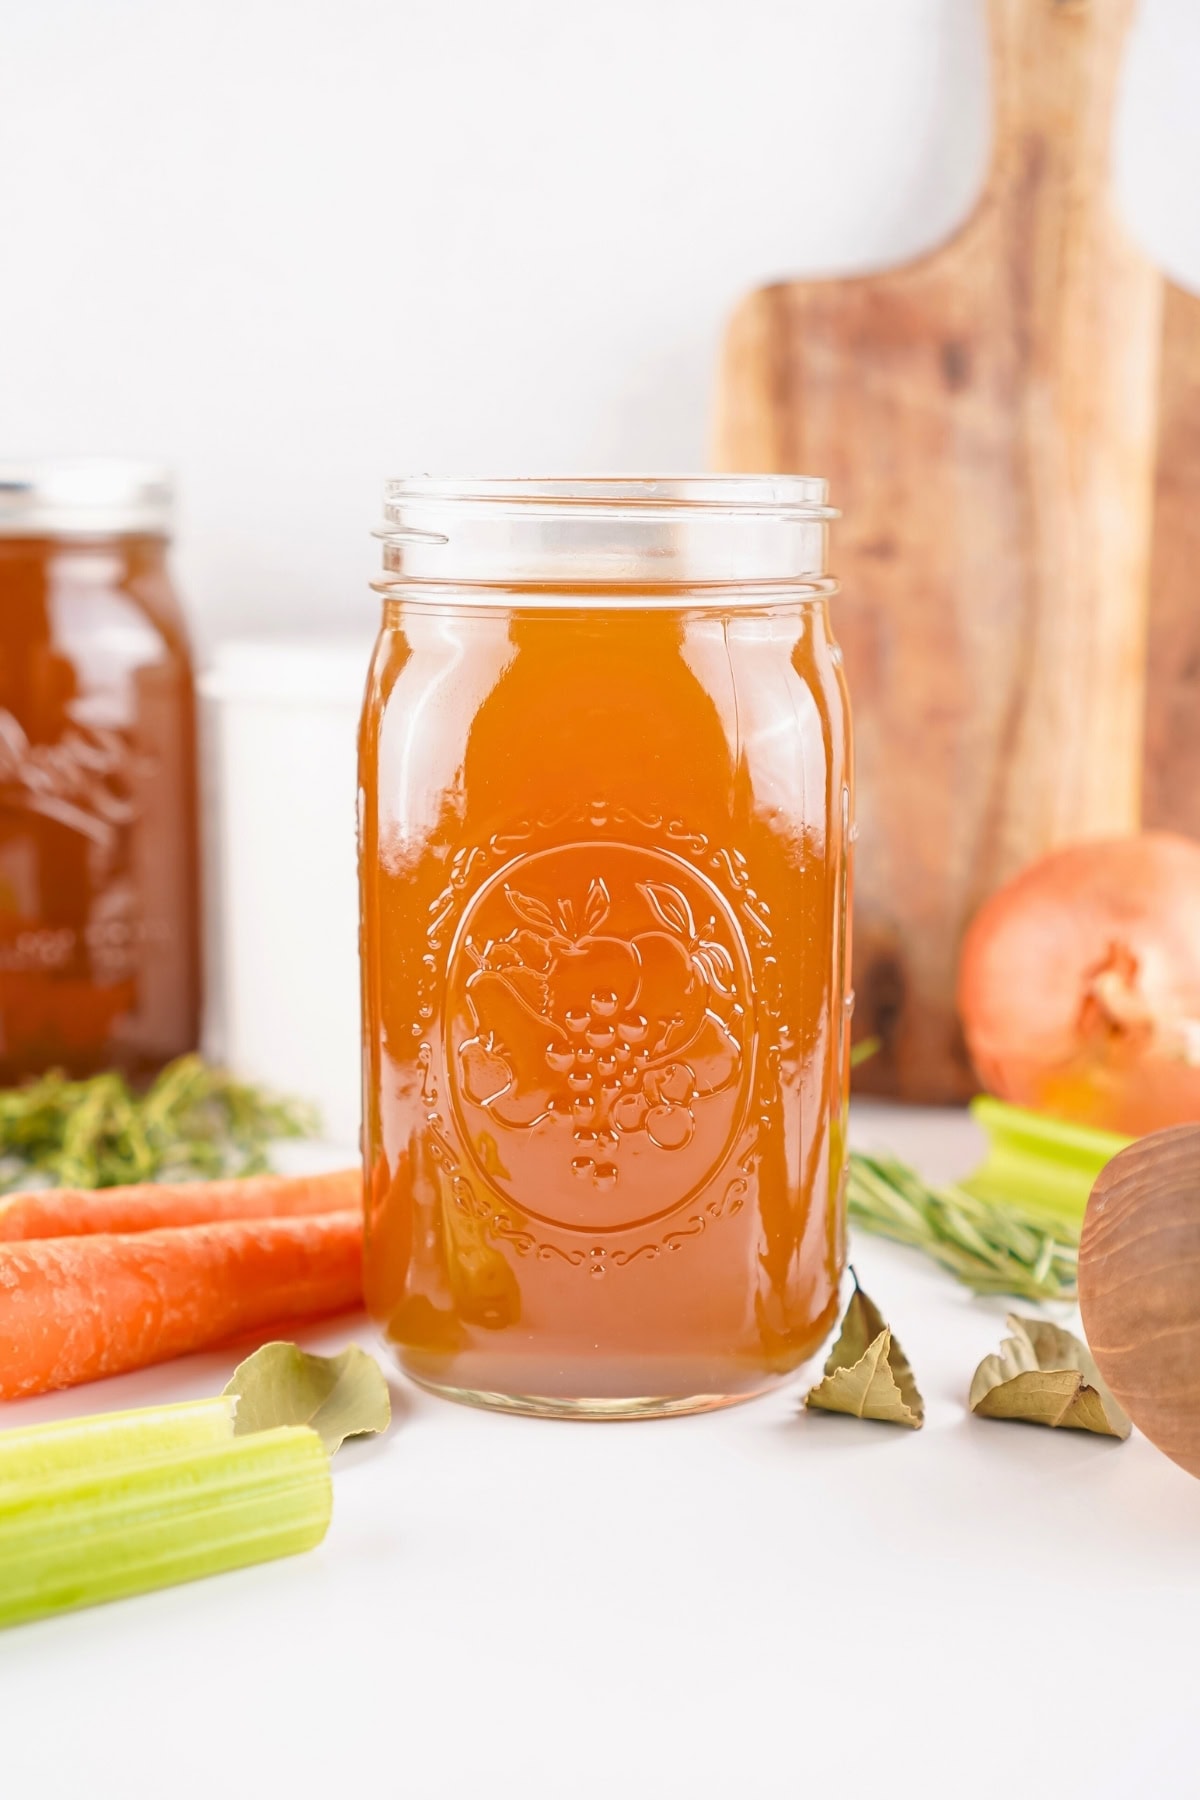
- Rich, Complex Flavor: Using whole vegetables with their skins, roots, and leaves creates a deeply flavorful stock with multiple layers of taste. The long simmering time extracts every bit of goodness from the vegetables and herbs.
Homemade Vegetable Stock Ingredients
See the recipe card below for the full list of ingredients and exact measurements.
- Water – One gallon of water creates the base for your stock. Using filtered water can improve the final flavor, but tap water works just fine for this recipe.
- Celery – A whole head of celery with leaves adds a subtle, earthy flavor and aromatic quality to the stock. Don’t discard those leafy tops—they’re packed with flavor.
- Yellow Onions – Two medium onions provide sweetness and depth. Leaving the skins on adds a beautiful golden color and extra nutrients to your homemade vegetable stock.
- Carrots – Five medium carrots contribute natural sweetness and vibrant color. Keeping the skin and roots on maximizes the nutritional value and flavor extraction.
- Garlic – A whole head of garlic sliced in half releases its aromatic compounds slowly during simmering. No need to peel individual cloves—just slice the entire head width-wise.
- Fresh Thyme – Twelve sprigs of thyme add an earthy, slightly minty note that complements the vegetables beautifully. Fresh herbs make all the difference in homemade stock.
- Fresh Rosemary – Four sprigs of rosemary contribute a pine-like, woodsy flavor. This herb stands up well to long cooking times without becoming bitter.
- Fresh Sage – Three sprigs of sage provide a subtle, peppery note. Sage pairs wonderfully with root vegetables and adds complexity to the final stock.
- Bay Leaves – Five bay leaves release their subtle, floral flavor during the long simmer. These leaves add an essential layer of depth to vegetable stock.
- Whole Peppercorns – Two tablespoons of whole peppercorns provide gentle heat and complexity. Using whole peppercorns instead of ground pepper keeps your stock clear and prevents bitterness.
- Salt – One teaspoon of salt is optional. If you’re making stock for beef enchiladas or other specific recipes, you might want to leave it unsalted to control seasoning later.
Substitutions and Additions
- Mushrooms – Add mushroom stems or whole mushrooms for an umami-rich, earthy flavor that works beautifully in savory dishes.
- Leeks – Substitute or add leeks for onions to create a milder, sweeter flavor profile in your stock.
- Parsnips – Include parsnips for additional sweetness and a slightly nutty taste that complements the carrots.
- Tomatoes – Add quartered tomatoes for a deeper color and slightly acidic note that brightens the overall flavor.
- Fennel – Include fennel bulbs and fronds for a subtle anise flavor that adds complexity.
- Kombu – Add a strip of kombu (dried seaweed) for extra umami and minerals, especially if you’re making stock for Asian-inspired dishes.
How to Make Homemade Vegetable Stock (step-by-step directions)
STEP 1. Start by washing all your vegetables thoroughly to remove any dirt or debris. Cut the celery head into 3-inch pieces from the roots to the leaves, then add them to your large stock pot. Quarter the carrots and onions—leave all roots and skin on the carrots, but remove just the onion roots. Add these vegetables to the pot along with your prepared celery.
STEP 2. Slice the head of garlic in half width-wise so all the cloves are exposed, then add both halves to the stock pot without peeling. Add all the fresh herbs—thyme, rosemary, and sage—along with the bay leaves and whole peppercorns to the pot. If you’re adding salt, include it now, though leaving it out gives you more flexibility when using the stock later.
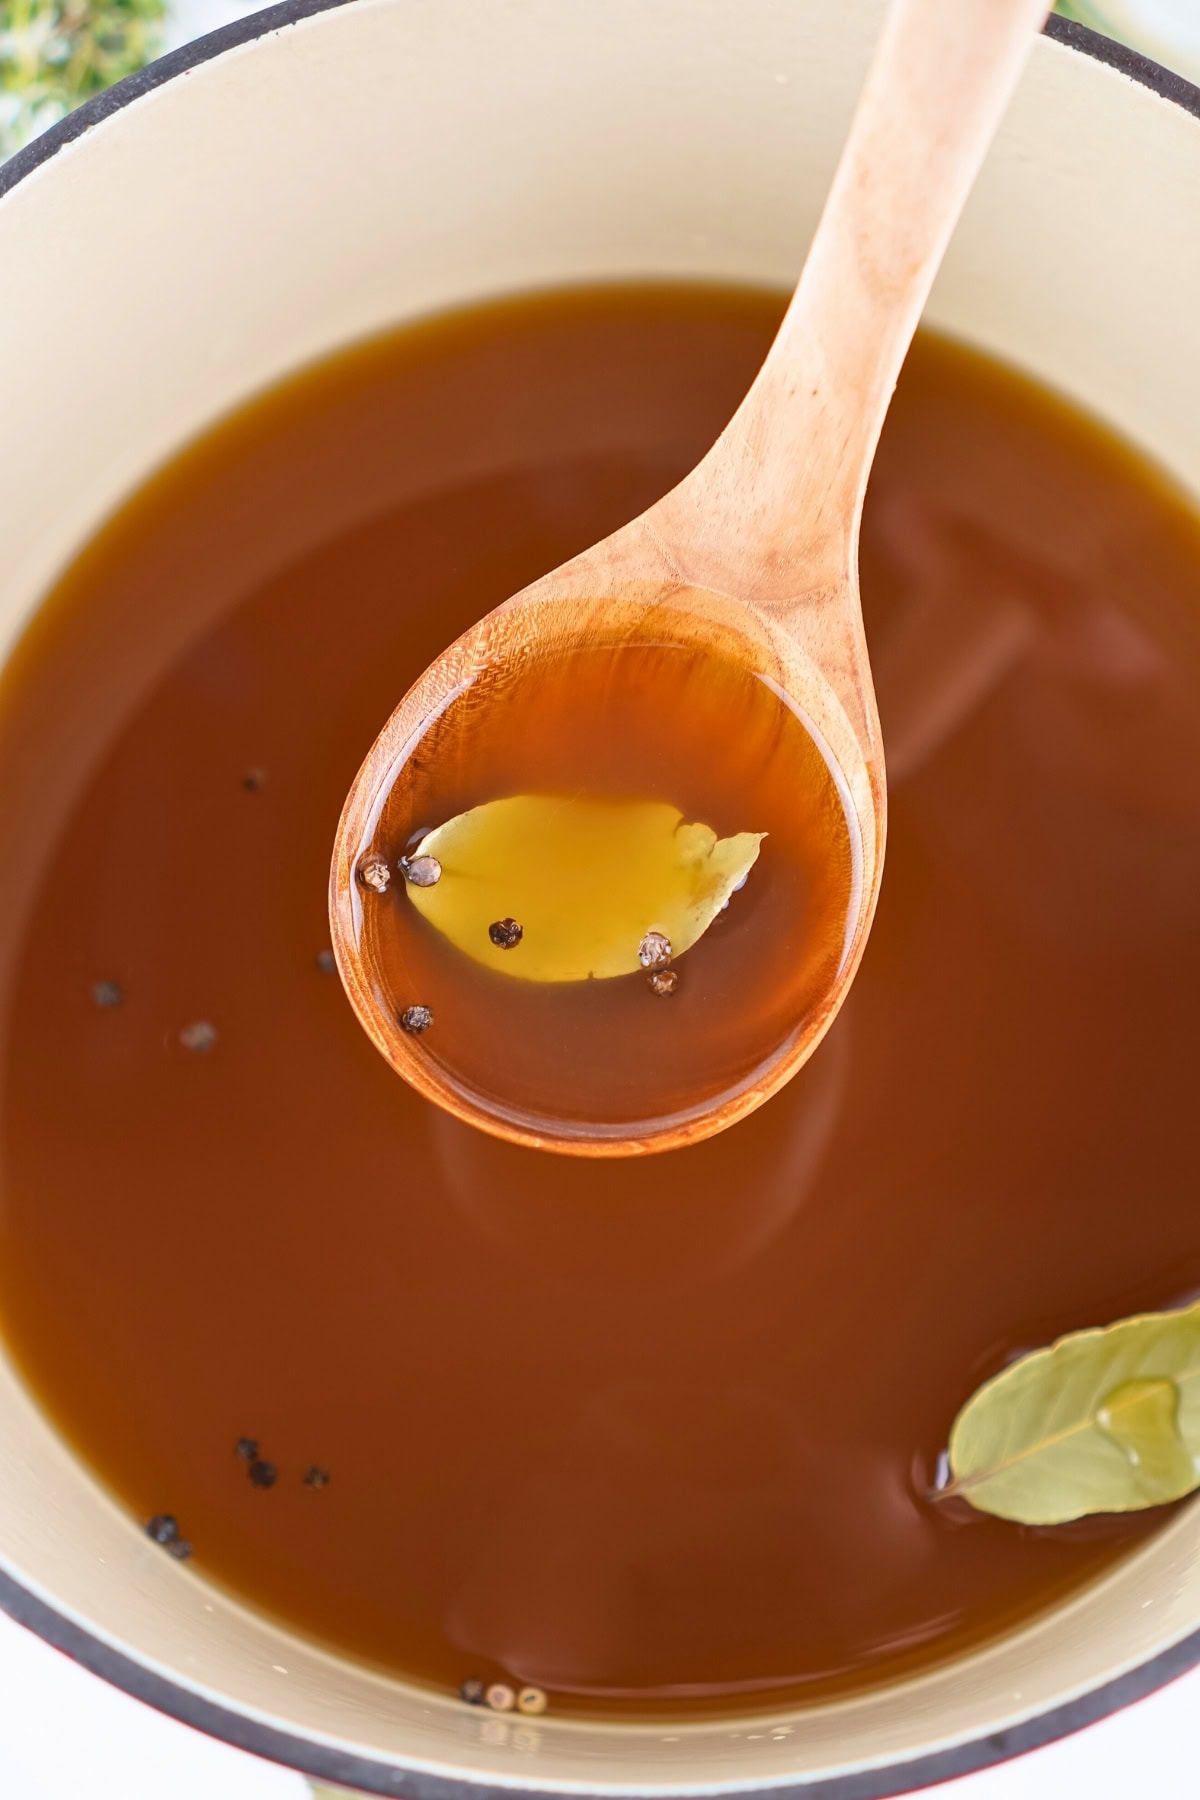
STEP 3. Pour the entire gallon of water over the vegetables and herbs in the pot. Bring the mixture to a boil over high heat, then reduce to low or medium-low and let it simmer for 1 hour. The slow simmer extracts all the wonderful flavors from the vegetables without making the stock cloudy.
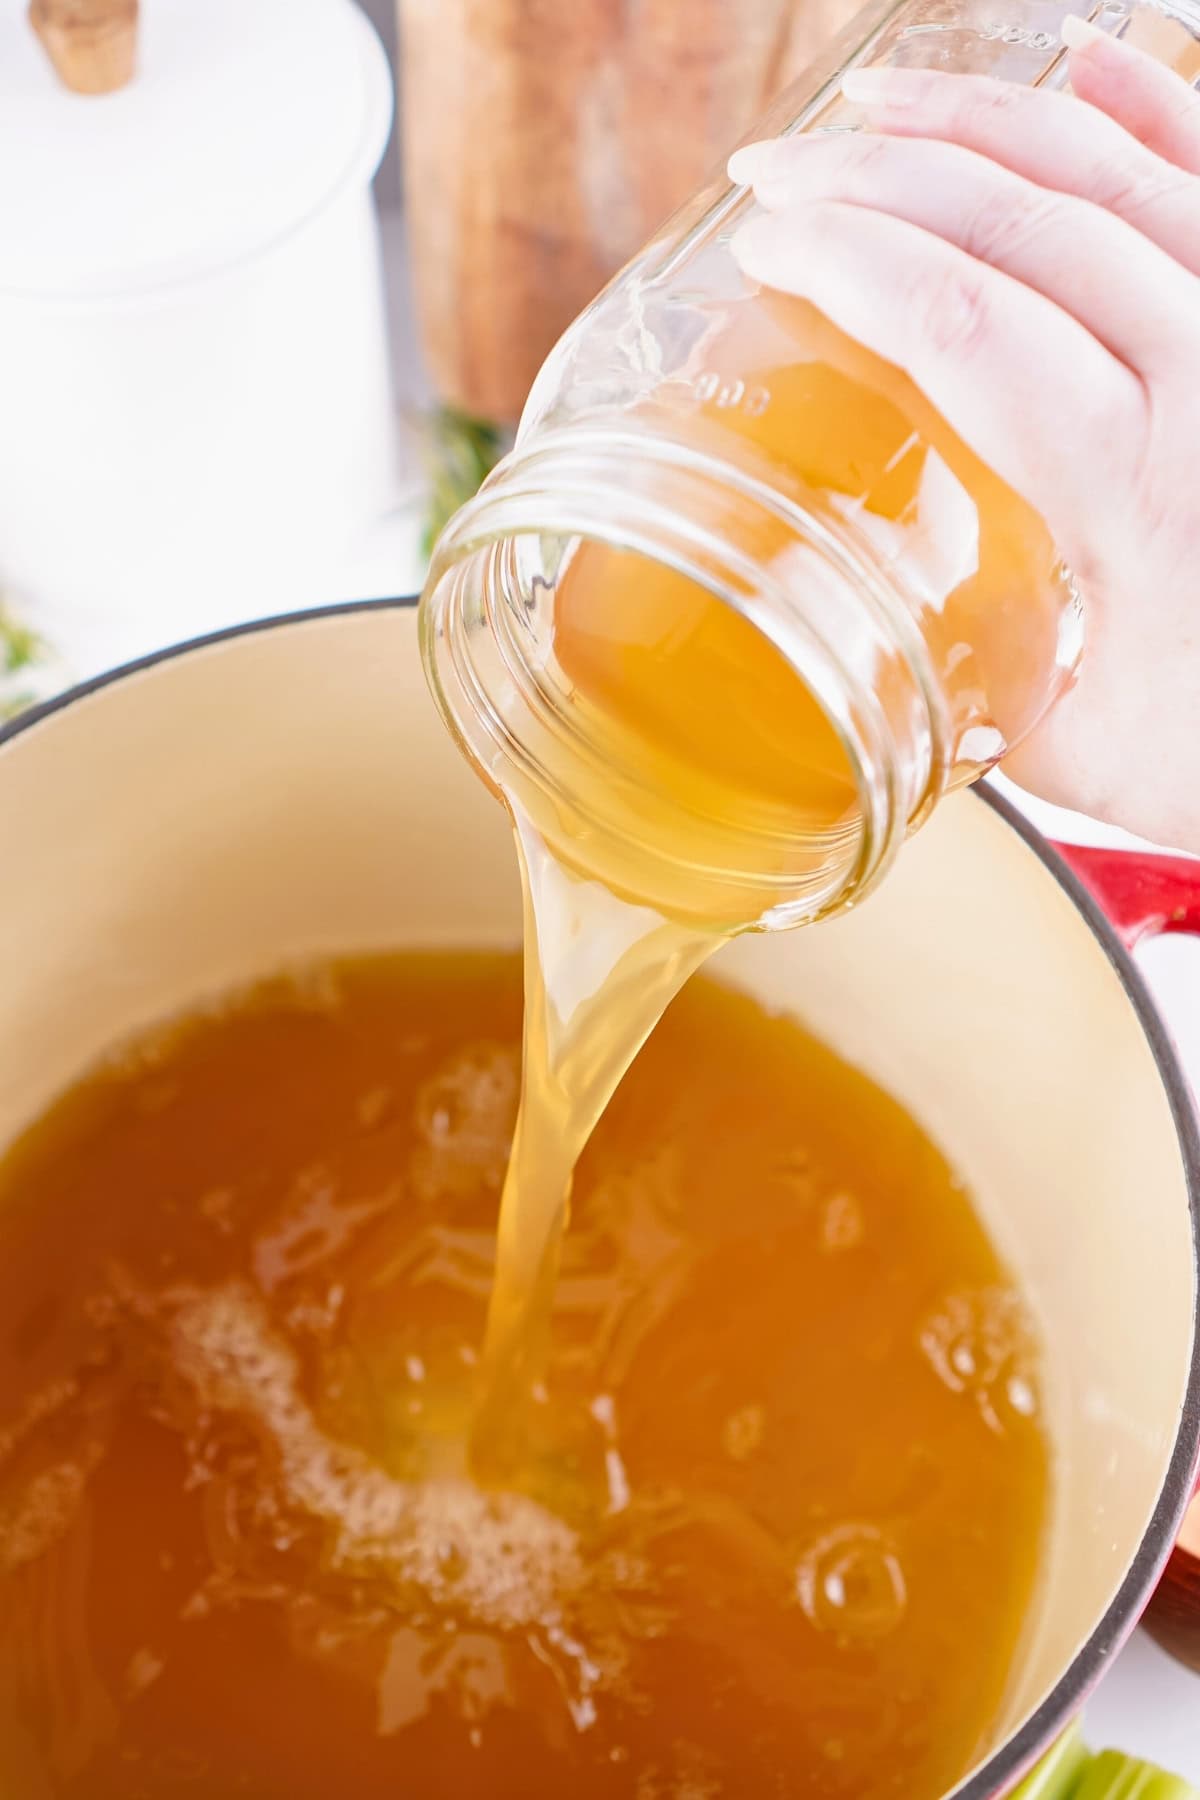
STEP 4. After an hour of simmering, remove the large vegetable pieces with tongs or a slotted spoon before straining. Set up a mesh strainer over a large bowl or another pot, then carefully pour the remaining stock through to catch any small bits. This double-straining process ensures a clear, beautiful stock.
STEP 5. Carefully fill your mason jars with the hot stock and seal them with lids immediately while the liquid is still hot. Let the jars rest on the counter for about 2 hours until they reach room temperature. Once cooled, retighten the lids and store them in the refrigerator.
Recipe Tips
- Use vegetable scraps – Save vegetable scraps like onion peels, carrot tops, celery leaves, and herb stems in a freezer bag. When you have enough scraps, make a batch of stock to reduce waste and save money.
- Don’t skip the resting time – Letting the hot stock cool completely before refrigerating prevents condensation and helps the jars seal properly. This step is crucial for the 2-month storage life.
- Avoid bitter vegetables – Skip cruciferous vegetables like broccoli, cabbage, and Brussels sprouts as they can make your stock taste bitter and overpowering during the long simmer.
- Size matters – Cutting vegetables into larger pieces (3 inches) prevents them from breaking down too much and making the stock cloudy. Larger pieces also make straining easier.
- Taste before storing – Once your stock is done, taste it to check the seasoning. If you didn’t add salt during cooking, you can add it now if you know what you’ll be using the stock for.
Storing Tips
- Storage: Keep your sealed mason jars of homemade vegetable stock in the refrigerator where they’ll stay fresh and flavorful.
- Refrigerator: Store your vegetable stock in airtight mason jars or containers in the fridge for up to 2 months. If you open or unseal a jar, make sure to use that stock within the next two weeks for best quality.
- Freezing: You can freeze leftover stock in airtight containers or even ice cube trays for up to 3 months. Freezing in ice cube trays makes it easy to add small amounts to recipes like this paprika chicken when you just need a flavor boost.
- Reheating: To use refrigerated stock, simply pour the amount you need into a pot and warm it on the stove over medium heat until heated through. Frozen stock can be thawed overnight in the fridge or added directly to hot dishes.
Serving Suggestions
Your homemade vegetable stock is the perfect base for countless recipes. Use it to make baked ziti with Alfredo sauce for a creamy, flavorful pasta dish, or simmer it with vegetables for a simple soup.
This stock also works beautifully in sheet pan quesadillas if you want to add it to the beans for extra flavor. For a quick and easy meal, use it in homemade hot pockets or to steam vegetables for a healthy side dish.
Recipe FAQs
Yes, you can make vegetable stock without celery, though it will change the flavor profile slightly. Consider adding extra onions or leeks to maintain the aromatic base, or include fennel for a different but equally delicious flavor.
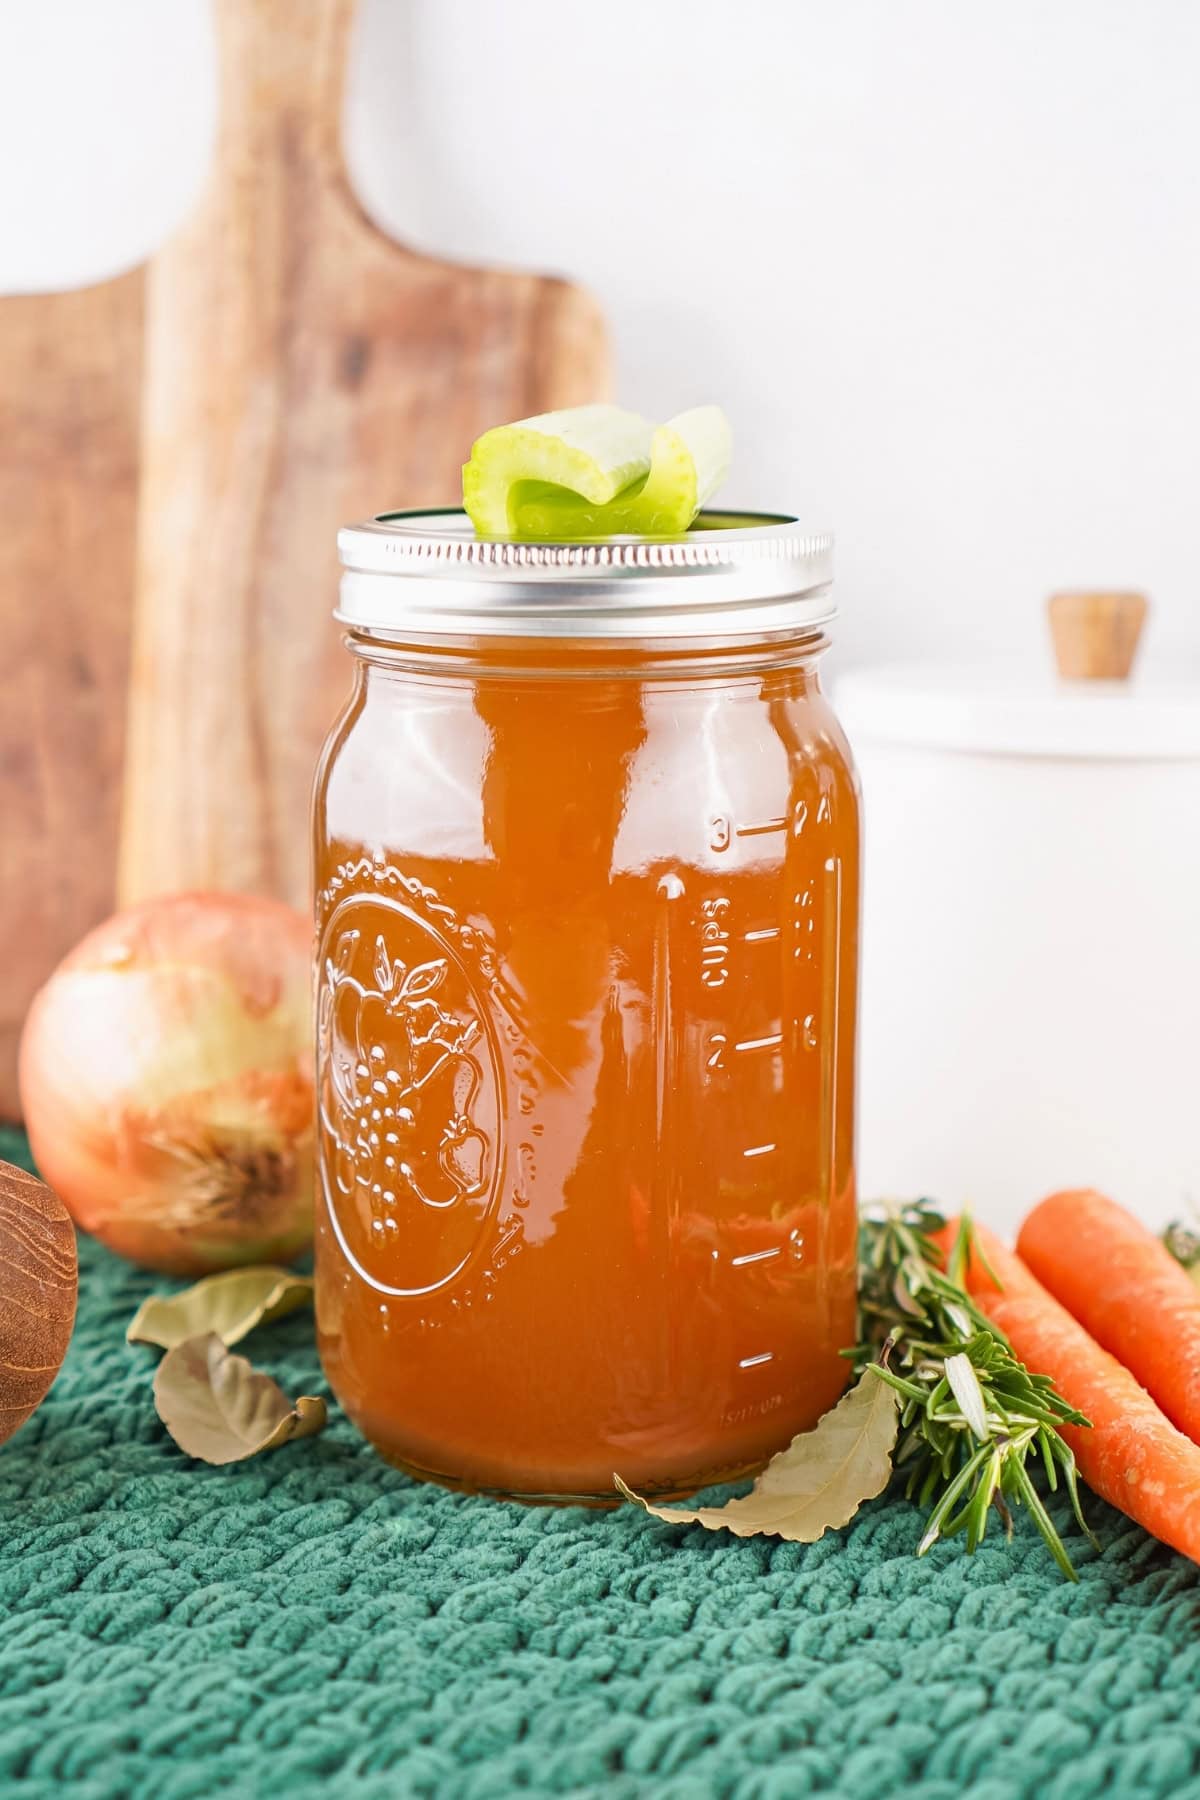
Your vegetable stock is done when it has a rich color and deep vegetable flavor after simmering for about an hour. The vegetables should look faded and limp, indicating they’ve given up most of their flavor to the liquid.
Need More Cooking Basic Recipes? Try These:
Homemade vegetable stock
Ingredients
- 1 Gallon Water
- 1 Head Celery
- 2 Medium Yellow Onions
- 5 Medium Carrots
- 1 Head Garlic
- 12 Sprigs Thyme
- 4 Sprigs Rosemary
- 3 Sprigs Sage
- 5 Bay Leaves
- 2 Tablespoons Whole Peppercorns
- 1 Teaspoon Salt optional
Instructions
- Start by washing all your vegetables thoroughly to remove any dirt or debris. Cut the celery head into 3-inch pieces from the roots to the leaves, then add them to your large stock pot. Quarter the carrots and onions—leave all roots and skin on the carrots, but remove just the onion roots. Add these vegetables to the pot along with your prepared celery.
- Slice the head of garlic in half width-wise so all the cloves are exposed, then add both halves to the stock pot without peeling. Add all the fresh herbs—thyme, rosemary, and sage—along with the bay leaves and whole peppercorns to the pot. If you’re adding salt, include it now, though leaving it out gives you more flexibility when using the stock later.
- Pour the entire gallon of water over the vegetables and herbs in the pot. Bring the mixture to a boil over high heat, then reduce to low or medium-low and let it simmer for 1 hour. The slow simmer extracts all the wonderful flavors from the vegetables without making the stock cloudy.
- After an hour of simmering, remove the large vegetable pieces with tongs or a slotted spoon before straining. Set up a mesh strainer over a large bowl or another pot, then carefully pour the remaining stock through to catch any small bits. This double-straining process ensures a clear, beautiful stock.
- Carefully fill your mason jars with the hot stock and seal them with lids immediately while the liquid is still hot. Let the jars rest on the counter for about 2 hours until they reach room temperature. Once cooled, retighten the lids and store them in the refrigerator.
Notes
- Use vegetable scraps – Save vegetable scraps like onion peels, carrot tops, celery leaves, and herb stems in a freezer bag. When you have enough scraps, make a batch of stock to reduce waste and save money.
- Don’t skip the resting time – Letting the hot stock cool completely before refrigerating prevents condensation and helps the jars seal properly. This step is crucial for the 2-month storage life.
- Avoid bitter vegetables – Skip cruciferous vegetables like broccoli, cabbage, and Brussels sprouts as they can make your stock taste bitter and overpowering during the long simmer.
- Size matters – Cutting vegetables into larger pieces (3 inches) prevents them from breaking down too much and making the stock cloudy. Larger pieces also make straining easier.
- Taste before storing – Once your stock is done, taste it to check the seasoning. If you didn’t add salt during cooking, you can add it now if you know what you’ll be using the stock for.
Nutrition Information
Hungry for more?
Follow me on Pinterest and make sure to comment below!