Peanut Butter Rice Krispies Treats

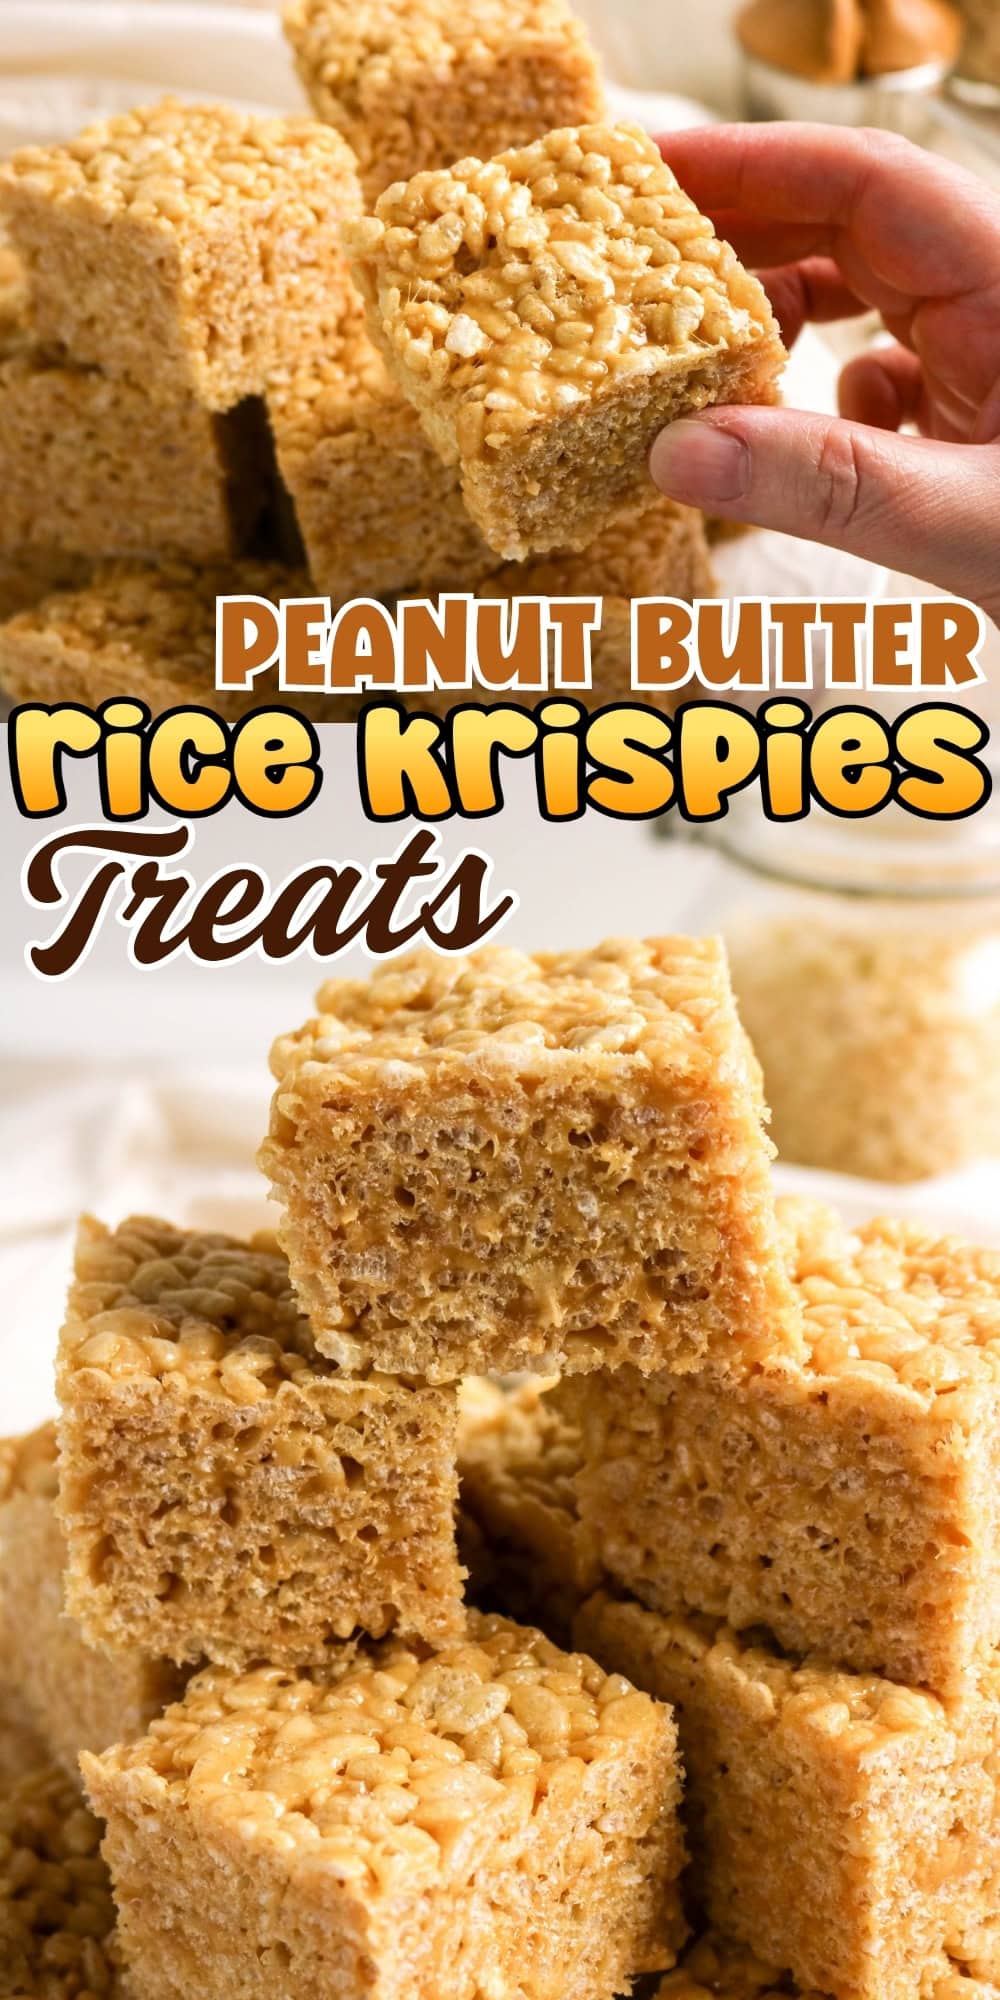
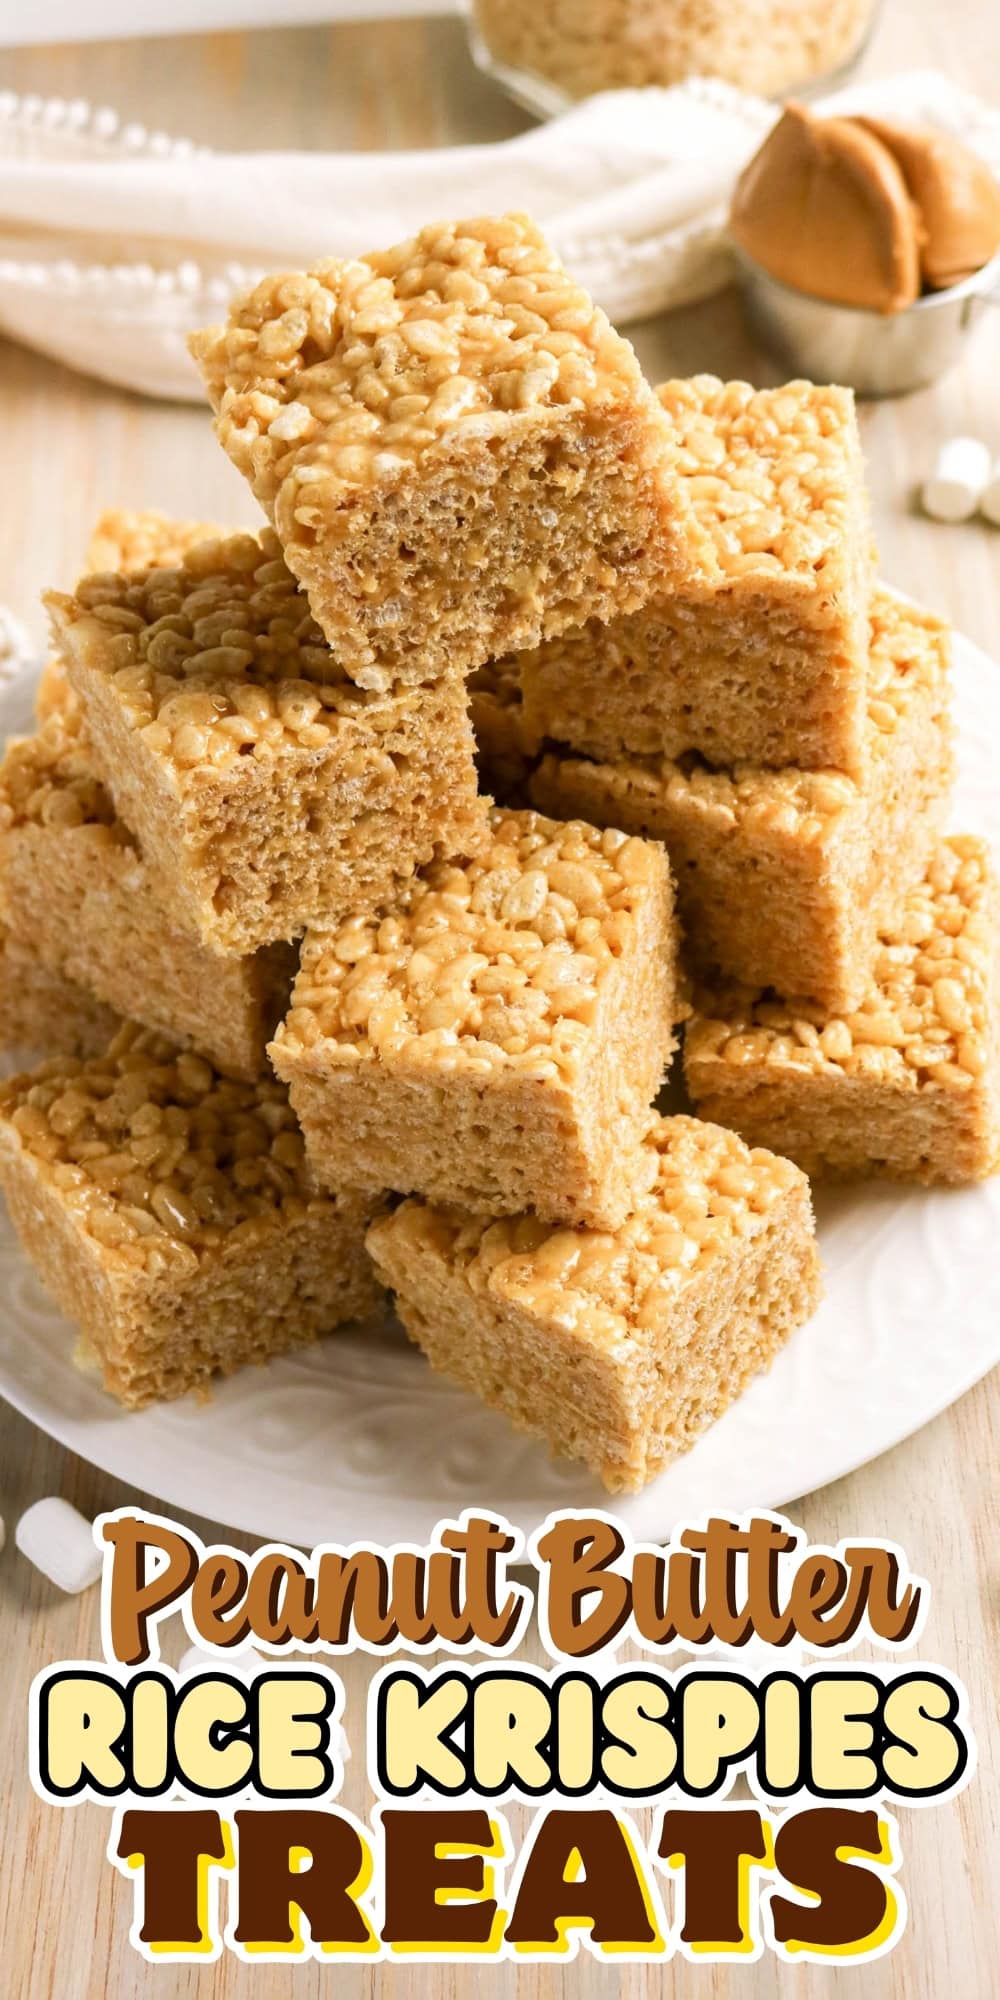
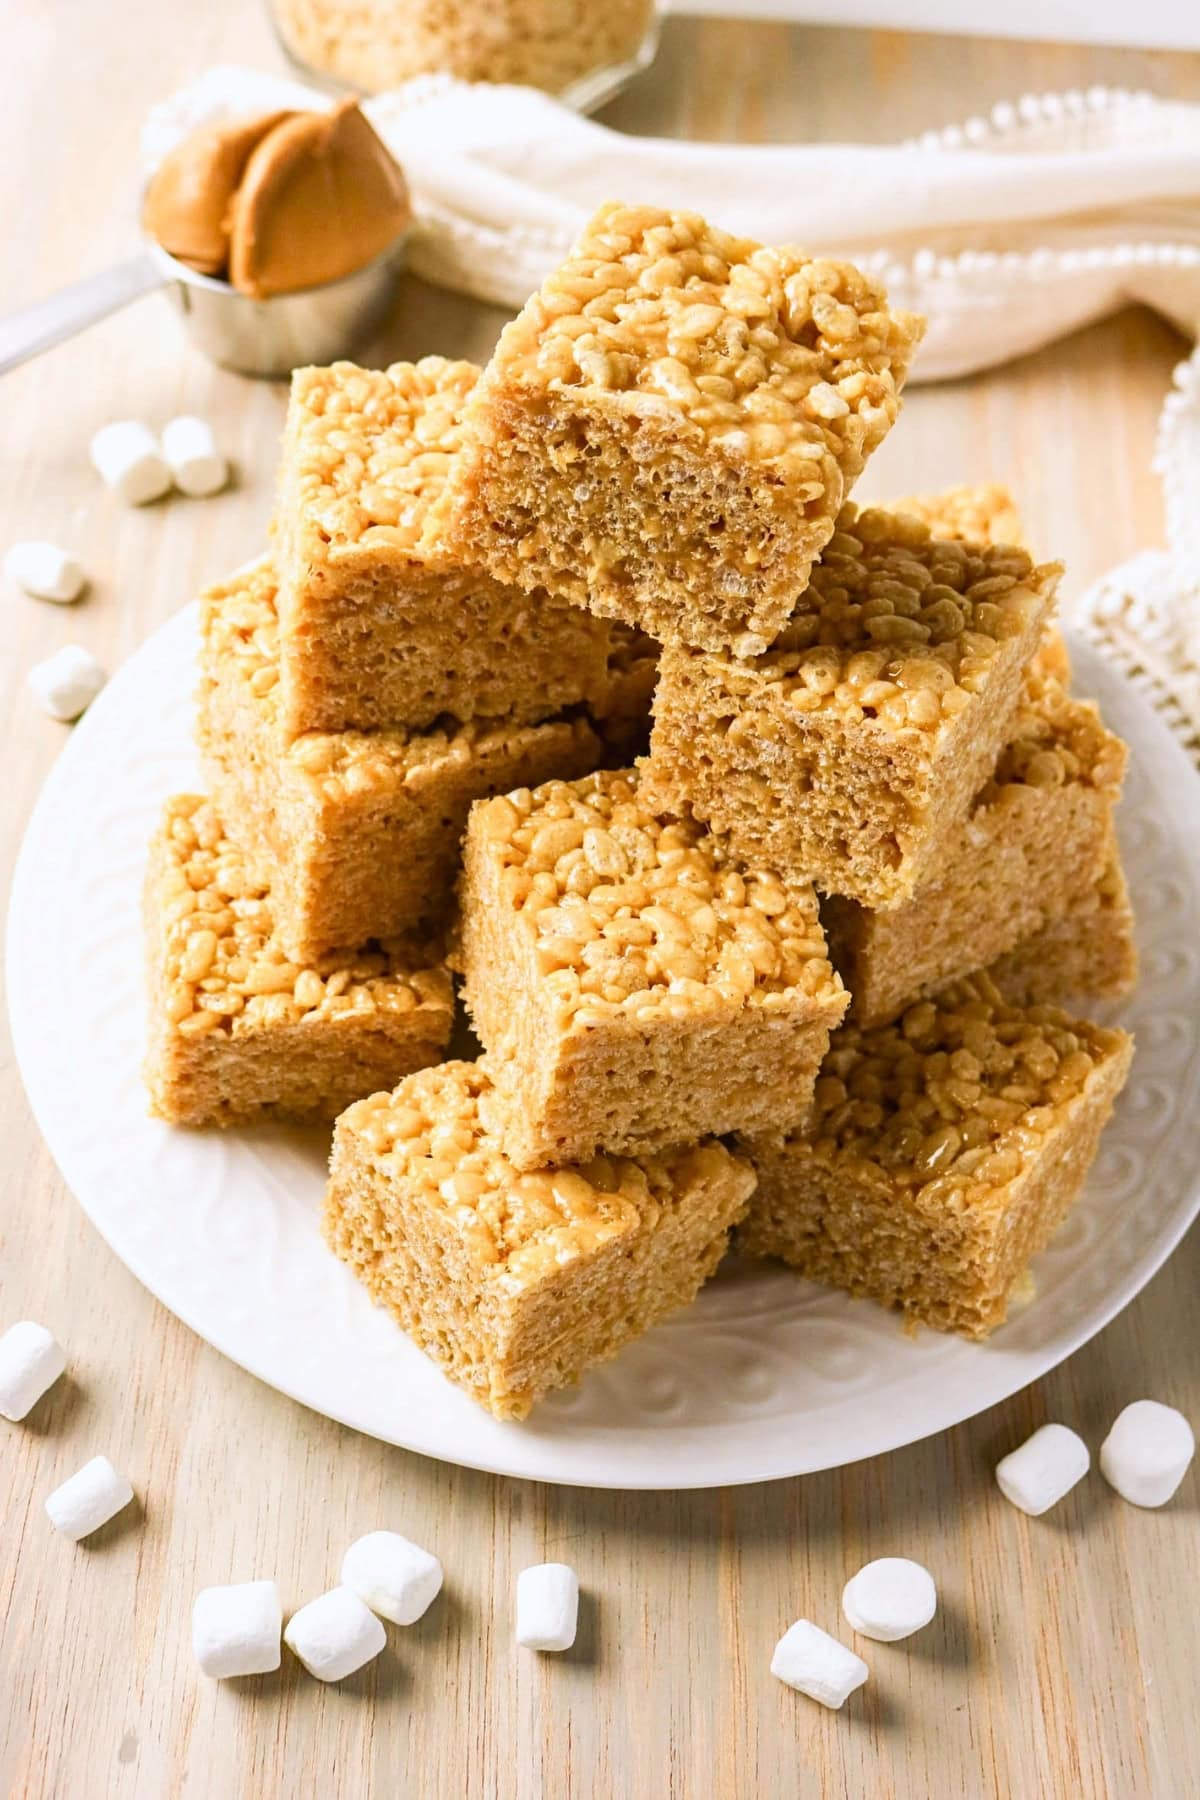
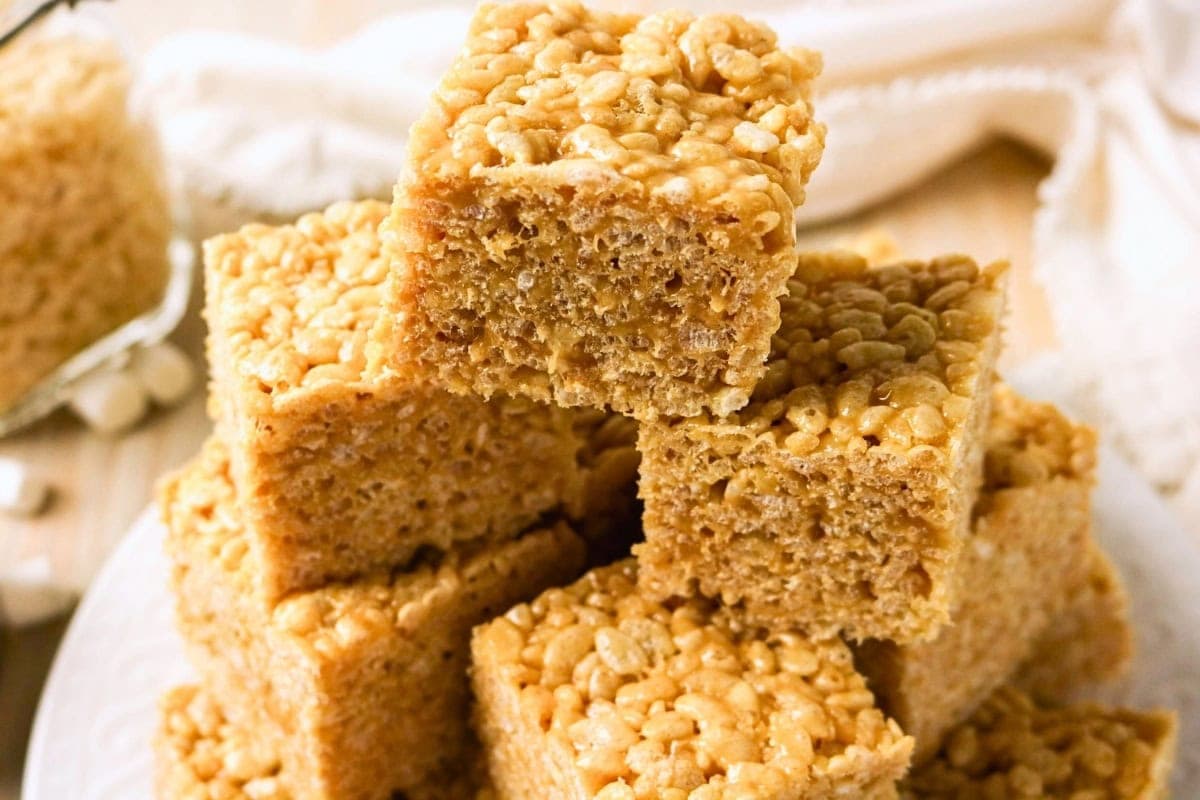
Peanut Butter Rice Krispies Treats take the classic crispy, chewy marshmallow treat and give it plenty of creamy peanut butter flavor. These no-bake bars take just 15 minutes to prepare, making them an easy choice for parties, lunchboxes, or an afternoon treat.
Save This Post!
Best Peanut Butter Rice Krispies Treats Recipe You’ll Ever Make
I use plenty of marshmallows because I want the finished bars chewy and gooey, not dry or overly crisp. Melting everything over low heat also keeps the peanut butter and marshmallow mixture smooth without overheating it.
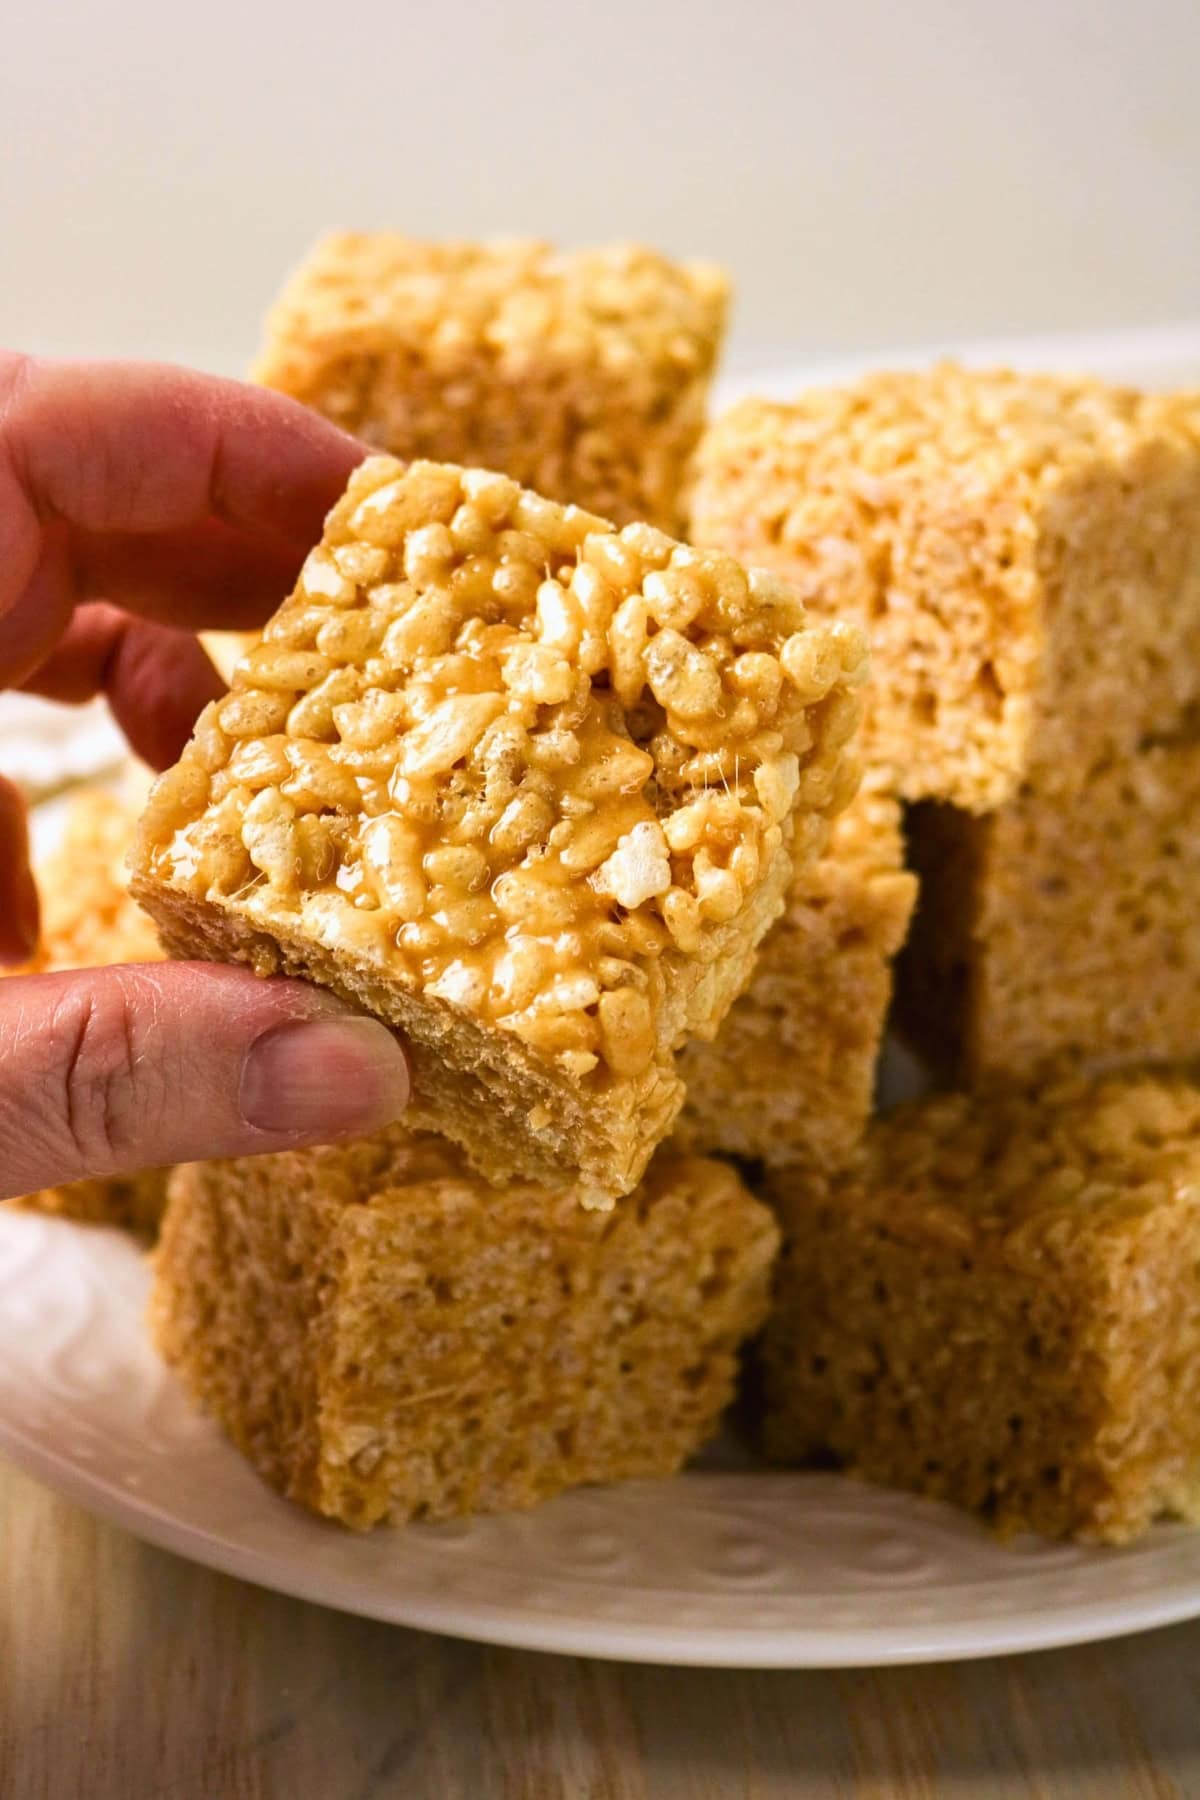
Once the cereal goes in, I fold it gently and press it lightly into the pan. Packing the mixture too firmly can give you dense, hard bars instead of that classic crispy and chewy texture.
If Rice Krispies treats always disappear quickly at your house, try my Under the Sea Rice Krispie Treats for a fun themed version. My classic single-serving Rice Krispie Treats Recipe is always worth keeping handy, while Neapolitan Rice Krispies Treats combine strawberry, chocolate, and vanilla flavors in one colorful dessert.
Rice Krispies Peanut Butter Treats Ingredients
See the recipe card below for the full list of ingredients and exact measurements.
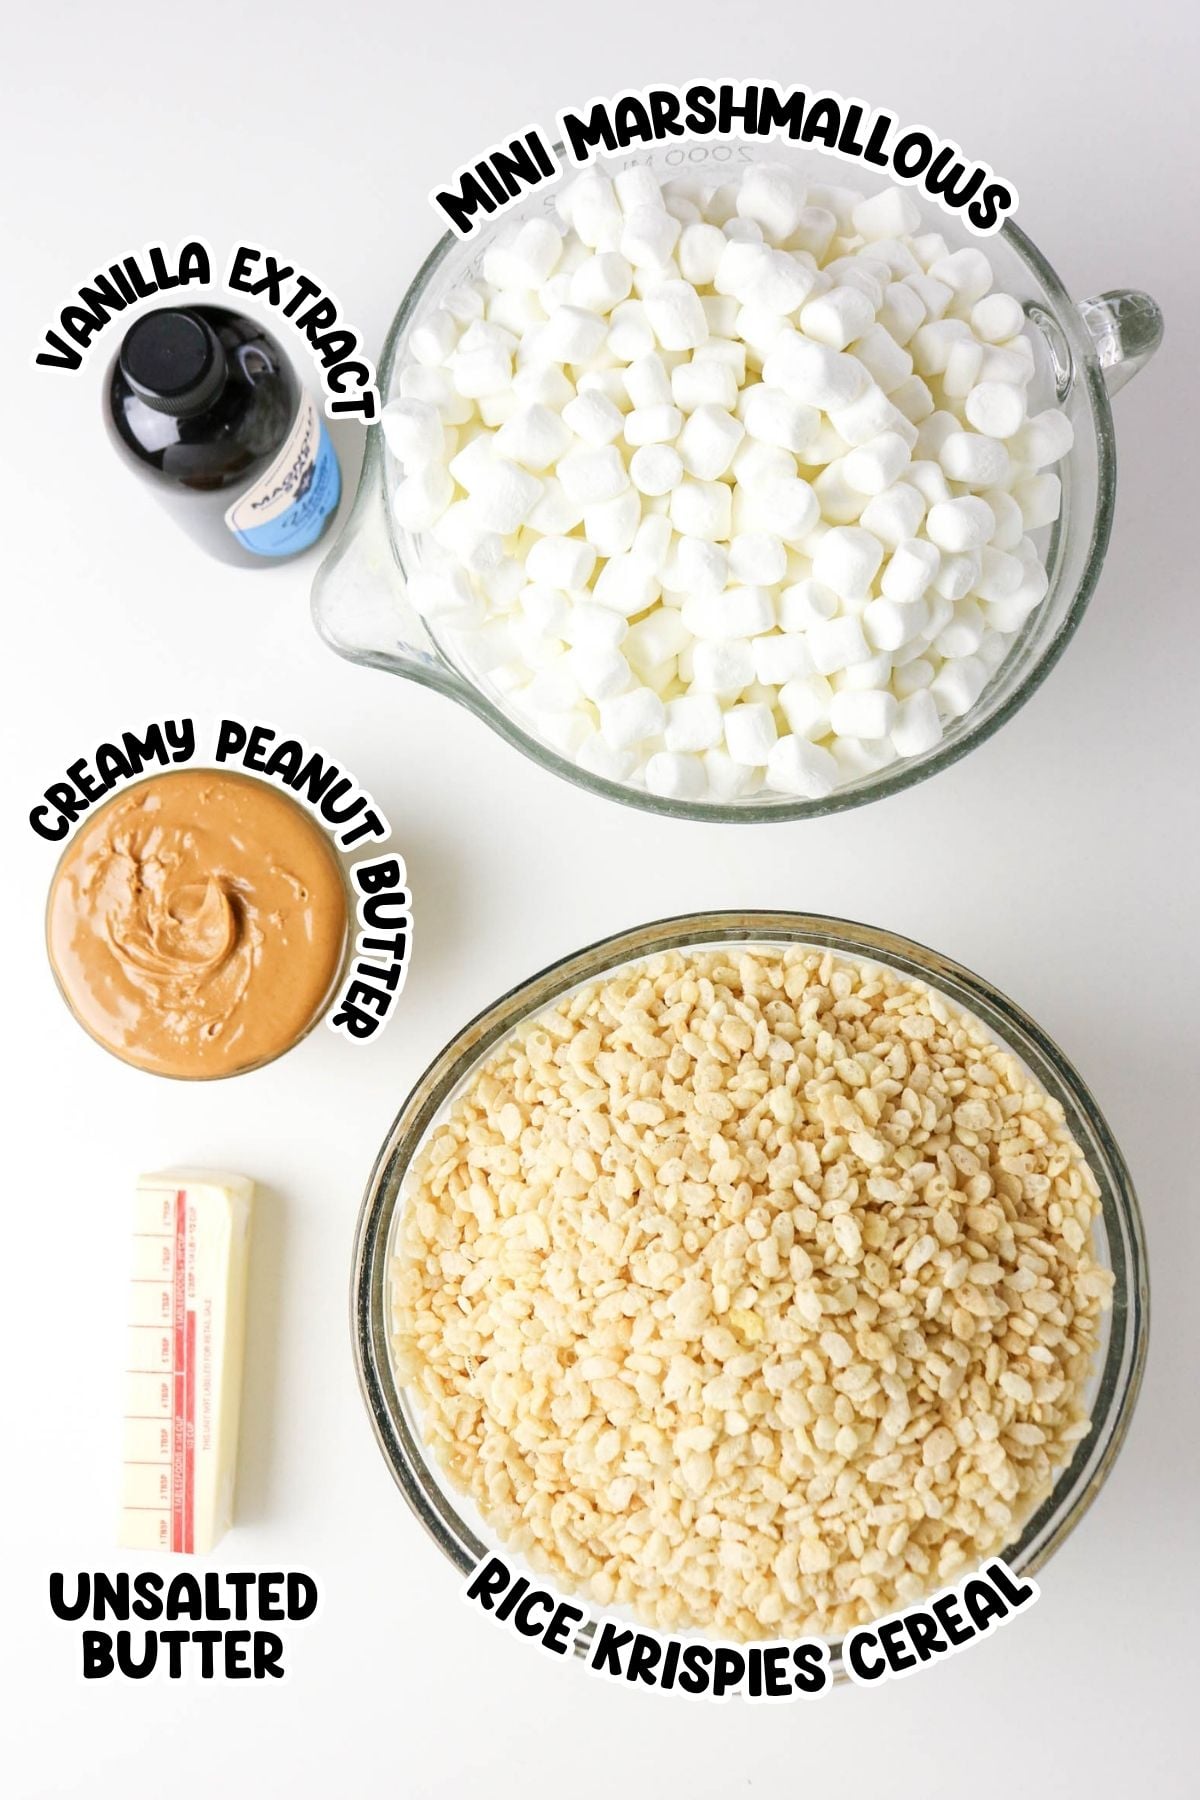
- Unsalted Butter: Butter gives the marshmallow mixture a rich flavor and helps keep the bars soft.
- Creamy Peanut Butter: Stick with regular creamy peanut butter for the smoothest mixture and consistent results.
- Vanilla Extract: A little vanilla rounds out the peanut butter flavor and adds extra sweetness.
- Mini Marshmallows: Mini marshmallows melt quickly and give the bars their soft, gooey texture.
- Rice Krispies Cereal: The crisp cereal gives these treats their signature crunch and keeps them light.
Substitutions and Variations
- Add Chocolate Chips: Fold mini chocolate chips into the cereal mixture once it has cooled slightly for a chocolate-peanut butter version.
- Drizzle With Chocolate: Finish the cooled bars with melted milk or semi-sweet chocolate for an easy topping.
- Try Crunchy Peanut Butter: Use crunchy peanut butter if you want little pieces of peanuts throughout the bars.
- Add Sprinkles: Top the bars with colorful sprinkles before they set for holidays, birthdays, or parties.
How to Make Peanut Butter Rice Krispies Treats(Step-by-Step Directions)
STEP 1: Line a 9×13-inch baking dish with parchment paper or lightly grease the bottom and sides.
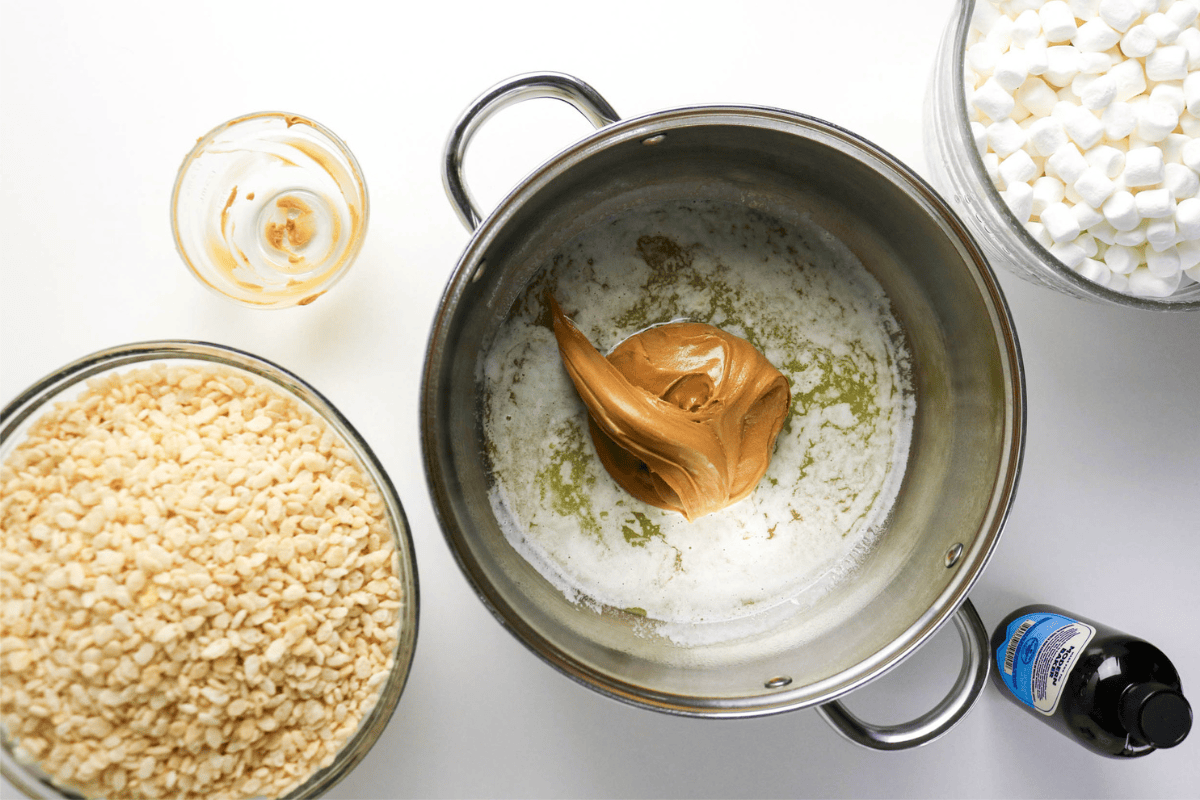
STEP 2: Melt the butter in a large pot over low heat. Add the peanut butter and stir until completely smooth.
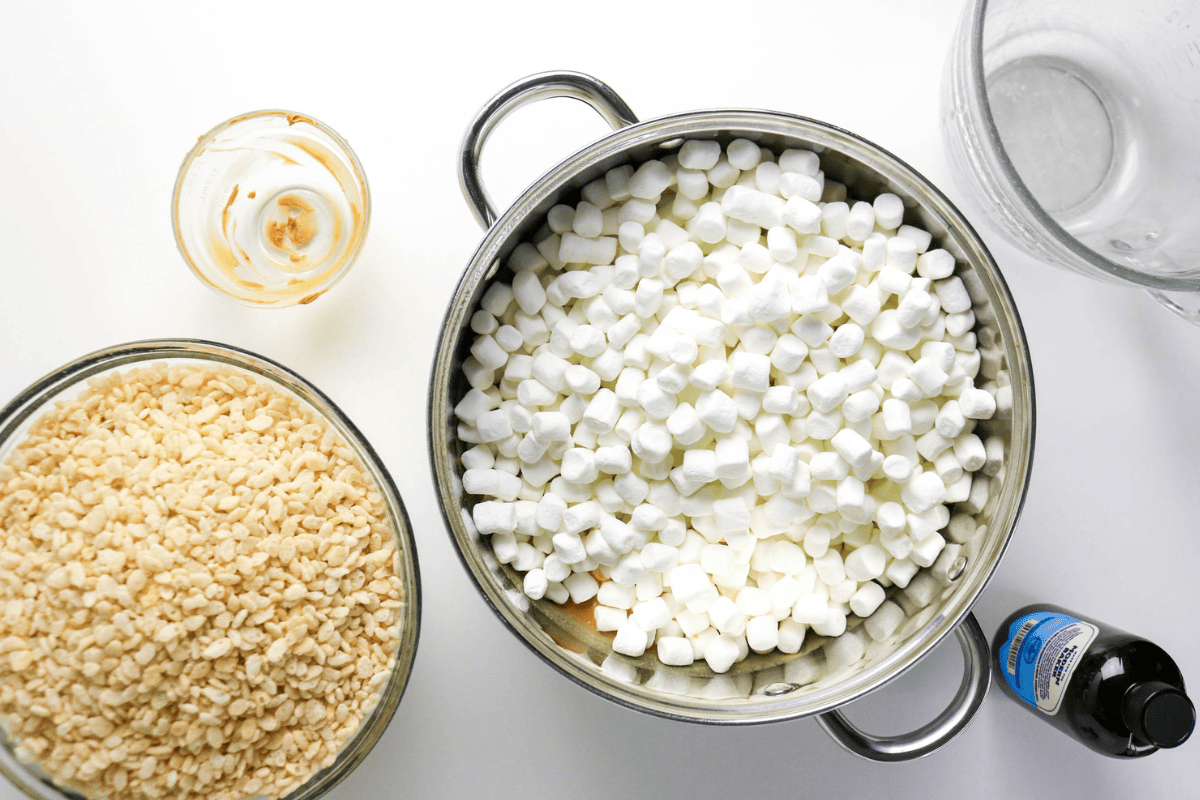
STEP 3: Add the mini marshmallows and continue stirring over low heat until they’re completely melted.
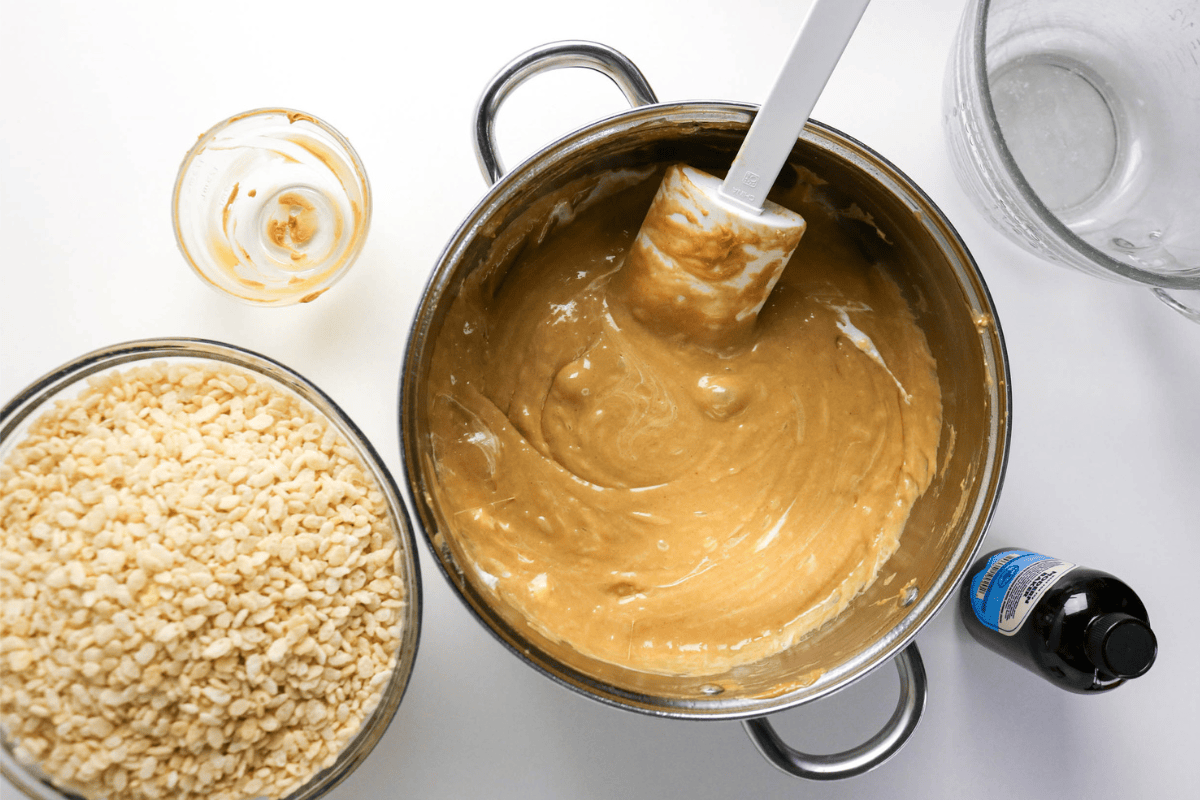
STEP 4: Remove the pot from the heat and stir in the vanilla extract.
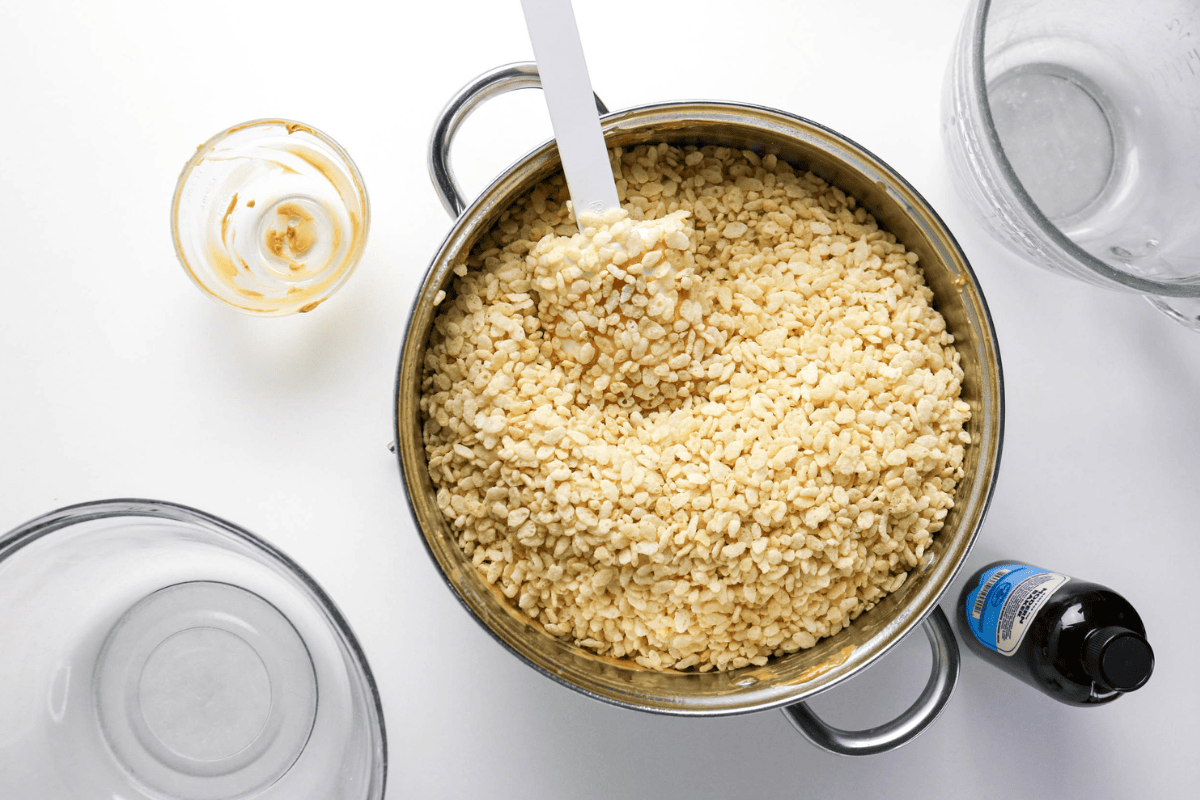
STEP 5: Add the Rice Krispies cereal and gently fold until all the cereal is evenly coated.
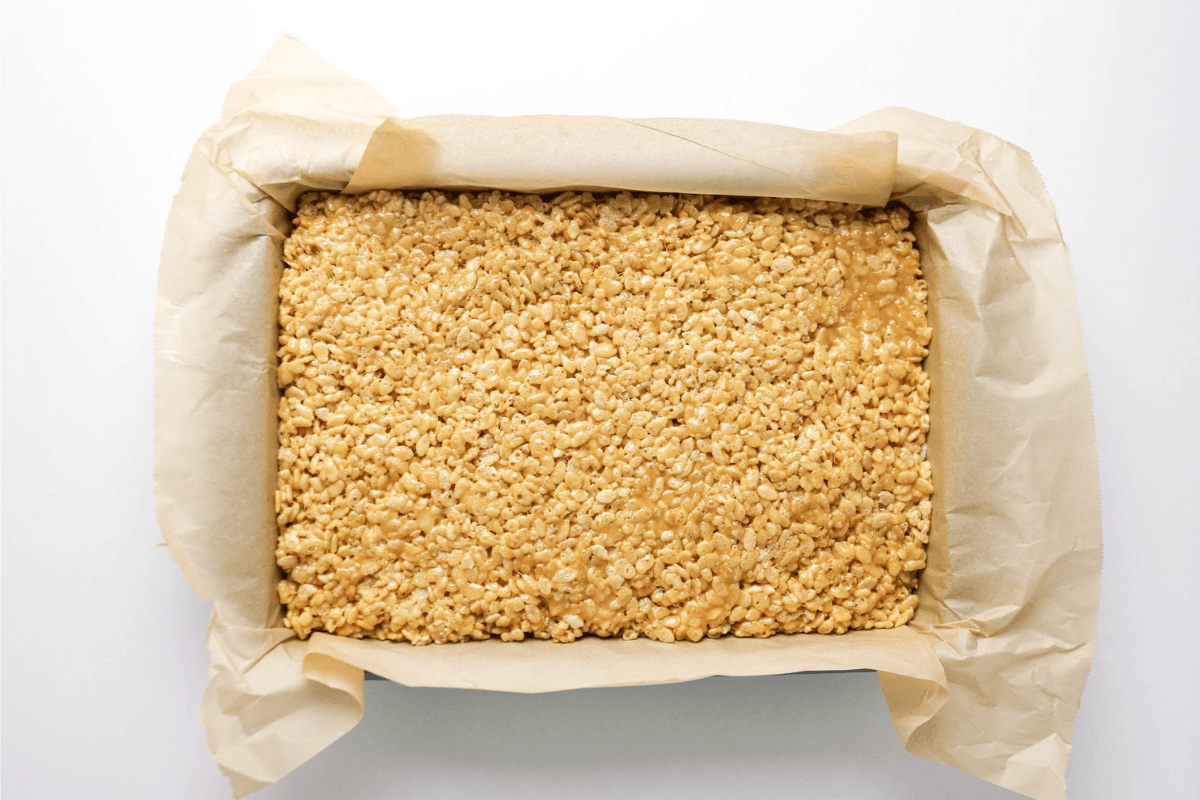
STEP 6: Transfer the mixture to the prepared baking dish. Gently press it into an even layer using a greased spatula or lightly buttered hands.
STEP 7: Let the treats set at room temperature for about 30 minutes before cutting them into 24 bars.
Tips for Making Rice Krispies Treats with Peanut Butter
- Keep the Heat Low: High heat can overcook the marshmallows and leave you with hard treats once they cool.
- Use a Large Pot: Ten cups of cereal takes up plenty of room, so give yourself enough space to fold everything together.
- Work Quickly: The marshmallow mixture begins setting as it cools, so fold in the cereal and transfer it promptly.
- Grease Your Spatula: A little butter or cooking spray keeps the sticky mixture from clinging to your spatula.
- Wait Before Cutting: Let the bars set so you can cut cleaner squares without them falling apart.
Common Mistakes to Avoid When Making This Peanut Butter Rice Krispies Treats Recipe
- Packing the Bars Too Firmly: Pressing hard removes the air between the cereal and can make the finished treats dense.
- Overheating the Marshmallows: Melt them slowly and remove the pot from the heat as soon as the mixture becomes smooth.
- Overmixing the Cereal: Fold gently so you don’t crush the cereal and lose its crispy texture.
- Using a Pan That’s Too Small: A 9×13-inch pan gives this larger batch enough room and keeps the bars from becoming overly thick.
- Refrigerating to Speed Things Up: Let the treats set at room temperature so they stay softer and chewier.
How to Store
Storage: Keep the bars in an airtight container at room temperature for up to 3 days.
Freezing: Place the bars between sheets of parchment paper in a freezer-safe container and freeze for up to 2 months.
Thawing: Let frozen bars come to room temperature before serving so they regain their softer, chewy texture.
Serving Suggestions
These peanut butter Rice Krispies treats make an easy dessert after a casual family dinner. Start with Crispy Baked Chicken Drumsticks, add Oven Roasted Baby Potatoes with Rosemary and Slow Cooker Glazed Carrots, then bring out a plate of these bars for an easy finish.
FAQs
Regular creamy peanut butter gives you the smoothest, most consistent results. Natural peanut butter can separate, so stir it very thoroughly before using.
Yes. Make them a day ahead and keep them tightly covered at room temperature until you’re ready to serve.
Lightly butter your hands or spray them with cooking spray before pressing the mixture into the baking dish.
Yes. Large marshmallows will work, although cutting them into smaller pieces can help them melt faster and more evenly.
Other Peanut Butter Dessert Recipes to Try
- My Peanut Butter Pie with Chocolate Ganache combines a creamy peanut butter filling with a chocolate cookie crust and ganache drizzle.
- Butterfinger Cheesecake is a rich dessert packed with peanut butter and chocolate candy flavor.
- My Chocolate Bark Recipe combines peanut butter, banana, and chocolate for an easy homemade treat.
- Old-Fashioned Peanut Butter Fudge is a classic choice when you’re craving something rich and packed with peanut butter flavor.
- These Peanut Butter Cup Cookie Bars are loaded with chocolate and peanut butter for an easy shareable dessert.
Final Thoughts
Peanut butter Rice Krispies treats are a fun way to change up a childhood favorite without making dessert complicated. That extra peanut butter flavor makes these bars especially hard to resist if you’re already a fan of the classic version.
Try them the next time you need an easy no-bake dessert, and let me know how they turned out. Don’t forget to save the recipe so it’s ready for the next peanut butter craving!
Peanut Butter Rice Krispies Treats
Equipment
- 9×13-inch baking dish
Ingredients
- ½ cup unsalted butter at room temperature
- 1 cup creamy peanut butter
- 1 teaspoon vanilla extract
- 20 ounces mini marshmallows
- 10 cups Rice Krispies cereal
Instructions
- Line a 9 x 13-inch baking dish with parchment paper or lightly grease the bottom and sides.
- Add the butter to a large pot and melt over low heat.
- Add the creamy peanut butter to the melted butter. Stir until the peanut butter is melted and the mixture is smooth and completely combined.
- Add the mini marshmallows. Stir constantly over low heat until the marshmallows are completely melted and the mixture is smooth.
- Remove the pot from the heat and stir in the vanilla extract.
- Add the Rice Krispies cereal and gently fold it into the marshmallow mixture until all of the cereal is evenly coated.
- Transfer the mixture to the prepared baking dish. Using a greased spatula or lightly buttered hands, gently press the mixture into an even layer. Avoid pressing too firmly, which can make the treats hard and dense.
- Let the treats cool and set at room temperature for about 30 minutes.
- Lift the treats from the pan using the parchment paper, then cut into 24 bars and serve.
Notes
- Measure the Cereal First: Have the cereal measured and ready before you start melting everything so assembly goes smoothly.
- Use Fresh Marshmallows: A fresh bag melts more smoothly and gives the finished bars a softer, chewier texture.
- Line the Pan With Parchment: Leave a little overhang so you can lift the entire batch out before slicing.
- Use a Sharp Knife: A large, sharp knife makes it easier to cut neat bars without crushing the cereal.
- Warm the Knife First: Run your knife under hot water and dry it before slicing for cleaner edges.
Nutrition Information
Hungry for more?
Follow me on Pinterest and make sure to comment below!