Under the Sea Rice Krispie Treats

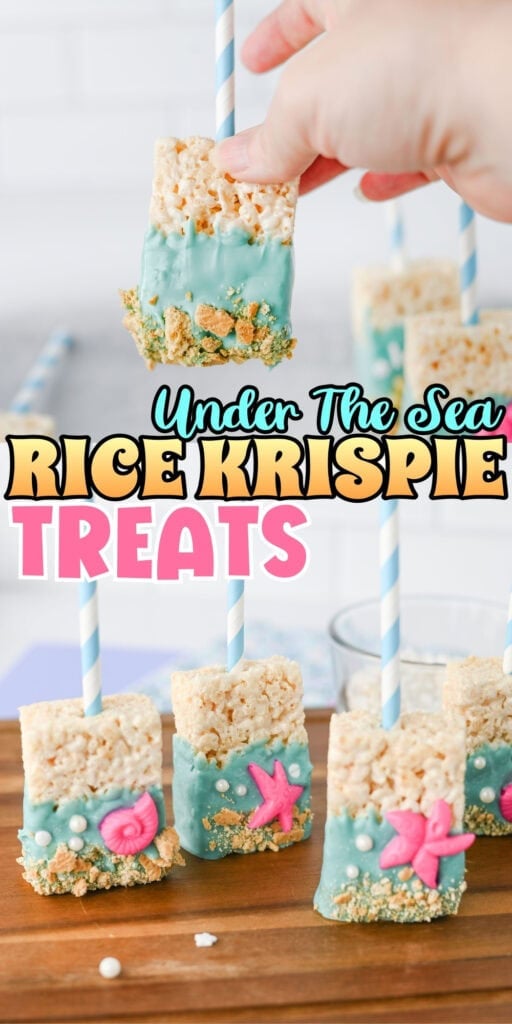
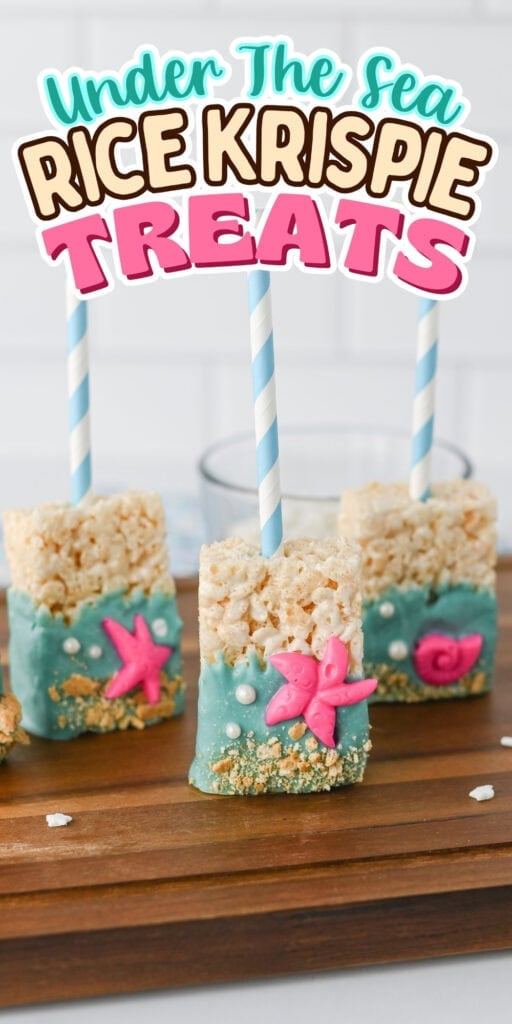
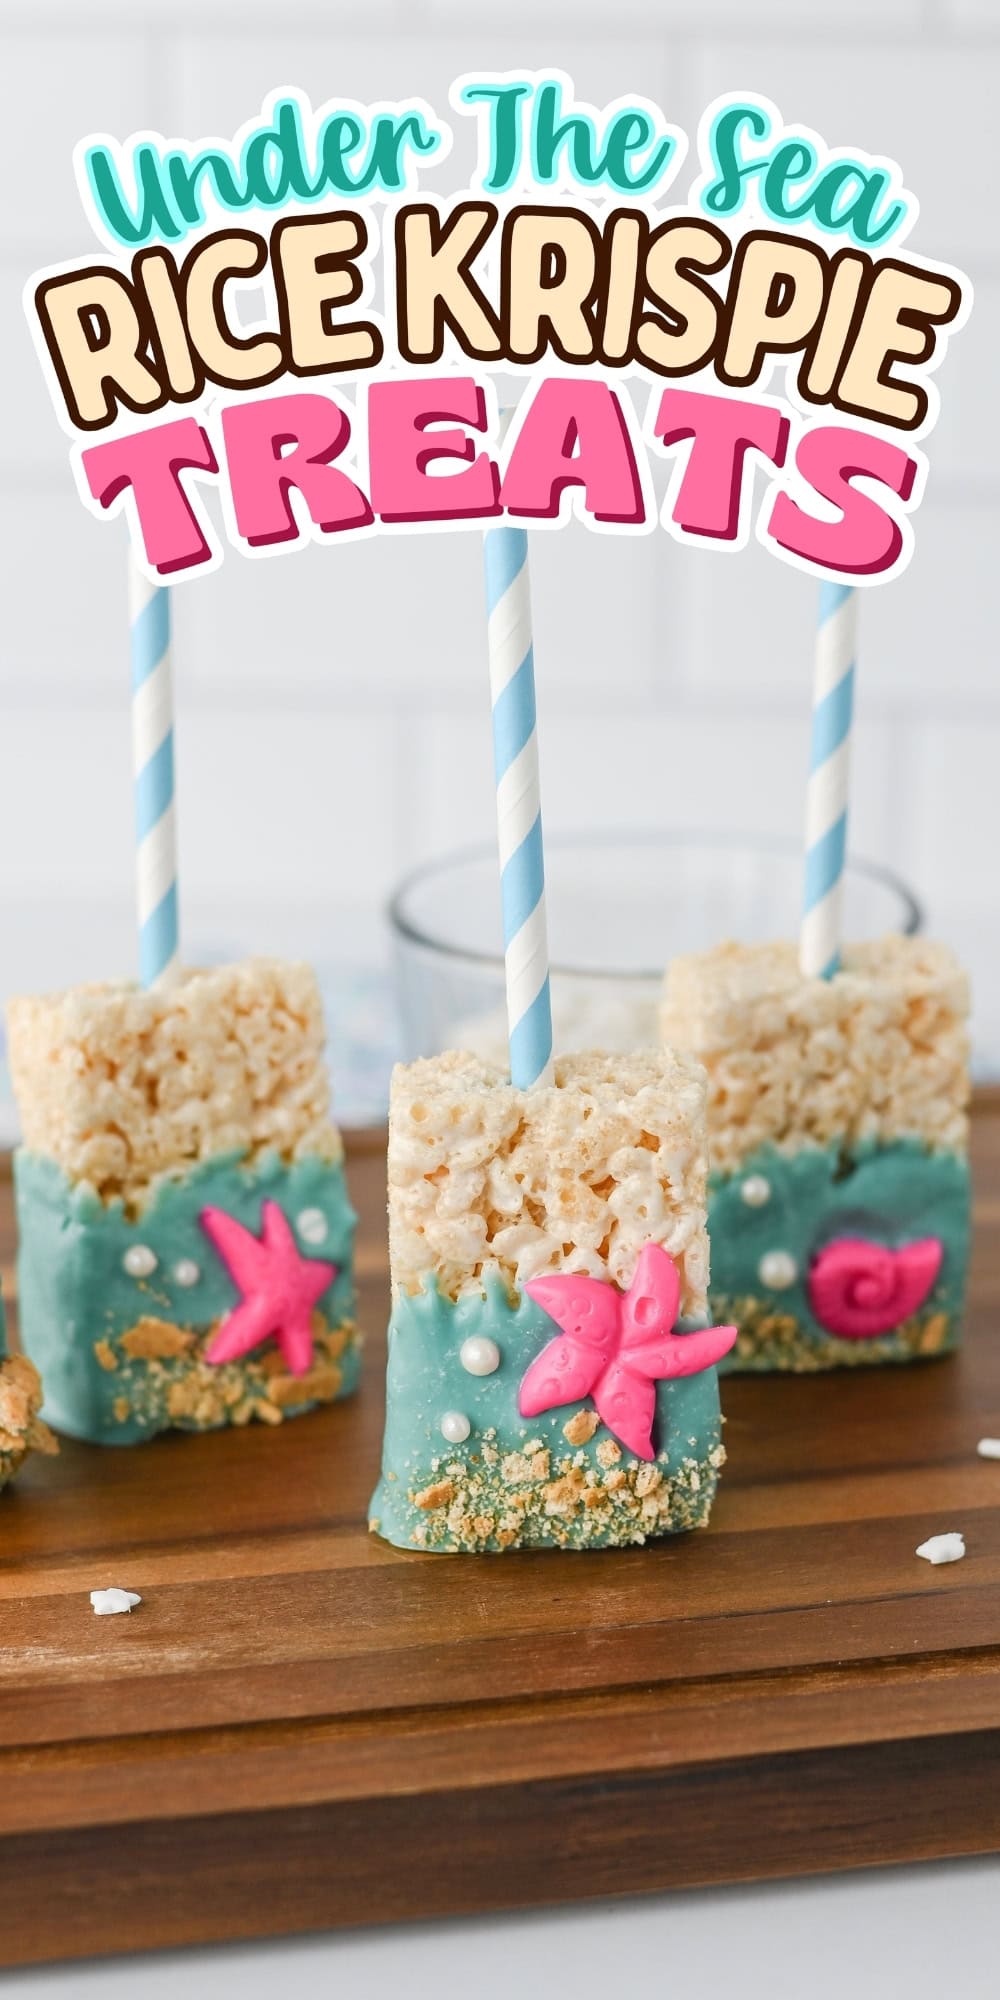
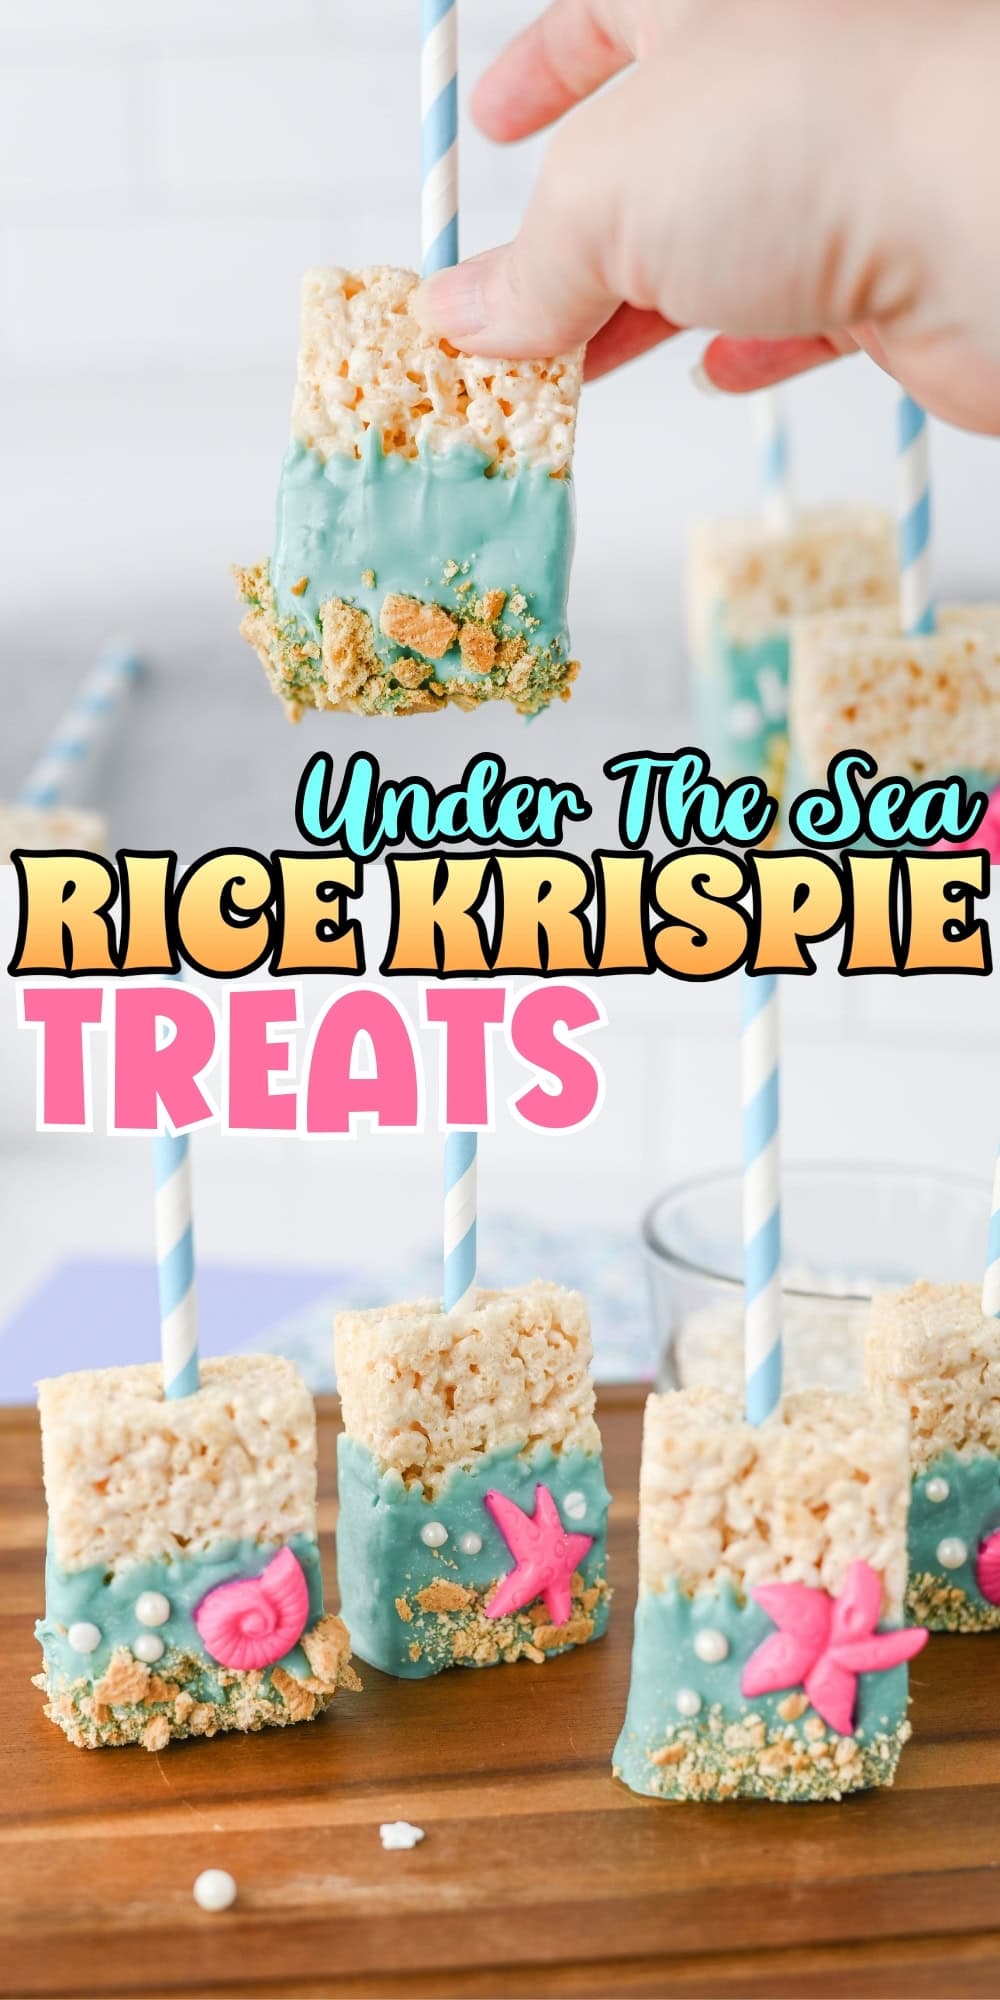
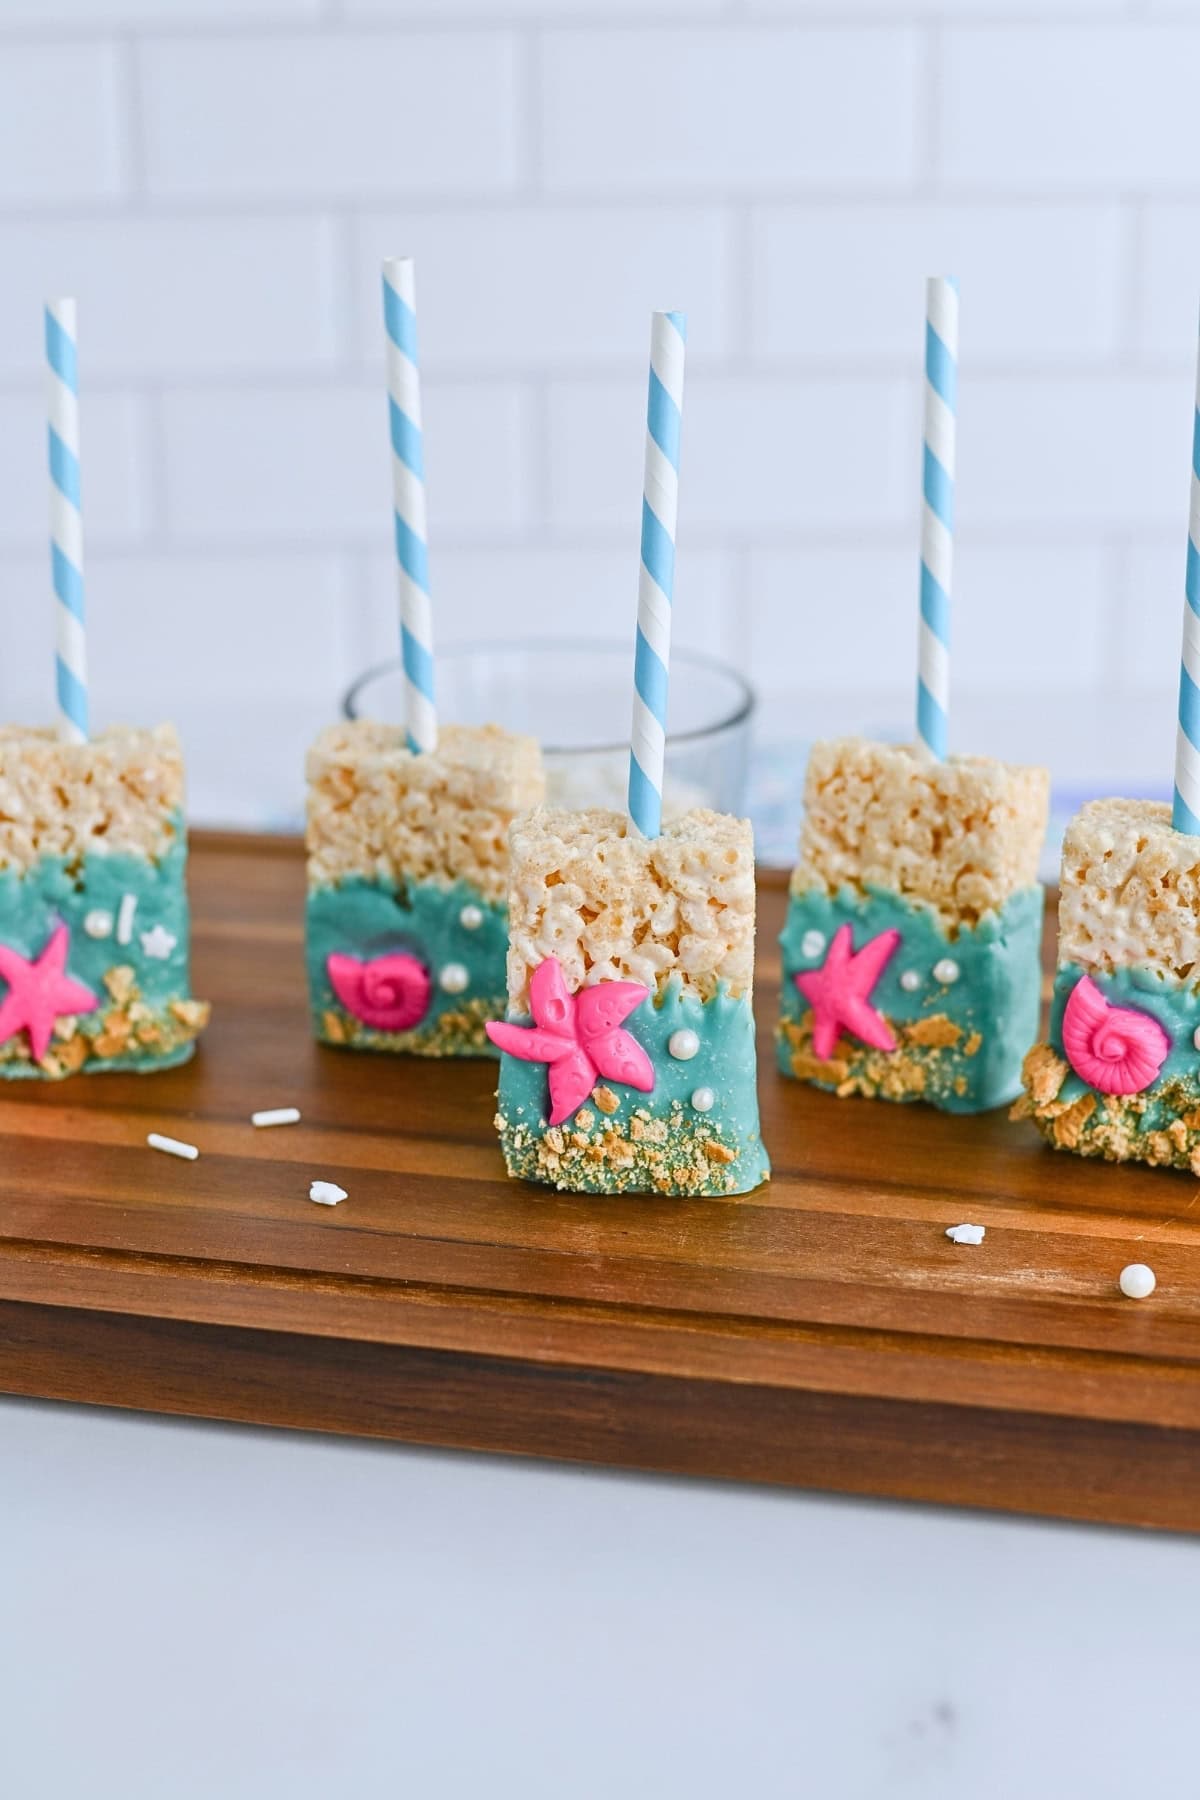
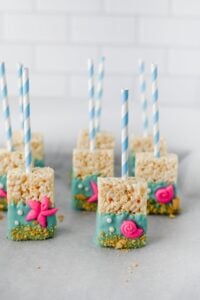
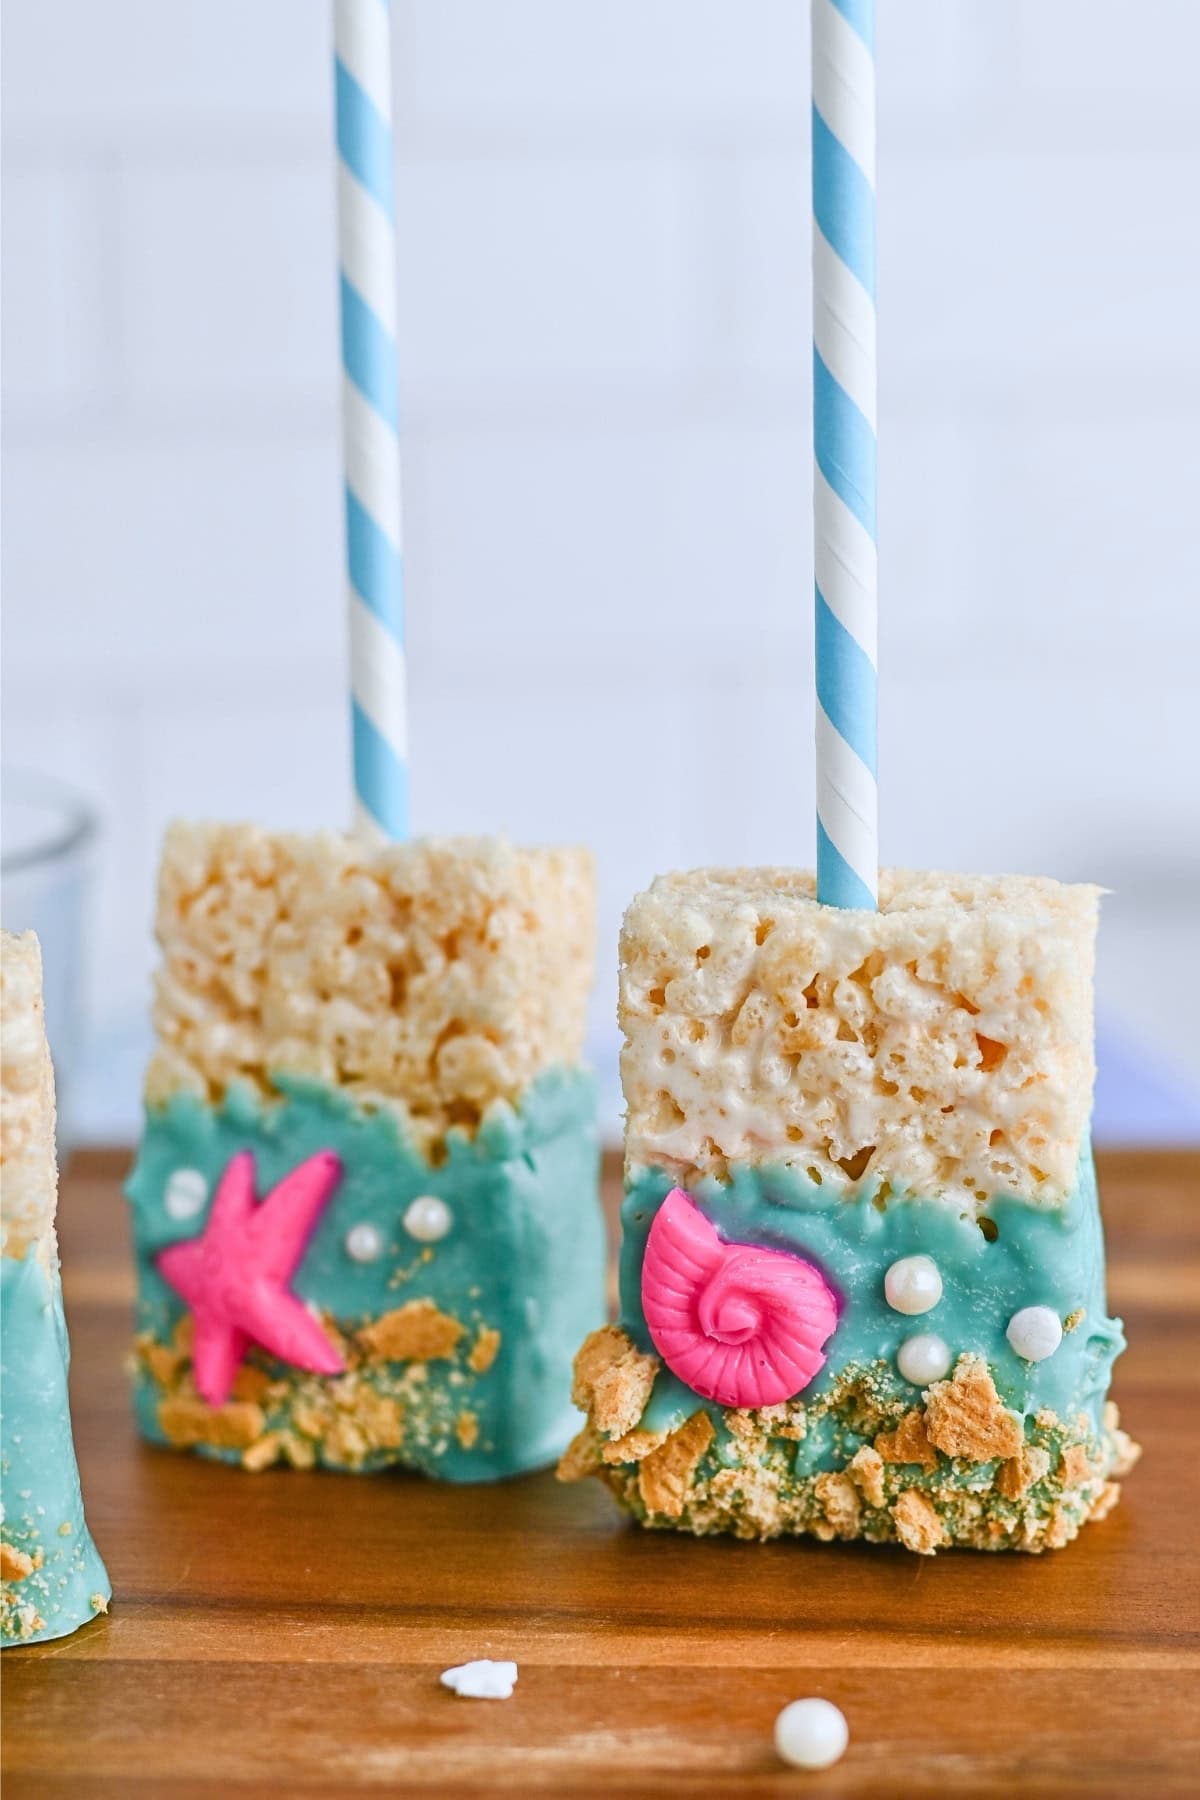
These Under the Sea Rice Krispie Treats start with prepared cereal treats, blue candy melts, graham cracker crumbs and pink candy shells. They take 20 minutes to prep and about an hour to set. Each one gets a straw handle, blue candy coating, crumb “sand” at the bottom and small sea-themed candy details for maximum cuteness!
Save This Post!
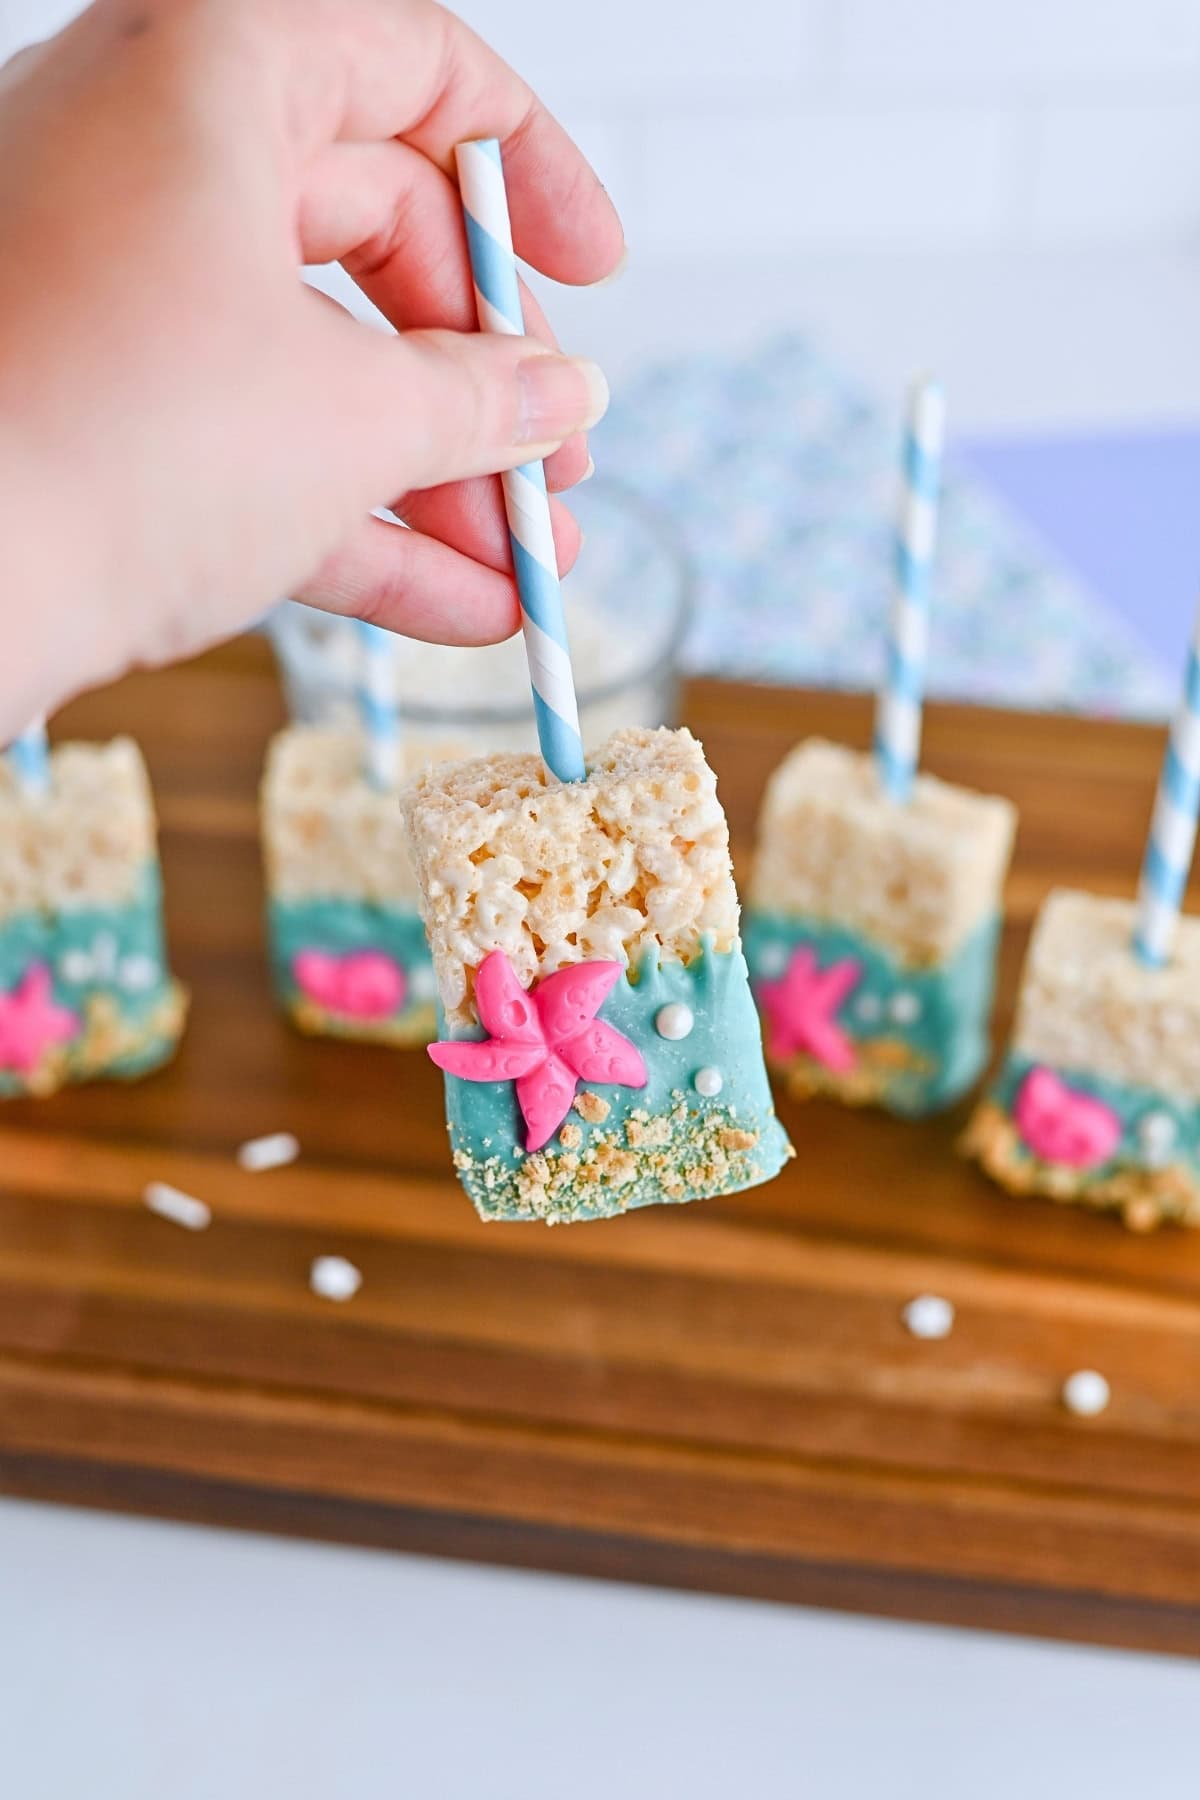
Ocean theme Rice Krispie treats have a crisp cereal base, a sweet blue coating and little molded shells. They’re perfect for a special occasion such as a birthday party, especially if it has a mermaid or ocean theme.
If you love these treats, you might also like my Beach Cupcakes with the same coastal dessert table idea, as well as these Red Crab Cookies made with Oreos. More summery no-bake treats include classic Key Lime Pie and Banana Split. These Individual Cherry Cheesecakes are also really good.
Why You’ll Love It
- Ocean party look: Blue candy melts, graham cracker crumbs, pearl sprinkles and molded pink shells give these treats a clear beach theme.
- Prepared cereal treats: Starting with prepared Rice Krispie treats means the time goes into dipping and decorating – the fun part!
- No baking needed: The candy melts are warmed in the microwave and the finished treats set on a lined baking sheet.
- Easy to hold: Food-safe paper straws turn the cereal squares into treat pops.
- Simple decorating: The shell mold does the detailed part, so you don’t need to mess around with piping bags or tiny cutters.
Under The Sea Decorated Rice Krispie Treats Ingredients
See the recipe card below for the full list of ingredients and exact measurements.
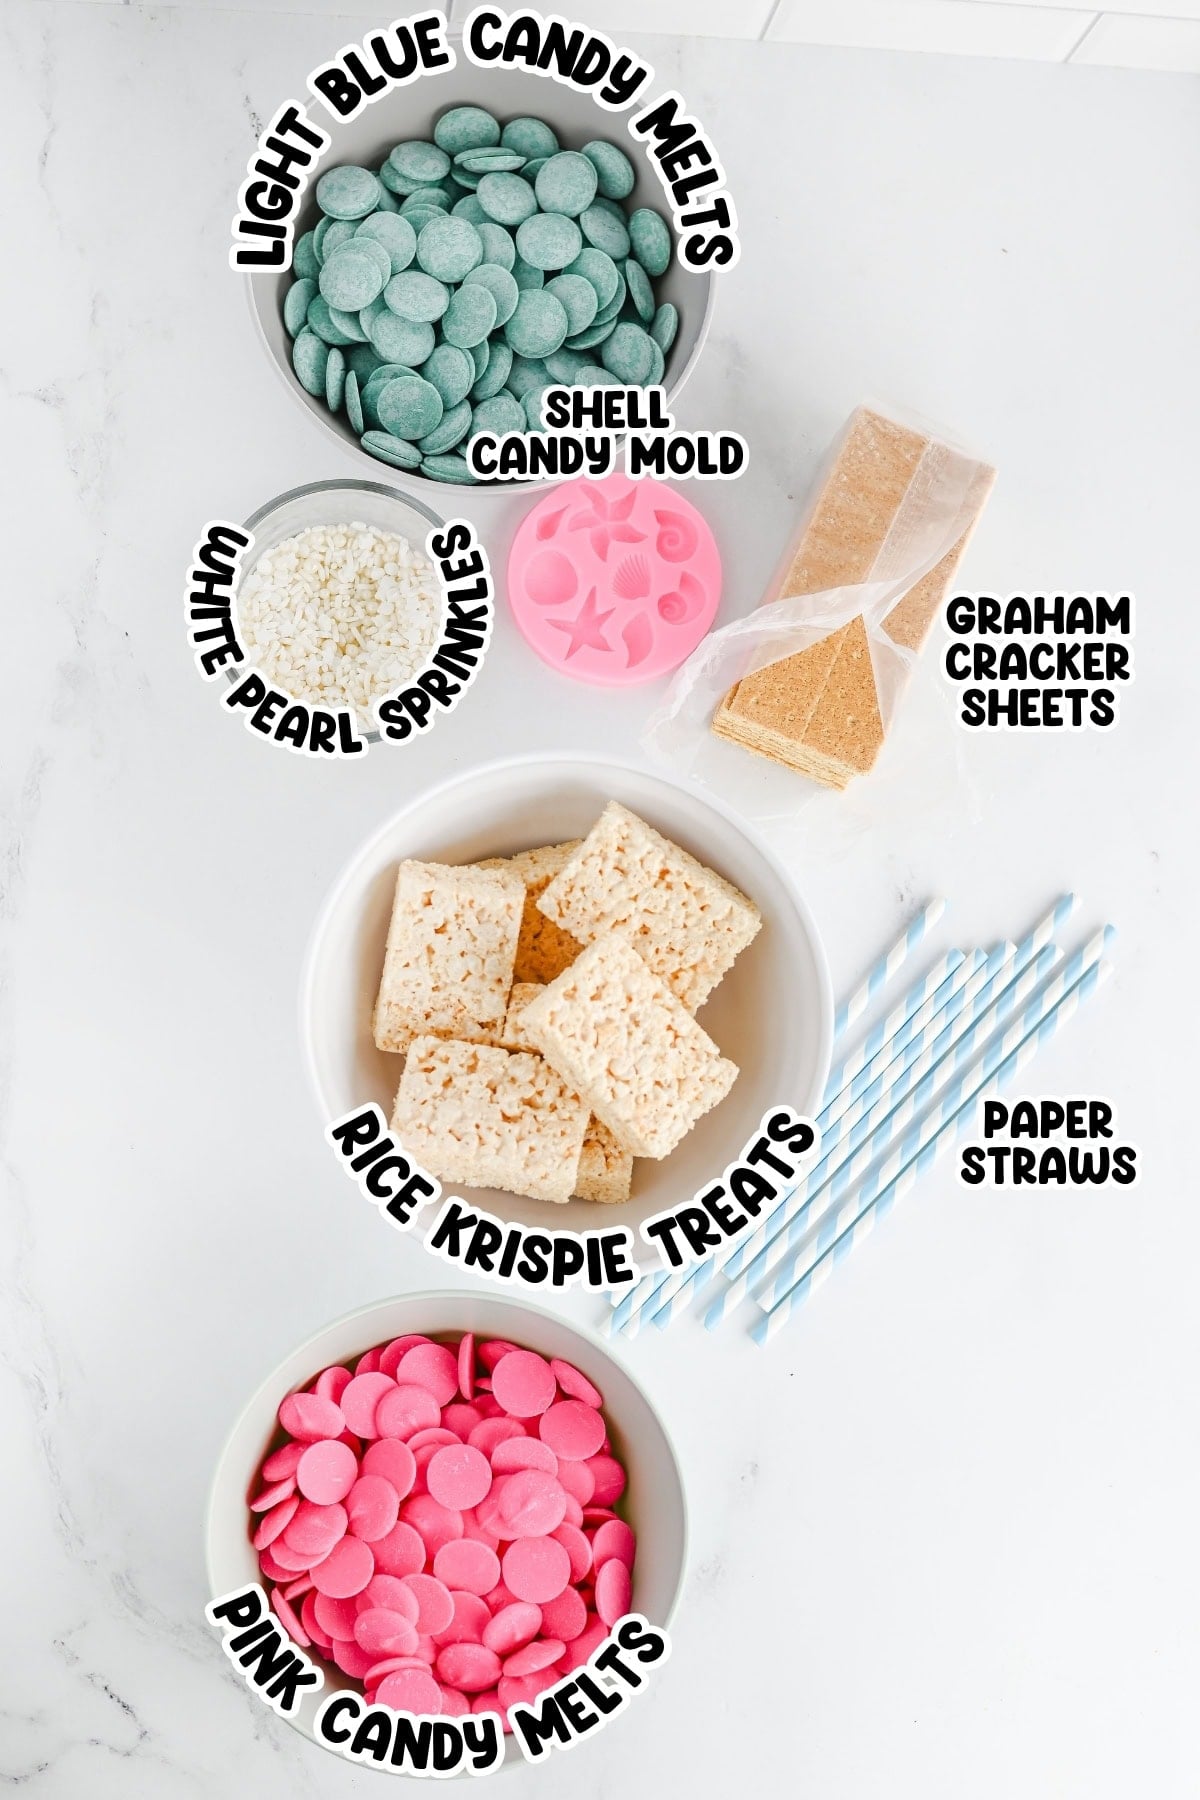
- Prepared Rice Krispie treats: Use 8 regular-sized treats. Store-bought treats are firm and evenly shaped, which makes dipping easier.
- Light blue candy melts: To make the ocean-colored coating around the bottom half of each treat.
- Bright pink candy melts: Melted and spooned into the shell mold for the sea-themed candy pieces.
- Paper straws: These are pushed into one end of each treat before dipping. Make sure you’re using food-safe ones.
- Graham cracker sheets: Crush these into crumbs to make the sandy base.
- White pearl sprinkles: Use as needed for little bubble-like details on the blue coating.
- Shell candy mold: Use a mold with shells, starfish or other sea shapes for the pink candy decorations.
Substitutions and Variations
- Different candy colors: Use teal, aqua or purple candy melts for a different ocean color.
- Other sea decorations: Try sea-themed sprinkles, small gummy sea creatures or candy pearls if you don’t have a shell mold.
- Different crumb base: Vanilla wafer crumbs or shortbread crumbs would work in place of graham cracker crumbs.
- Homemade treats: Use homemade Rice Krispie treats if they’re fully cooled, firm and cut into regular rectangles. Store-bought ones are a real time-saver though!
- Mini treat pops: Cut larger homemade treats into smaller rectangles and use shorter food-safe sticks.
- Extra sparkle: Add sanding sugar or edible glitter while the blue coating is still wet.
Under the Sea Rice Krispie Treats
Ingredients
- 8 Rice Krispie treats regular sized, store-bought or homemade
- white pearl sprinkles
- 12 ounces light blue candy melts
- 12 ounces bright pink candy melts
- 4 sheets graham crackers
Instructions
- Line a baking sheet with parchment paper.
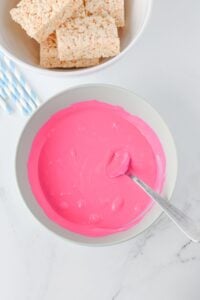
- Microwave the pink candy melts in a bowl, in 30-second increments, stirring between each one.
- Drop the candy into the shell mold, using a spoon, and make sure they’re filled evenly. You can use a toothpick to do this.
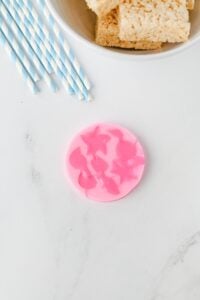
- Let them set for about 20 minutes and then pop them out of the mold. I made 2 molds full.
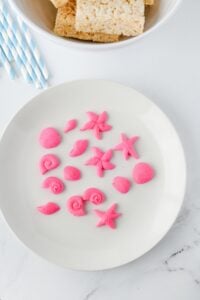
- You can discard the rest of the pink candy or save it for another use.
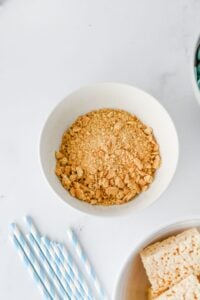
- Put the graham cracker sheets in a gallon-size storage bag and crush into crumbs.
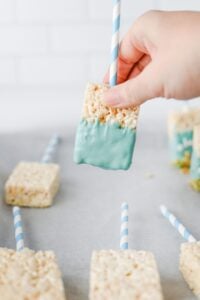
- Microwave the blue candy melts in a bowl, in 30-second increments, stirring between each one.
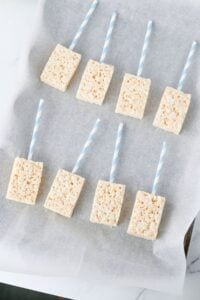
- Push a paper straw into one end of each Rice Krispie treat.
- Dip each one into the melted blue candy.
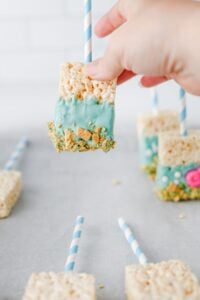
- Immediately sprinkle graham cracker crumbs over the bottoms and add one of the pink shells you made, along with some pearl sprinkles.
- Space the treats on the prepared baking sheet and let them sit for an hour or until set.
Notes
- Use firm treats: Soft homemade treats can bend during dipping, so cool them fully before decorating.
- Prep the toppings first: Set out the crumbs, candy shells and sprinkles before melting the blue candy.
- Thin the candy melts if needed: Stir in a tiny bit of shortening or coconut oil if the melted candy is too thick for dipping.
Nutrition Information
Hungry for more?
Follow me on Pinterest and make sure to comment below!
Kim’s Top Tips
- Melt slowly: Heat candy melts in short bursts and stir well each time. Overheated candy can get thick and grainy.
- Use a toothpick for the mold: Push the melted pink candy into the small shell details so the finished pieces don’t have any empty spots.
- Crush the crumbs finely: I find that fine crumbs cling to wet candy coating better than large broken pieces.
- Dip one treat at a time: Coat, crumb and decorate each treat before moving to the next one.
- Let the shells firm up: Remove the candy shells only when they feel solid, as small points and edges can bend.
How to Store
- Storage: Store decorated Rice Krispie treats in an airtight container at room temperature for up to 3 days. Put parchment paper between layers if the treats are stacked in a container.
- Freezing: Freeze the treats in an airtight container for up to 1 month. Thaw them at room temperature before serving.
- Make ahead: Make the pink candy shells up to 3 days ahead and keep them in an airtight container at room temperature.
Serving Suggestions
Serve these fun Rice Krispie treats with Fish Cookies for another sea-themed sweet. They’d also be good with Pecan Crescent Cookies or these summery Watermelon Bites with sweet and savory flavors. For drinks, add Red Hawaiian Punch or this fruity Strawberry Agua Fresca so the dessert table has something bright and kid-friendly alongside the treats.
Ocean Theme Rice Krispie Treats FAQs
It usually takes about an hour at room temperature. The coating should feel firm and dry to the touch. If your kitchen is very warm, you can pop them in the refrigerator.
Use sea-themed sprinkles, candy pearls, small gummy sea creatures or flat candy decorations.
The treats might be too firm or the straws may have been pushed in too quickly. Insert the straws slowly and stop if the cereal square starts to split.
More Kid-Friendly Treats to Try