
Rice Krispie Treat for 1 (Single Serving Microwave Recipe)
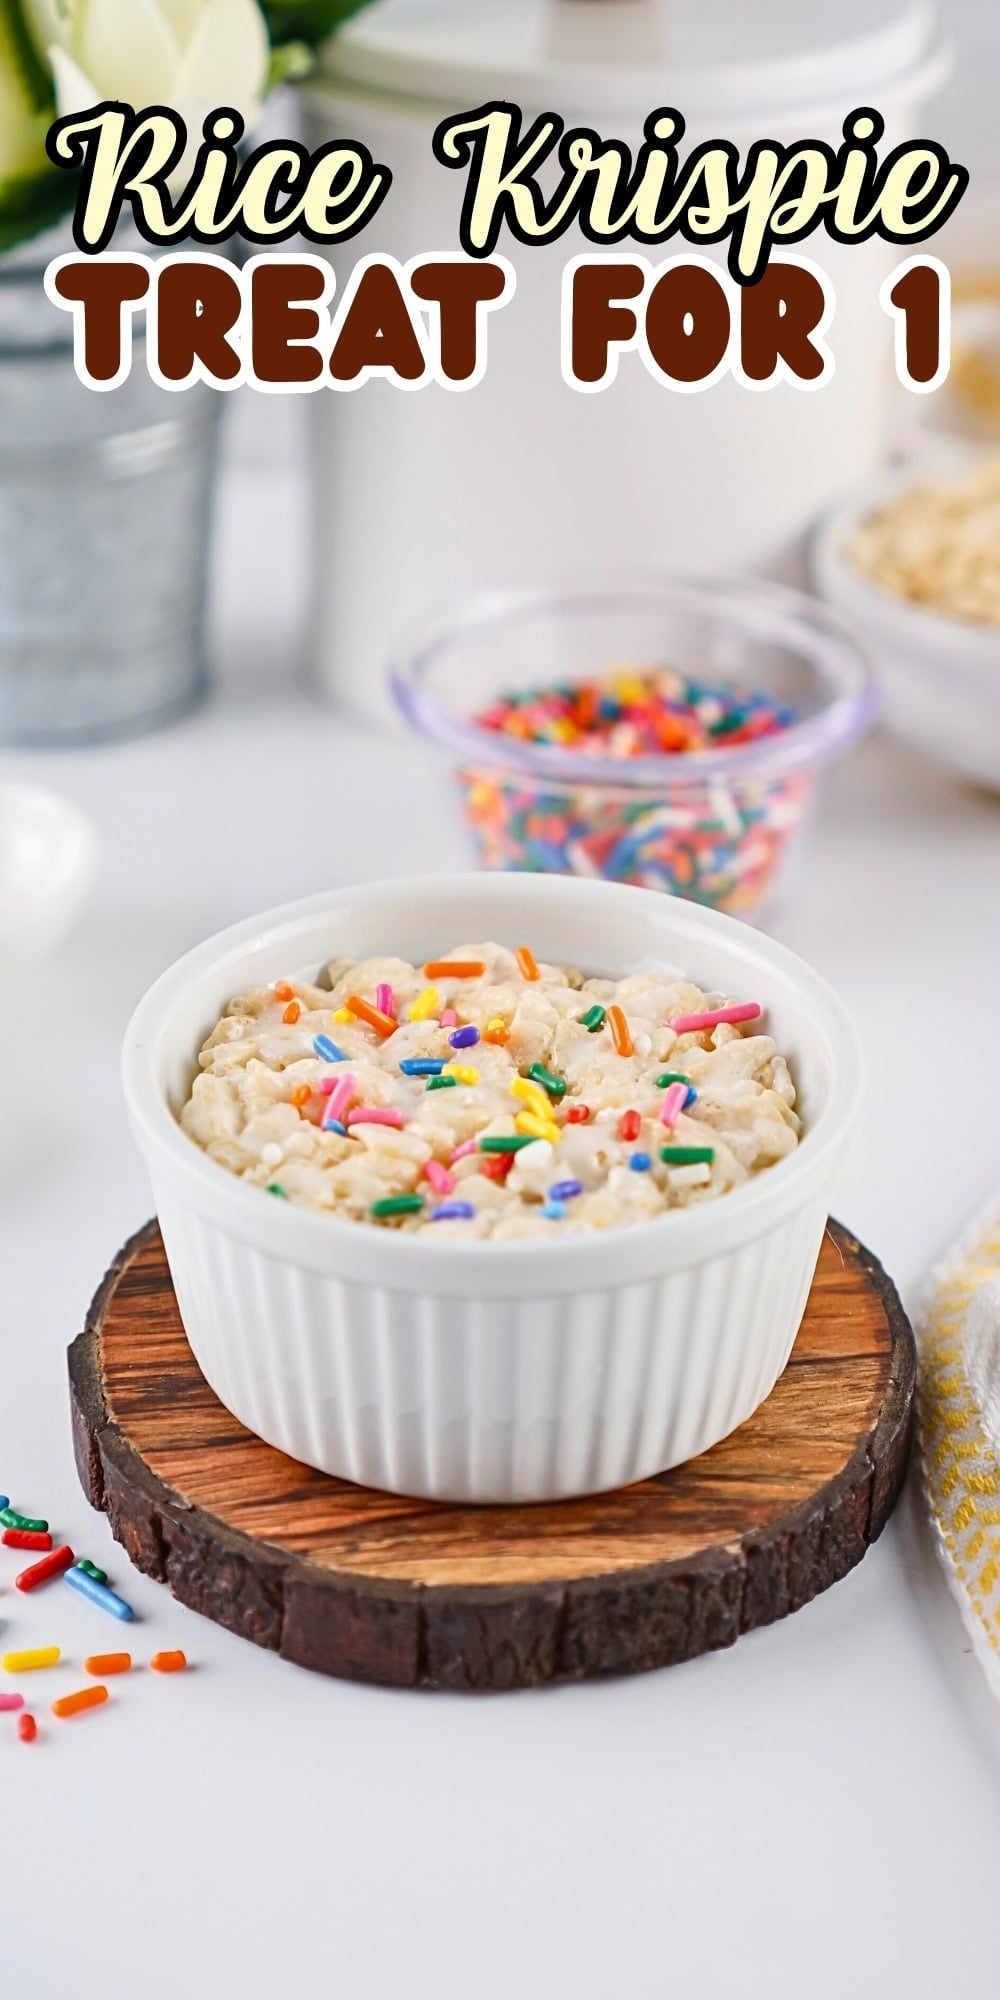
This Rice Krispie treats recipe for one person is the perfect treat when you’re craving something sweet but don’t want to make a whole batch. Ready in just minutes using your microwave, this single-serving crispy treat satisfies your sweet tooth without the temptation of leftovers.
Save This Post!
Sometimes you just want one perfect treat without committing to an entire baking pan of Rice Krispies treats. This microwave method creates the same gooey, crispy texture as the classic recipe but in a personal-sized portion that’s ready to eat in under 10 minutes.
Looking for more single-serving treats? Try my Mini Cherry Cheesecakes for individual desserts, or check out my Neapolitan Rice Krispies Treats for a fun twist on the original recipe!
Reasons You’ll Love This Recipe
- Perfect Portion Control: This single-serving recipe means you get exactly one perfect treat without the temptation of eating an entire pan. It’s ideal for late-night cravings or when you want to indulge without overdoing it.
- Quick Microwave Method: No need to heat the stove or use a large saucepan. This recipe uses your microwave to melt the marshmallows in just 10-15 seconds, making it faster than traditional methods.
- Customizable Base: This recipe serves as the perfect base for experimenting with different cereals like Fruity Pebbles or Froot Loops, or adding mix-ins like chocolate chips without wasting ingredients on a full batch.
- Budget-Friendly: Using just a small amount of basic ingredients, this treat costs pennies to make. It’s perfect for satisfying sweet cravings without breaking the bank or buying whole bags of marshmallows.
Rice Krispies Treat for 1 Ingredients
See the recipe card below for the full list of ingredients and exact measurements.
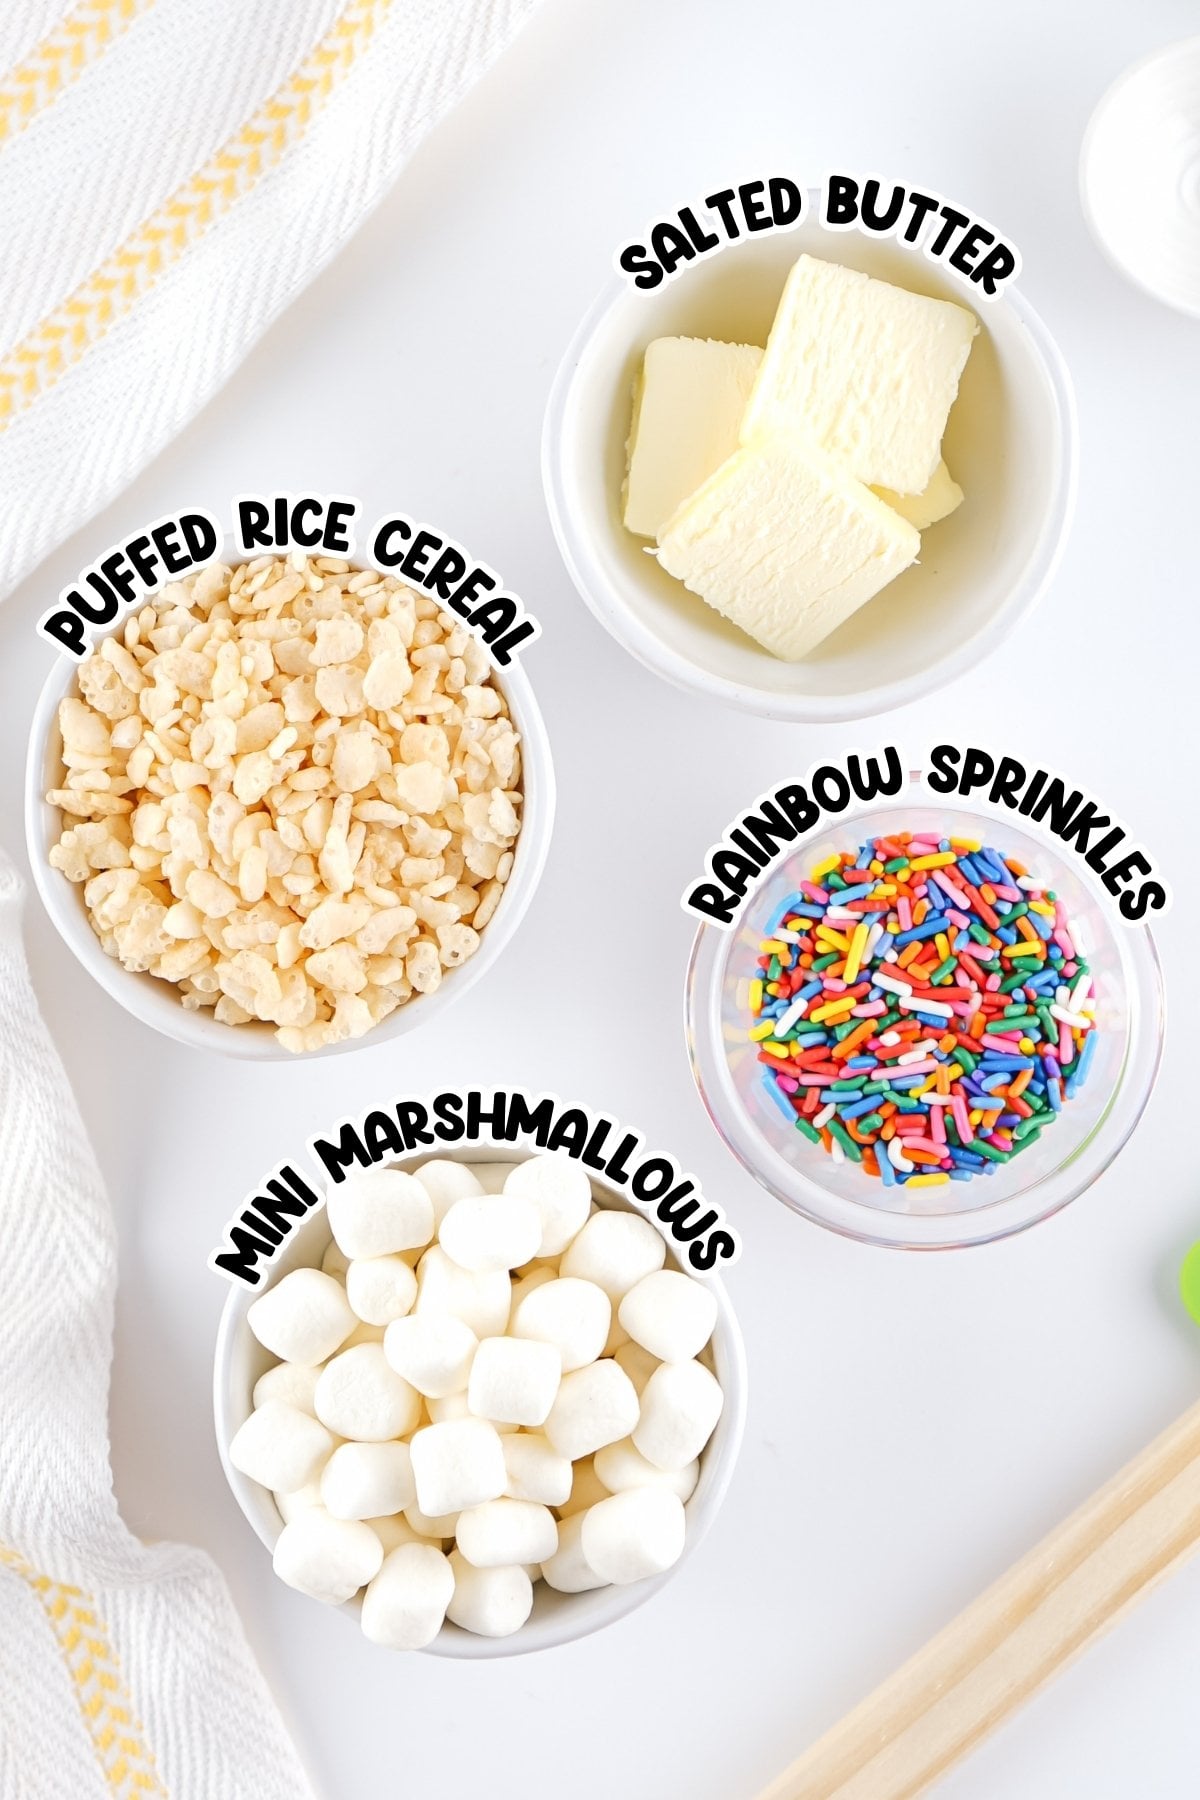
- Puffed Rice Cereal – Use original Rice Krispies or any crispy rice cereal for the best results. The cereal provides that signature crunch and texture. You can substitute with other cereals like Fruity Pebbles for a colorful twist.
- Mini Marshmallows – Miniature marshmallows melt more evenly than regular marshmallows in this small batch. Fresh marshmallows work best – avoid using old, hard marshmallows as they won’t create the proper marshmallow mixture.
- Salted Butter – A small amount of butter helps create the perfect gooey texture and adds richness. You can use the butter wrappers to help grease your container if needed.
- Rainbow Jimmy Sprinkles – These add color and fun to your single treat. Optional but recommended for special occasions or when you want to make your treat extra festive.
Substitutions and Additions
- Different Cereals – Swap the rice cereal for Fruity Pebbles, Froot Loops, or any crispy cereal of your choice for variety.
- Chocolate Addition – Stir in a few chocolate chips or drizzle with melted chocolate after cooling for extra indulgence.
- Vanilla Extract – Add a tiny splash of vanilla extract to the melted marshmallows for enhanced flavor.
- Peanut Butter Version – Mix in a small spoonful of peanut butter with the melted marshmallows for Peanut Butter Rice Krispie Treats flavor.
How to Make Rice Krispie Treat for 1 (step-by-step directions)
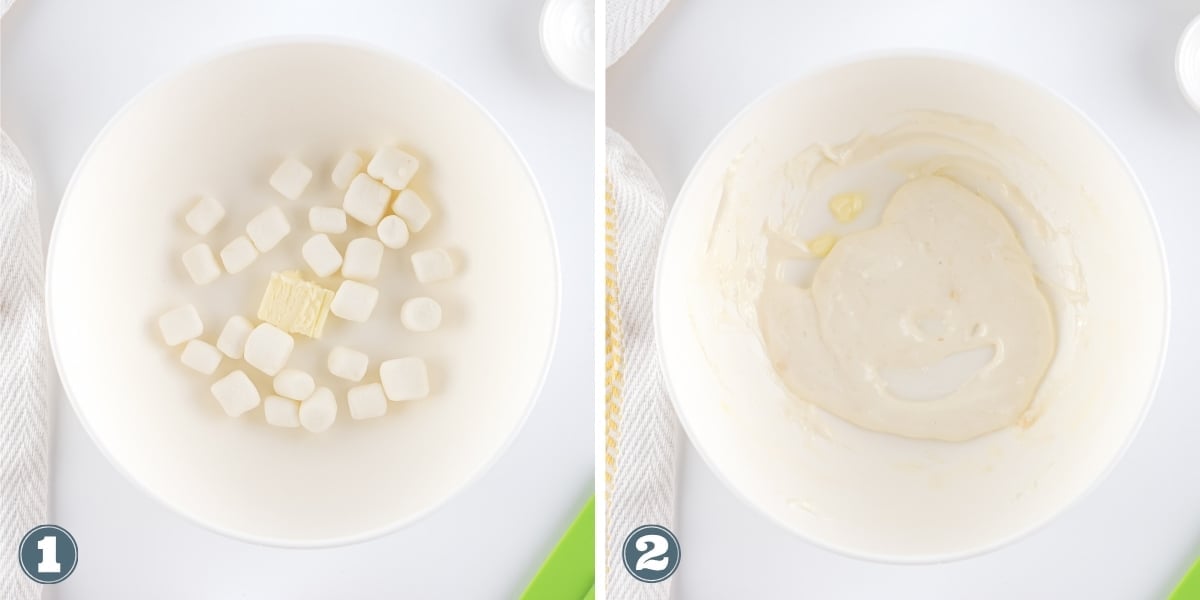
STEP 1. Combine the butter and mini marshmallows in a small glass bowl. The butter helps prevent the marshmallows from sticking and creates a smoother texture. Microwave the mixture for 10-15 seconds, watching carefully. The marshmallows will puff up and start to melt. Don’t overcook or they’ll become tough. (Photos 1 & 2)
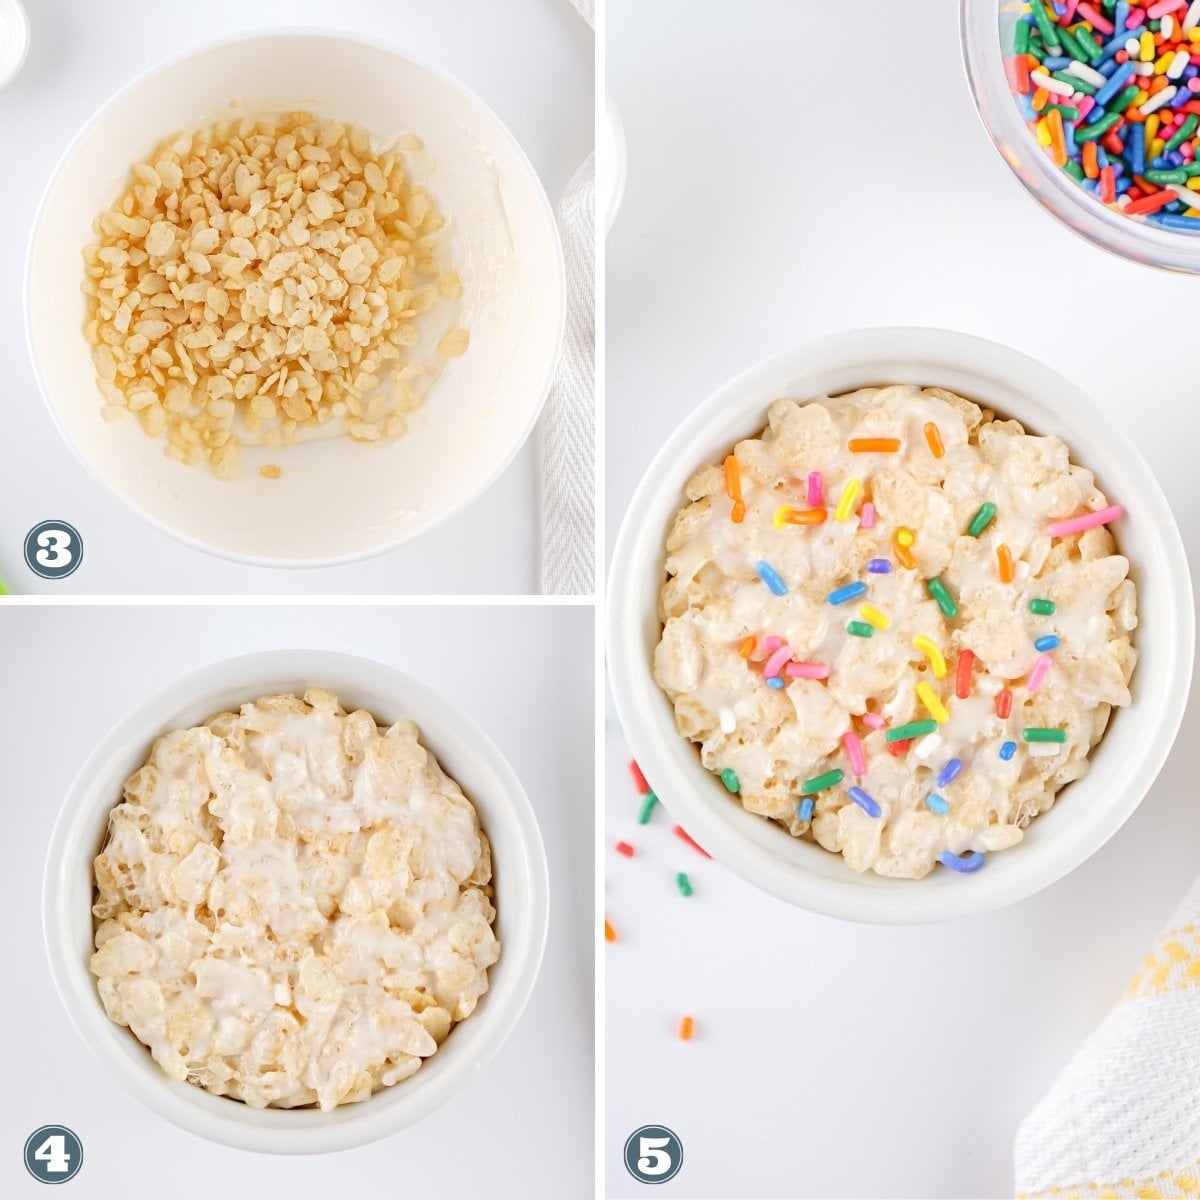
STEP 2. Stir the melted marshmallows well with a spoon. The mixture might clump into a ball, which is completely normal for this small amount. Add the puffed rice cereal to the marshmallow mixture. Spray your hands with nonstick cooking spray (this is crucial!) and mix everything by hand until the cereal is well-coated. (Photos 3 & 4)
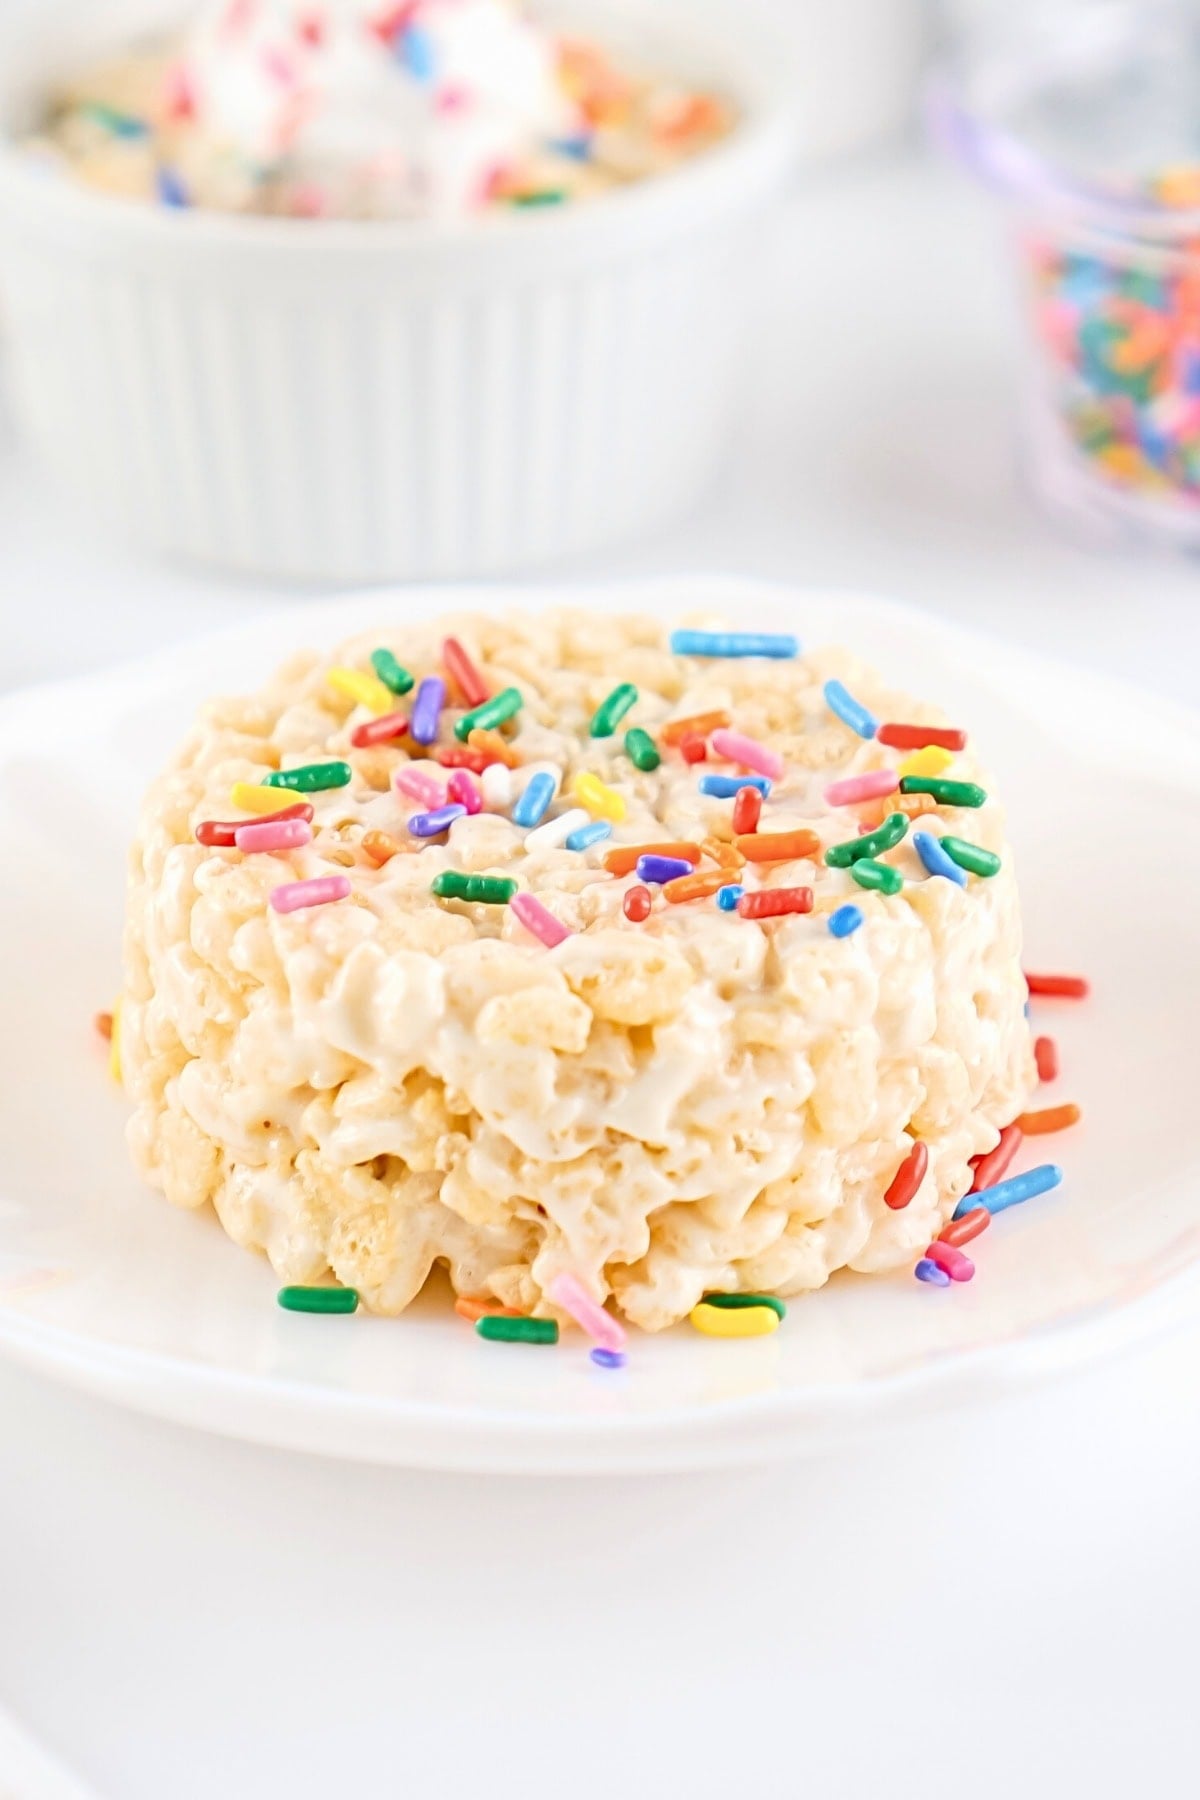
STEP 3. Press the sticky mixture into your prepared container, packing it down gently. Top with rainbow sprinkles if desired. Let the treat cool at room temperature for about 5 minutes, or enjoy it warm if you can’t wait! (Photo 5)

Recipe Tips
- Don’t Skip the Spray – Using nonstick cooking spray on your hands and container is essential. Without it, the sticky mixture will stick to everything and make a mess.
- Watch the Microwave – Keep a close eye on the marshmallows as they heat. Overheating will make them tough and chewy instead of gooey.
- Hand Mixing Works Best – With such a small amount, a rubber spatula doesn’t work as well as your hands for mixing the cereal mixture evenly.
- Fresh is Best – This treat tastes best when eaten fresh. The texture changes as it sits, so enjoy it while it’s still slightly warm for the best experience.
Storing Tips
- Storage – Store your Rice Krispies treat in an airtight container in a cool, dry place for up to 2 days maximum.
- Room Temperature – Keep at room temperature rather than refrigerating, as cold temperatures can make the treat hard and less enjoyable.
- No Freezing – Do not freeze this treat as it tends to become stale and lose its crispy texture when thawed.
- Skip Toppings for Storage – If you plan to store the treat, don’t add whipped topping or other perishable garnishes until you’re ready to eat it.
Serving Suggestions
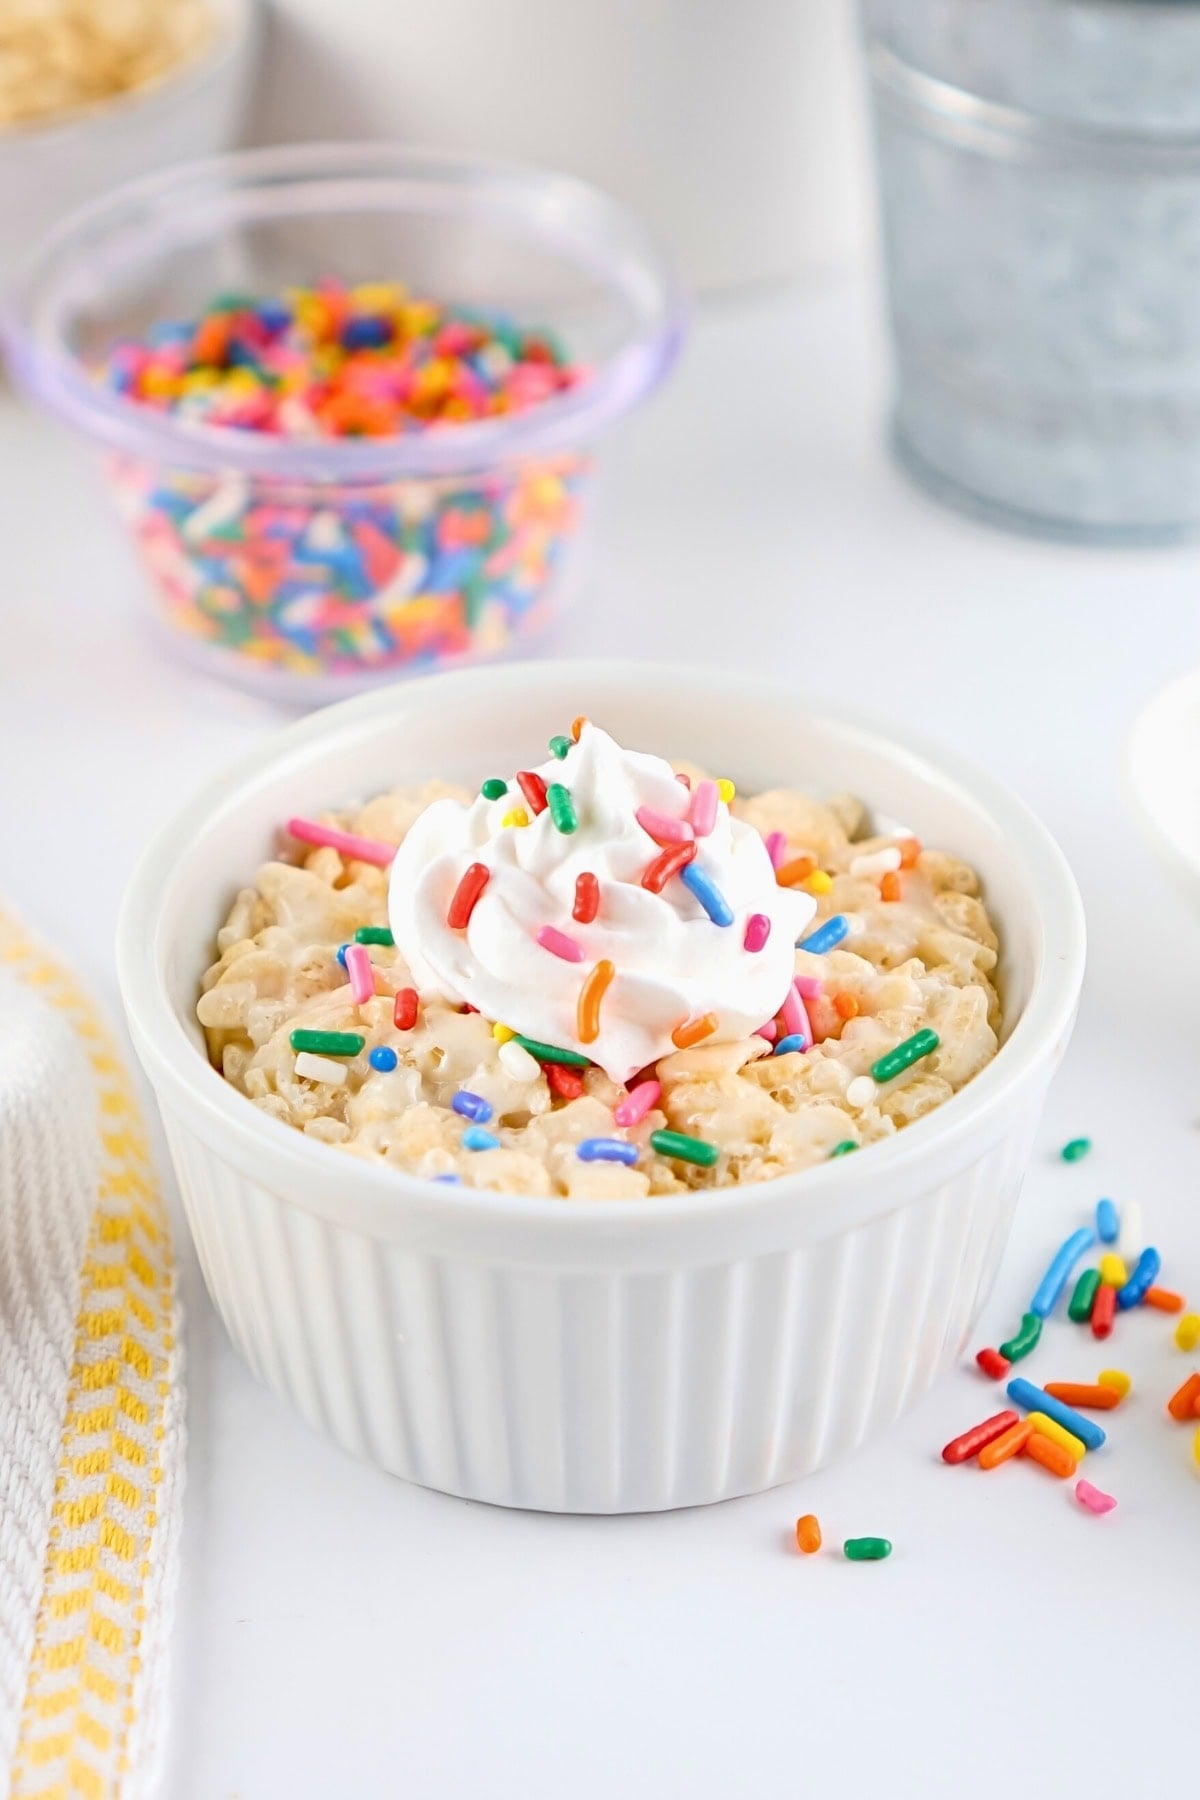
This single-serving treat is perfect on its own, but you can dress it up for special occasions. Try drizzling with melted chocolate or adding a small scoop of ice cream for an indulgent dessert.
If you’re hosting a party or special event, consider making several individual treats alongside other rice cereal desserts. Pair these single servings with my Neapolitan Rice Krispies Treats for variety, or add my Easter Rice Krispie Treats for holiday celebrations.
For even more party options, try my Christmas Rice Krispie Treat Reindeer during the holidays. Each person gets their own perfectly portioned dessert, and you’ll have a beautiful spread of crispy treats!

Recipe FAQs
Yes, but you’ll need to cut them into smaller pieces first. Mini marshmallows melt more evenly in the microwave and create a better marshmallow mixture for this small batch recipe.
Nonstick cooking spray is the only way to handle this sticky mixture successfully. Spray your hands generously, and reapply if needed during mixing. Some people prefer rubber gloves sprayed with cooking spray.
While you can, the microwave method works better for such a small amount. If using the stove, use the lowest heat setting and watch carefully to avoid burning the marshmallows.
Try adding a small pinch of salt to balance the sweetness, or use slightly less marshmallows. You could also mix in some plain cereal to dilute the sweetness.
Need More Dessert Recipes? Try These:

Rice Krispie Treat for 1
Ingredients
- ½ Cup Puffed Rice Cereal
- ½ Cup Mini Marshmallows
- 1 Teaspoon Salted Butter
- Rainbow Jimmies Sprinkles
Instructions
- Combine the butter and mini marshmallows in a small glass bowl. The butter helps prevent the marshmallows from sticking and creates a smoother texture. Microwave the mixture for 10-15 seconds, watching carefully. The marshmallows will puff up and start to melt. Don’t overcook or they’ll become tough.
- Stir the melted marshmallows well with a spoon. The mixture might clump into a ball, which is completely normal for this small amount. Add the puffed rice cereal to the marshmallow mixture. Spray your hands with nonstick cooking spray (this is crucial!) and mix everything by hand until the cereal is well-coated.
- Press the sticky mixture into your prepared container, packing it down gently. Top with rainbow sprinkles if desired. Let the treat cool at room temperature for about 5 minutes, or enjoy it warm if you can’t wait!
Notes
- Don’t Skip the Spray – Using nonstick cooking spray on your hands and container is essential. Without it, the sticky mixture will stick to everything and make a mess.
- Watch the Microwave – Keep a close eye on the marshmallows as they heat. Overheating will make them tough and chewy instead of gooey.
- Hand Mixing Works Best – With such a small amount, a rubber spatula doesn’t work as well as your hands for mixing the cereal mixture evenly.
- Fresh is Best – This treat tastes best when eaten fresh. The texture changes as it sits, so enjoy it while it’s still slightly warm for the best experience.
Nutrition Information
Hungry for more?
Follow me on Pinterest and make sure to comment below!