
Complete Guide to Canning for Beginners: Start Preserving Food at Home Today
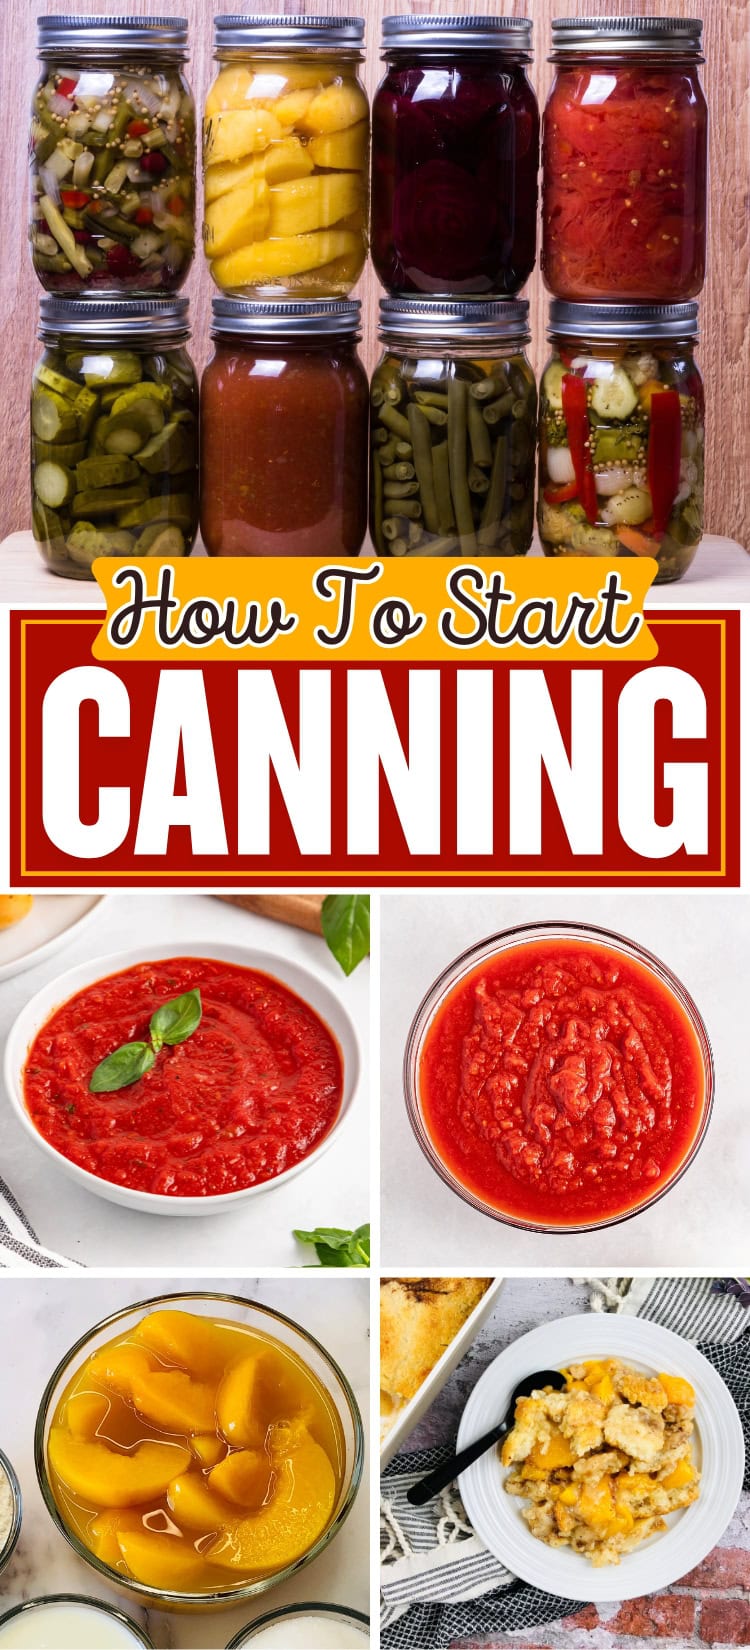
There’s something magical about opening a jar of homemade peach preserves in the middle of winter and tasting summer sunshine. Beginners canning might seem intimidating at first, but with the proper guidance, you’ll discover it’s one of the most rewarding kitchen skills you can master. Not only will you save money and reduce food waste, but you’ll also gain the satisfaction of creating shelf-stable foods that enhance your cooking year-round.
Save This Post!
This comprehensive guide will take you from complete novice to confident canner. You’ll learn the essential safety principles, understand the equipment you need, and walk through your first successful canning project step by step.
What is Canning?
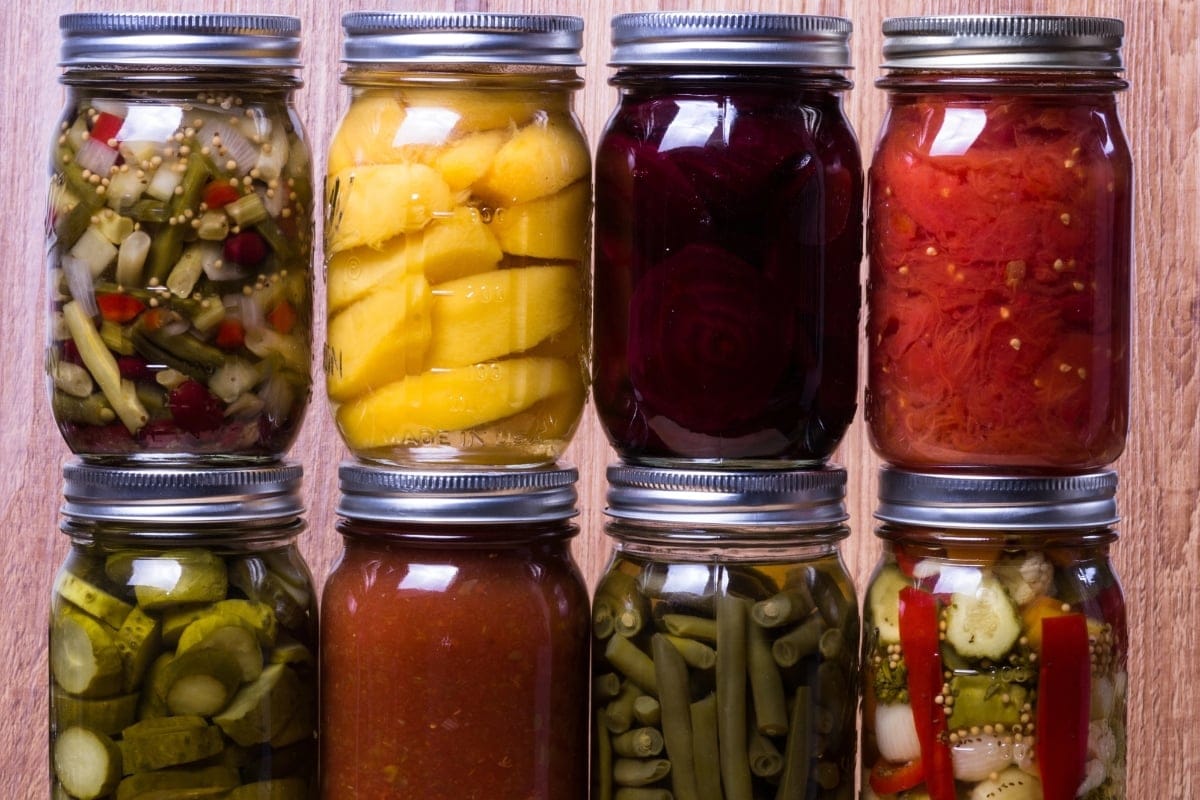
Home canning for beginners starts with understanding the basic science behind food preservation. Canning works by heating food to temperatures that destroy harmful microorganisms, then sealing it in sterile containers to prevent recontamination. This process creates shelf-stable foods that can last for years when stored properly.
There are two main methods of canning: water bath canning and pressure canning. Water bath canning uses boiling water to process high-acid foods like fruits, jams, and pickles. Pressure canning uses higher temperatures achieved through steam pressure to safely preserve low-acid foods like vegetables, meats, and soups.
The key to successful canning lies in following tested recipes exactly and maintaining proper acidity levels. This isn’t the time to get creative with measurements or ingredients. Safety always comes first in canning, but don’t let that scare you away from this handy skill.
Essential Canning Equipment for Beginners
Starting your canning basics journey requires some specific equipment, but you don’t need to break the bank. Here’s what you absolutely need and what can wait for later purchases.
Must-Have Equipment:
- Large, heavy-bottomed pot with lid (or dedicated canning pot)
- Canning jars with new lids and rings
- Jar lifter or sturdy tongs
- Ladle with a spout
- Canning funnel
- Bubble removal tool (or clean plastic knife)
- Kitchen timer
Nice-to-Have Items:
- Pressure canner (for future low-acid foods)
- Magnetic lid lifter
- Jar rack for easier processing
- Multiple sizes of canning jars
- Mason Jar Vacuum Sealer
You can find canning supplies at most grocery stores during peak season, hardware stores, or online retailers. Many beginners start with a basic canning kit that includes the essential tools. For budget-friendly alternatives, clean kitchen tongs can substitute for jar lifters initially, and a regular funnel works if you don’t have a canning-specific one.
Proper care extends your equipment’s life significantly. Wash everything thoroughly after use, store jars with lids off to prevent moisture buildup, and inspect equipment regularly for damage.
Canning Safety Fundamentals
Safety isn’t optional in canning – it’s the foundation everything else builds upon. Understanding a few key principles will keep your preserved foods safe and delicious.
The most critical concept is pH levels. Foods with high acid content (pH 4.6 or lower) can be safely processed in a boiling water bath. Low-acid foods require higher temperatures, only achievable through pressure canning. This is why you can’t just decide to can that leftover soup without following a tested recipe.
Always inspect your finished products before consuming. Signs of spoilage include bulging lids, foam or bubbles in the liquid, off colors, musty odors, or spurting liquid when opened. When in doubt, throw it out. No preserved food is worth risking your health.
Stick to recipes from trusted sources like the USDA Complete Guide to Home Canning, Ball canning guides, or university extension services. These recipes have been scientifically tested for safety. Social media recipes or family hand-me-downs might not meet current safety standards.
Water Bath Canning vs. Pressure Canning
Understanding when to use each method is crucial for safe canning. Water bath canning is perfect for beginners because it’s simpler and works for many popular preserved foods.
Use water bath canning for high-acid foods, including fruits, fruit juices, jams, jellies, pickles, and tomatoes with added acid. The boiling water temperature (212°F at sea level) is sufficient to destroy harmful organisms in these acidic environments.
Pressure canning is necessary for low-acid foods like vegetables, meats, poultry, and seafood. These foods require temperatures of 240°F or higher to eliminate the risk of botulism, which only pressure canning can achieve.
As a beginner, start with water bath canning. It requires less equipment, and the margin for error is more forgiving. Once you’re comfortable with the basic process, you can invest in a pressure canner and expand your preservation repertoire.
The equipment differs mainly in the processing vessel. Water bath canning uses a large pot filled with boiling water, while pressure canning requires a specialized pressure canner that builds steam pressure to reach higher temperatures.
Your First Canning Project: Step-by-Step
Let’s walk through your first beginner’s canning project with a simple strawberry jam recipe. This high-acid preserve is forgiving and delicious – perfect for building confidence.
Before You Begin:
- Choose a tested recipe and read it completely from start to finish
- Gather all ingredients and equipment in one area
- Check that your jars are free from chips or cracks
- Ensure you have new lids (rings can be reused if in good condition)
- Fill your canning pot with water and begin heating
The Process: Start by sterilizing your jars in boiling water or your dishwasher’s sanitize cycle. Keep them hot until ready to fill. Prepare your lids according to manufacturer instructions – modern lids often don’t require pre-heating.
Preparing Your Recipe:
- Measure ingredients exactly as specified in your tested recipe
- For strawberry jam: combine fruit, sugar, and lemon juice in your cooking pot
- Cook until the mixture reaches the proper consistency using a reliable thermometer or plate test
- Stir frequently to prevent sticking and ensure even cooking
Filling and Sealing Jars:
- Fill hot jars with hot jam, leaving specified headspace (usually ¼ inch for jams)
- Remove air bubbles by sliding a clean knife around the inside edges
- Wipe jar rims clean with a damp cloth – any residue can prevent proper sealing
- Apply lids and rings, tightening just until fingertip tight
- Don’t over-tighten, as air needs to escape during processing
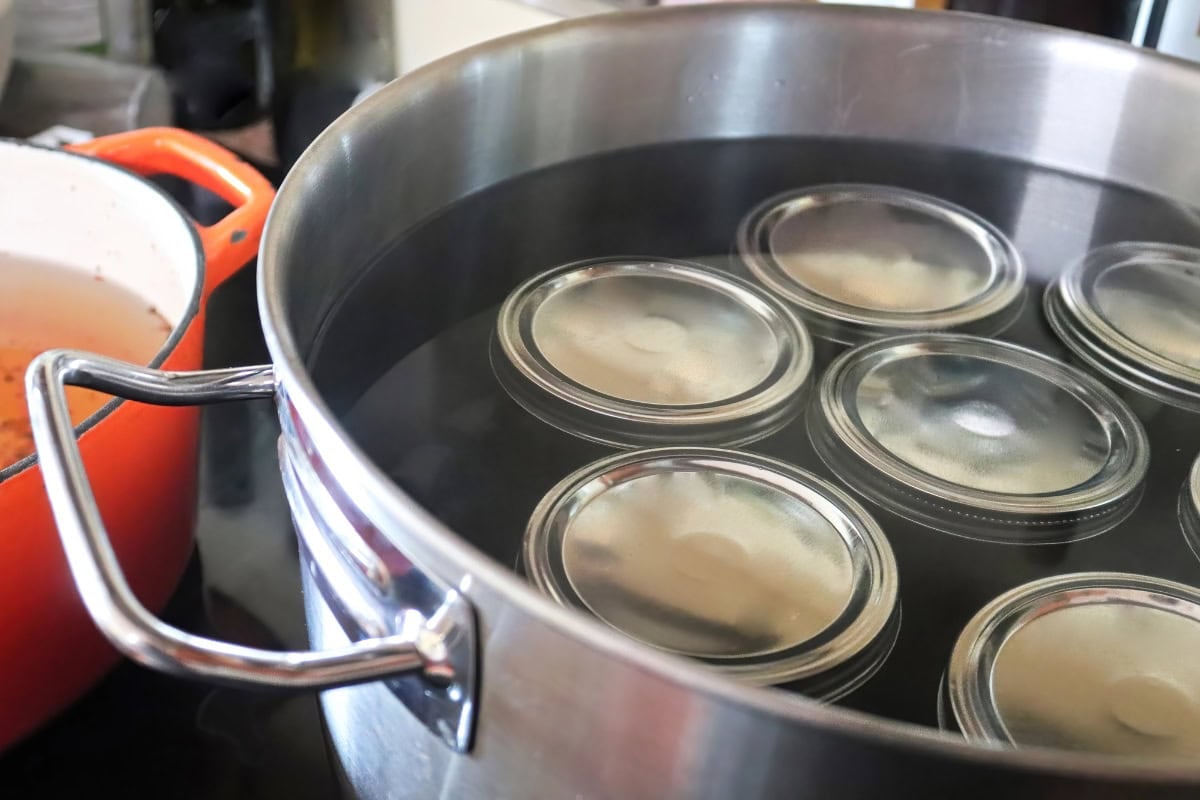
Processing in Water Bath:
- Lower filled jars into your boiling water bath using a jar lifter or tongs
- Ensure water covers jars by at least 1 inch, adding more boiling water if needed
- Process for the time specified in your recipe, adjusting for altitude if necessary
- When processing time is complete, turn off the heat and let jars sit for 5 minutes before removing
Signs of Proper Sealing:
- You should hear the satisfying “ping” of jars sealing within 24 hours
- Press the center of each lid – properly sealed lids won’t flex or move
- The lid should be slightly concave (curved inward)
- Any unsealed jars should be refrigerated and used within a few weeks
Common Beginner Mistakes to Avoid:
- Don’t modify recipe ingredients or ratios
- Never reuse old canning lids
- Don’t skip the processing time even if jars appear sealed
- Avoid overtightening rings, which can prevent proper sealing
Best Beginner-Friendly Recipes to Try
Starting with the right recipes builds confidence and ensures success. Here are the most foolproof options for new canners:
- Strawberry or grape jelly tops the list for beginners. The high sugar and acid content make these preserves very forgiving, and the results are consistently delicious.
- Dill pickles offer a savory option that’s nearly impossible to mess up. The vinegar provides plenty of acid for safe water bath processing.
- Applesauce is another excellent choice, especially when apples are in season. You can make it as simple or complex as you like with spices.
- Peach preserves capture summer flavors beautifully and work wonderfully in peach recipes throughout the year. Try them in cobblers or as a glaze for meats.
- Tomato sauce might seem advanced, but it’s quite beginner-friendly when you follow tested recipes. Use your homemade sauce in marinara recipes for pasta nights that taste like summer.

Consider seasonal timing when choosing recipes. Spring brings strawberries and early fruits, summer offers the bounty of peaches and tomatoes, while fall provides apples and late-season produce. This natural progression helps you build skills gradually throughout the year.
Storage and Organization
Proper storage ensures your hard work pays off with safe, delicious food for months to come. Store sealed jars in a cool, dark, dry place where temperatures remain between 50-70°F.
Create a simple labeling system that includes contents and processing date. Masking tape and permanent markers work fine, though you might prefer printed labels for gifts. Use older products first, following a “first in, first out” rotation system.
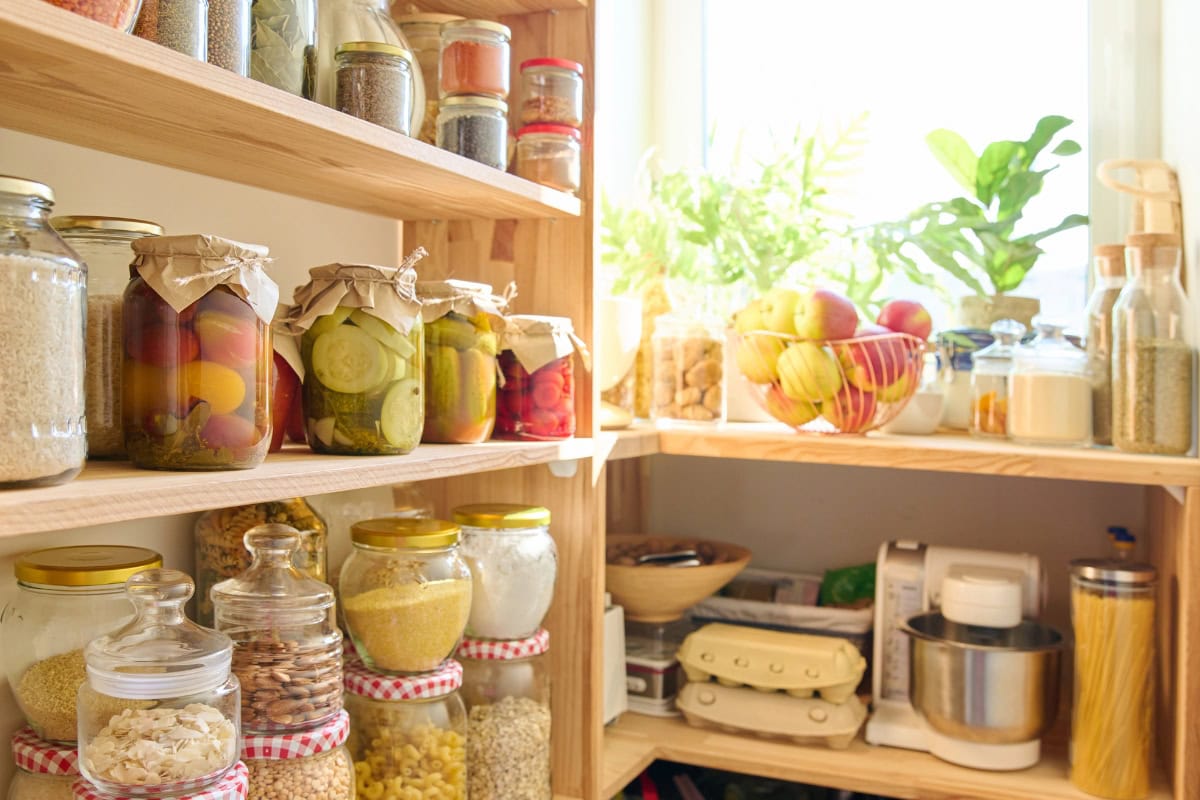
Your pantry organization becomes even more important with home-canned goods. Consider dedicating specific shelves or areas to preserved foods, grouping similar items. Keep a pantry inventory to track what you have and when it was processed.
Most properly canned high-acid foods maintain best quality for 12-18 months, though they remain safe much longer if seals stay intact. Low-acid foods are best used within 2-5 years. Quality gradually declines over time, but safety isn’t compromised as long as seals remain intact.
Using Your Canned Goods
The absolute joy of canning comes when you open those jars and create delicious meals. Your preserved fruits shine in apple pie recipes made with your own canned apples, or try canned peaches in a peach cobbler.

Preserved foods excel in meal planning because they’re always ready to use. Stock your weekly meal plans with recipes that incorporate your canned goods. Tomato sauce becomes the base for quick pasta dinners, while fruit preserves add flavor to morning toast or evening desserts.
Think beyond obvious uses. Fruit preserves make excellent glazes for roasted meats, pickled vegetables add crunch to salads and sandwiches, and canned tomatoes become the foundation for soups, stews, and casseroles.
During busy weeknights, having shelf-stable preserved foods means you’re always prepared to create satisfying meals without last-minute grocery runs.
Troubleshooting Common Issues
Even experienced canners encounter occasional problems. Here’s how to handle the most common issues beginners face.
- Failed seals are the most frequent concern. If jars don’t seal within 24 hours, you have options. Reprocess using a new lid within 24 hours, or refrigerate and use within the recommended timeframe for fresh storage.
- Liquid loss during processing often worries new canners, but it’s usually harmless if food remains covered. This happens due to rapid temperature changes or over-packing jars. As long as jars seal properly, the food is safe.
- Color changes in preserved foods are regular over time. Fruits may darken slightly, and some vegetables change hue. This affects appearance more than safety or flavor.
- Texture changes also occur naturally. Canned fruits become softer than fresh, and some vegetables change consistency. This is expected and doesn’t indicate spoilage.
When in doubt about any preserved food, err on the side of caution. No jar of food is worth risking your health, and there’s no shame in discarding questionable products.
Building Your Canning Skills
How to start canning is just the beginning of your preservation journey. Once you’ve mastered basic water bath canning, consider expanding your skills gradually.
Your next step might be trying different types of preserves – move from sweet jams to savory chutneys or pickled vegetables. Each type teaches you new techniques while building on your existing knowledge.
Eventually, you may want to invest in a pressure canner to preserve low-acid foods like vegetables, soups, and meats. This opens up entirely new possibilities for meal planning and food storage.
Join canning communities online or in your area. Experienced canners love sharing tips and troubleshooting advice. Many extension offices offer canning classes that provide hands-on experience with expert guidance.
Keep detailed records of your successes and failures. Note which recipes your family loves, processing times that work well in your kitchen, and any adjustments you make for your local conditions.
Storing Your Preserved Foods
Create a dedicated space for your canned goods where you can easily see what you have. Good air circulation prevents condensation that could damage labels or rings. Avoid areas with temperature fluctuations, like garages or attics.
Check stored jars periodically for signs of spoilage or seal failure. Remove any damaged products immediately to prevent contamination of nearby jars.
Consider the aesthetic aspect too – neat rows of colorful preserved foods create a sense of accomplishment and preparedness that many find deeply satisfying.
FAQs
Absolutely! Beginner canning is completely safe when you follow tested recipes and proper procedures. Start with high-acid foods using water bath canning, which has a larger safety margin than pressure canning.
Properly canned high-acid foods maintain peak quality for 12-18 months, while low-acid foods are best within 2-5 years. Foods remain safe much longer if seals stay intact, though quality gradually declines.
Yes, use only jars designed for home canning. These jars withstand the temperature changes during processing. Repurposed commercial jars may break or fail to seal properly.
Never alter the ratios of main ingredients, acid levels, or processing times in canning recipes. These elements ensure safety. You can adjust spices and seasonings to taste, but stick to tested proportions for fruits, vegetables, sugar, and acid.
Canning is one method of preserving food. Other preservation methods include freezing, dehydrating, and fermentation. Canning creates shelf-stable foods that don’t require refrigeration until opened.