Christmas Cookie Decorating: Easy Tips and Creative Ideas

Christmas cookie decorating is one of the most joyful holiday traditions. There’s something magical about transforming simple baked cookies into festive treats that bring smiles to everyone who sees them. Whether you’re decorating with kids or creating elegant cookies for a holiday party, the process is as fun as the final result.

Save This Post!
The best part about decorating Christmas cookies is that you don’t need to be a professional baker to create beautiful results. With a few basic techniques and some creativity, you can turn any cookie into a holiday masterpiece that looks like it came from a bakery.
Why You’ll Love Christmas Cookie Decorating
- Perfect Family Activity: Christmas cookie decorating brings everyone together during the holiday season. Kids love choosing colors and adding sprinkles, while adults can get more creative with intricate designs.
- Endless Customization: Every cookie becomes a blank canvas for your creativity. You can match your home’s holiday décor, create themed collections, or let each person express their own style.
- Great for Gift-Giving: Decorated cookies make thoughtful homemade gifts that show you care. Package them in clear cellophane bags with festive ribbon for presents that friends and family will actually enjoy.
- Make-Ahead Friendly: You can bake cookies days in advance and decorate them when it’s convenient. This takes the stress out of holiday baking and lets you spread the fun across multiple days.
Best Cookies for Christmas Decorating
Sugar Cookies
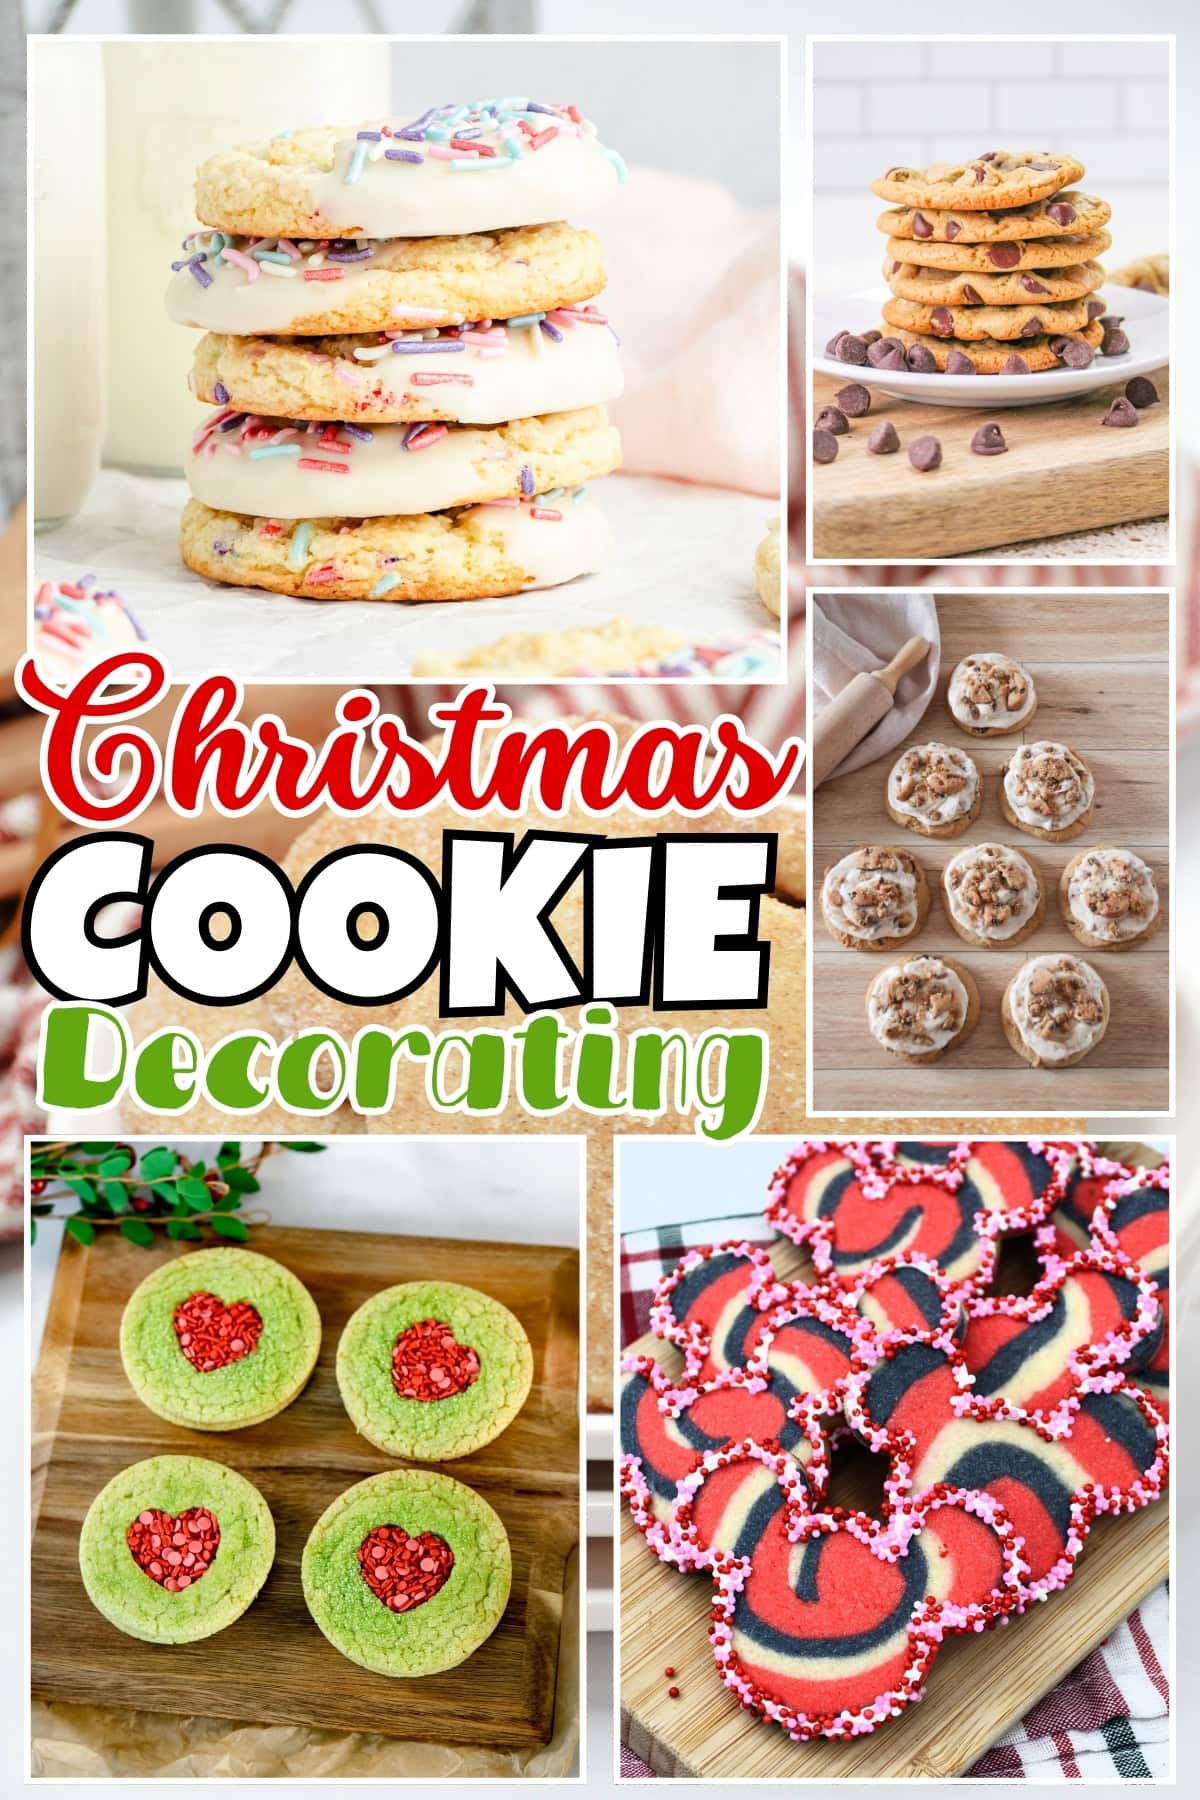
Sugar cookies are the gold standard for Christmas cookie decorating. Their firm texture holds shapes well, and the neutral flavor lets your frosting and decorations shine. This 4th of July sugar cookies recipe uses a fantastic base that works beautifully with holiday cookie cutters too. The dough only needs 20 minutes of chilling time instead of the traditional 2 hours, which means you can get to decorating faster.

Cut your sugar cookies into classic Christmas shapes like stars, trees, snowflakes, and gingerbread people. The key is rolling the dough to exactly ¼ inch thickness so all your cookies bake evenly. When decorating sugar cookies, royal icing creates the smoothest finish and dries hard enough for stacking and gifting.
Chocolate Chip Cookies
Don’t overlook chocolate chip cookies for Christmas decorating! The frosted chocolate chip cookies show how a classic cookie becomes extra special with vanilla frosting and a festive topping. For Christmas, swap the regular cookie crumbles for crushed candy canes or red and green sprinkles.
These cookies work especially well when you want a more casual, homestyle look for your holiday treats. The chocolate chips add texture and visual interest, so you don’t need elaborate decorating to make them look appealing.
Shortbread Cookies
Shortbread cookies like New Mexico biscochitos offer a buttery richness that pairs perfectly with simple decorations. The cinnamon-sugar coating on biscochitos can be adapted for Christmas by adding red or green colored sugar. You can also cut these cookies into festive shapes before baking.
The beauty of shortbread is its sturdy texture that stands up to handling. These cookies won’t crumble when kids are decorating them, making them ideal for family cookie decorating parties.
Cake Mix Cookies
Looking for an ultra-easy option? Cake mix cookies with sprinkles simplify the whole process. Start with a white or yellow cake mix and add Christmas-colored sprinkles to the dough before baking. Once cooled, dip them in melted chocolate and add more festive sprinkles.

These cookies are perfect when you’re short on time but still want homemade treats. The cake mix gives them a soft, tender texture that everyone loves.
Specialty Cookies
The no butter chocolate chip cookies offer an extra-moist option that works beautifully with a drizzle of white chocolate and red and green sprinkles. Their soft texture makes them a nice contrast to crispy decorated sugar cookies on a holiday cookie platter.
For something different, try decorating Mexican shortbread cookies with a dusting of powdered sugar and a drizzle of red or green icing for a festive twist.
Essential Decorating Supplies
Before you start decorating, gather your supplies. You’ll need royal icing or buttercream frosting, food coloring in Christmas colors, piping bags and tips, an offset spatula for spreading frosting, and assorted decorations like sprinkles, colored sugar, and edible pearls.
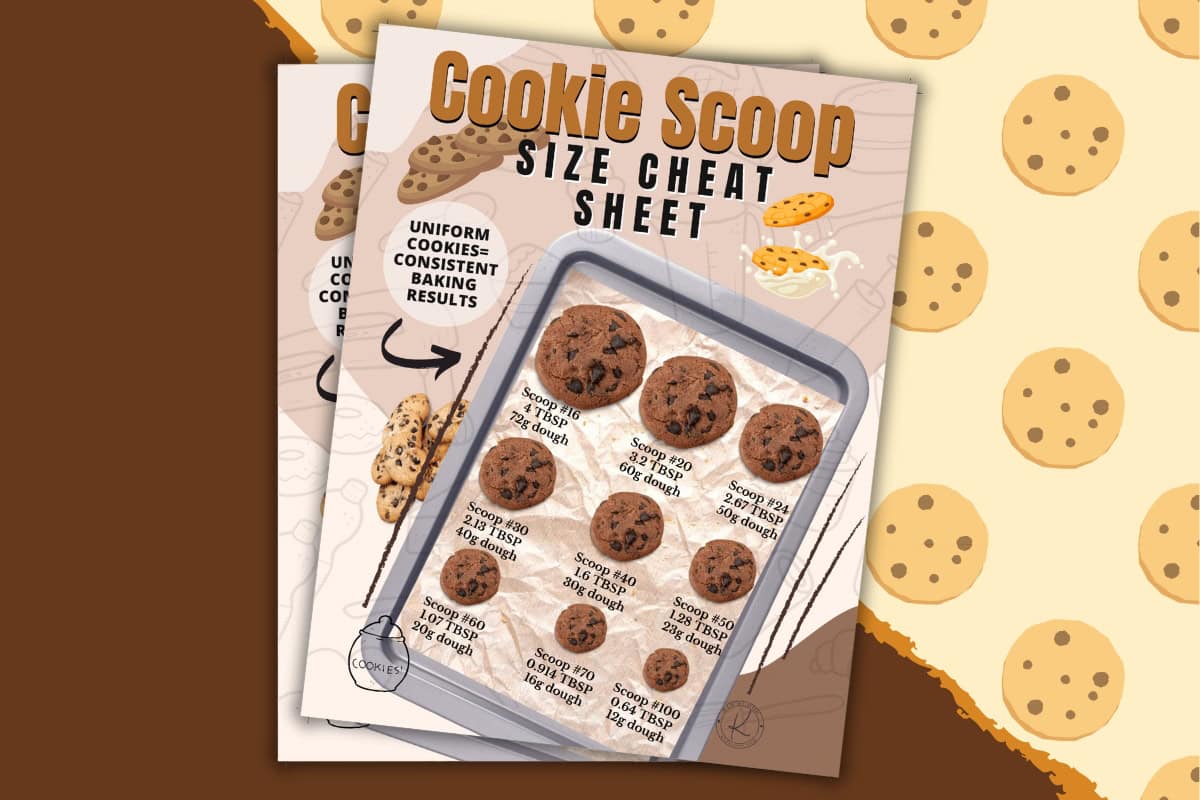
Don’t forget about tools that make the process easier. Cookie scoops help ensure even-sized cookies, cooling racks let your cookies cool completely before decorating, and parchment paper prevents sticking. The cookie scoop sizes chart can help you get consistently sized cookies.
Royal Icing vs. Buttercream
Royal icing is the professional’s choice for decorated cookies. It dries hard with a smooth, matte finish that’s perfect for intricate designs and stacking cookies. You can thin it to different consistencies for flooding, outlining, or piping details. Royal icing sets completely within a few hours, making it ideal for cookies you need to package or transport.
Buttercream frosting offers a softer, creamier option that stays slightly soft. It’s easier to spread and tastes richer than royal icing. While buttercream doesn’t dry as hard as royal icing, it’s perfect for casual cookie decorating and creates a homestyle look that many people prefer.
Step-by-Step Decorating Techniques
Flooding Technique
Start by outlining your cookie with thick royal icing using a piping bag with a small round tip. Let the outline set for about 15 minutes. Then thin your royal icing with a few drops of water until it’s the consistency of honey. Fill the outlined area with the thinned icing, using a toothpick to spread it evenly and pop any air bubbles.
This technique creates a smooth, professional base that you can enhance with details once it dries. It works beautifully on sugar cookies cut into Christmas trees, ornaments, or stars.
Simple Spreading
For a casual look, use an offset spatula to spread frosting directly onto your cooled cookies. This method works great with buttercream or cream cheese frosting. Immediately add your sprinkles or decorations while the frosting is still wet so they’ll stick.
This is the fastest way to decorate cookies and is perfect when you’re working with kids. Everyone can personalize their cookies without worrying about the perfect technique.
Piping Designs
Use piping bags fitted with different tips to create borders, rosettes, stars, and other designs on your cookies. Star tips create textured effects, while round tips are perfect for dots and lines. Practice your designs on parchment paper before piping onto cookies.
For Christmas cookies, try piping garland designs on tree-shaped cookies, creating snowflake patterns on round cookies, or adding decorative borders around sugar cookies. The frosted chocolate chip cookies demonstrate how effective simple piping can be.

Dipping Technique
Partially dip cookies into melted chocolate or colored candy melts for an elegant look. Hold the cookie at an angle and dip one side, then set it on parchment paper to harden. Once the chocolate sets, you can add contrasting drizzles or sprinkles.
This technique works especially well with rectangular or bar-shaped cookies. It’s fast, looks impressive, and requires minimal decorating skill.
Christmas Color Combinations
Traditional red and green remain the most popular Christmas cookie colors. Pair bright red icing with forest green accents, or use different shades of each color for depth. Add white icing or royal icing for snow effects and highlights.
Winter wonderland themes use white, silver, and light blue for an elegant, snowy look. This color scheme works beautifully on snowflake and star-shaped cookies. Add edible silver dust or pearl sprinkles for extra sparkle.
For a modern twist, try gold and white combinations for sophisticated Christmas cookies. Rose gold and copper tones also create a contemporary holiday palette. Jewel tones like deep purple, emerald green, and ruby red offer a rich, luxurious appearance.
Creative Decoration Ideas
Sprinkle Magic
Sprinkles are the easiest way to add instant festivity to decorated cookies. Roll the edges of frosted cookies in red and green jimmies, or create patterns by sprinkling different colors in sections. Nonpareil sprinkles add a classic look, while larger sugar pearls create elegant accents.
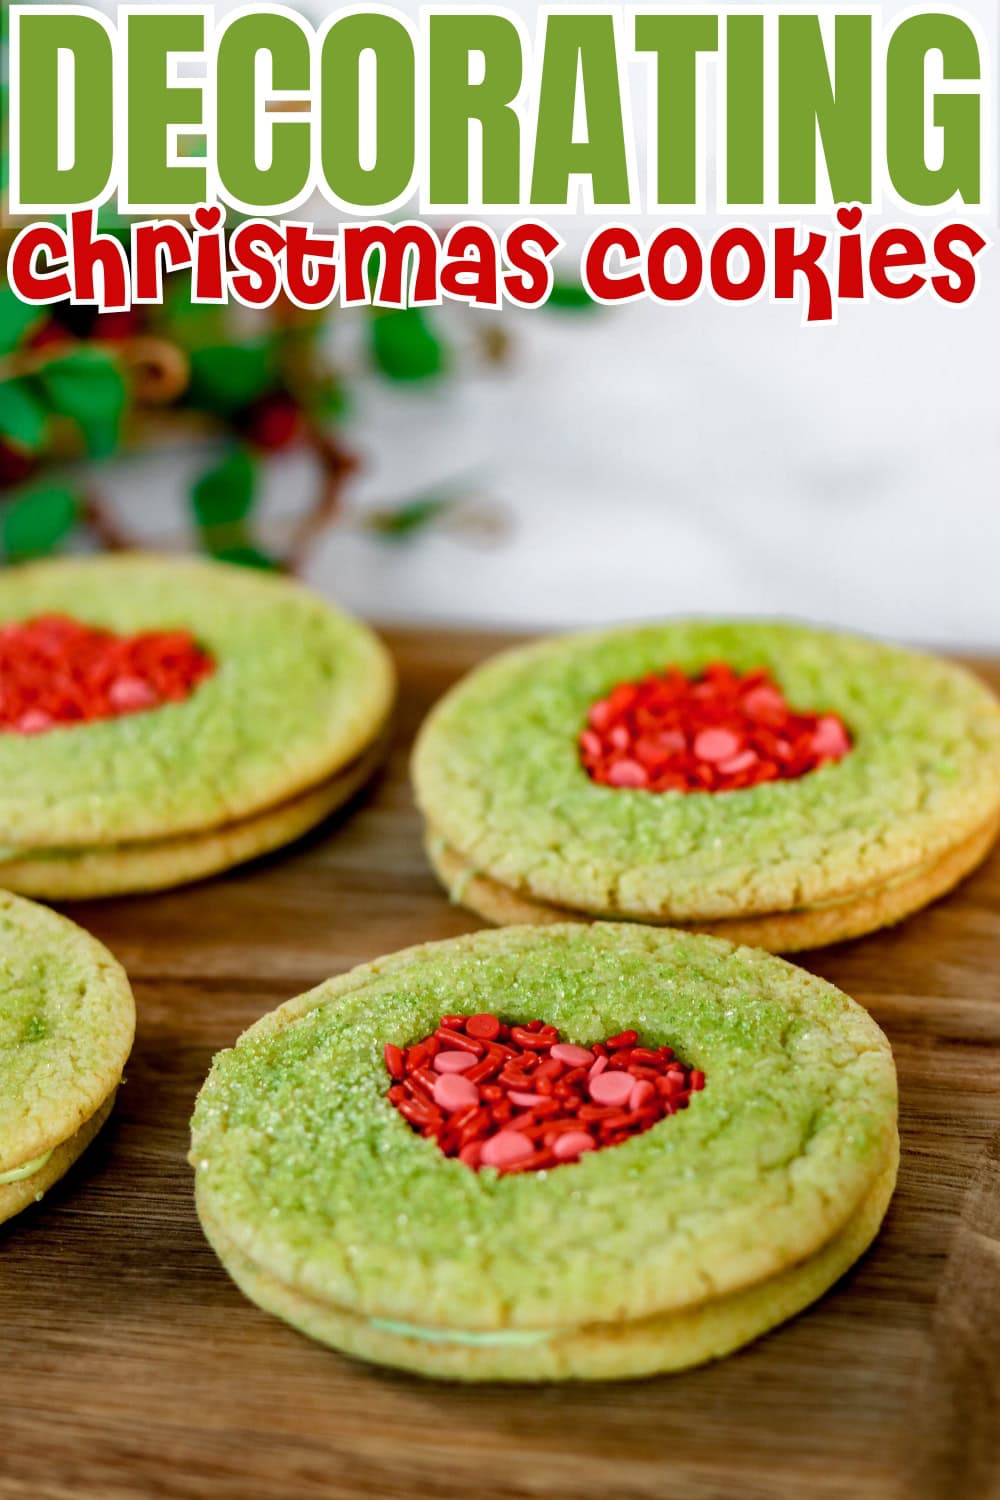
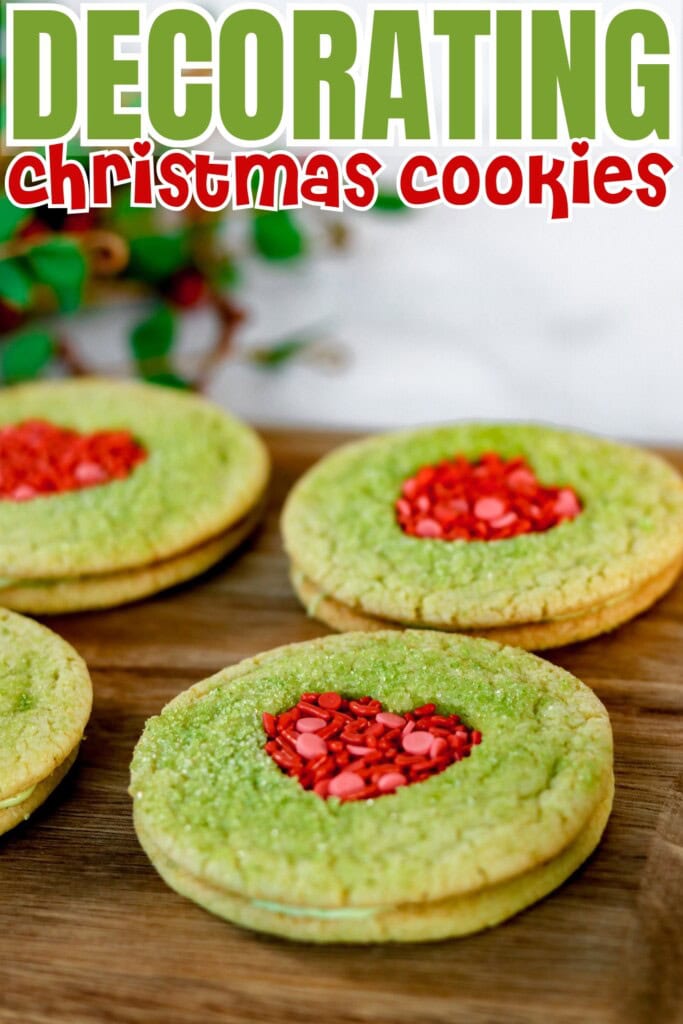
For Christmas, look for shaped sprinkles like trees, snowflakes, and holly leaves. These themed sprinkles make decorating almost effortless while still creating impressive results. Or create a shaped cookie center such as with these Green Grinch Sugar Cookies and add the sprinkles in the space.

Candy Decorations
Crushed candy canes add peppermint flavor and festive color. Press them into wet frosting or sprinkle them over royal icing. M&Ms in Christmas colors make great ornaments on tree-shaped cookies, while red and green Skittles create colorful accents.
Mini chocolate chips can become buttons on gingerbread people cookies, and white chocolate chips work as snow on winter scenes. Let your creativity guide you as you explore different candies.
Edible Glitter and Dust
Edible glitter transforms simple cookies into sparkling showpieces. Dust gold luster dust over white-iced cookies for an elegant shimmer, or use edible glitter in Christmas colors for maximum sparkle. Apply these decorations while icing is still wet for best adhesion.
Silver dragées add a classic touch to holiday cookies, though they should be removed before eating in some regions. Check your local regulations regarding these decorations.
Cookie Decorating with Kids
Keep things simple when decorating with children. Set up individual decorating stations with pre-frosted cookies that kids can embellish with sprinkles and candies. This prevents mess and lets each child work at their own pace.
Provide bowls of various decorations and let kids use their fingers or spoons to apply them. Small squeeze bottles work better than piping bags for little hands. Remember that the goal is fun, not perfection.
Make cleanup easier by covering your work surface with a plastic tablecloth or parchment paper. Have damp paper towels ready for sticky fingers. Taking photos of the decorated cookies before eating them creates wonderful holiday memories.
Storage and Gifting
Store decorated cookies in a single layer between sheets of parchment paper in an airtight container. If you need to stack them, make sure the icing is completely dry first. Cookies with royal icing can be stored at room temperature for up to a week.
For gifting, arrange decorated cookies in clear cellophane bags tied with festive ribbon. Cookie tins lined with parchment paper also make beautiful presentations. Include a small recipe card if you want to share your cookie recipe with the recipient.

If you’re shipping cookies, choose recipes that travel well and use royal icing rather than buttercream. Pack cookies tightly in sturdy containers with crumpled parchment paper to prevent shifting during transit.
Make-Ahead Tips
Bake your cookies several days before you plan to decorate them. Let them cool completely, then store in airtight containers at room temperature. They’ll actually be easier to decorate after sitting for a day or two because the texture firms up slightly.
You can also freeze baked, undecorated cookies for up to three months. Thaw them completely at room temperature before decorating. Frozen cookies often decorate even better than fresh ones because they’re very firm.
Royal icing can be made a day or two ahead and stored in airtight containers at room temperature. Just give it a good stir before using. Keep different colors in separate containers so they’re ready when you need them.
Troubleshooting Common Issues
If your royal icing is too thick, add water one drop at a time until it reaches the right consistency. Too thin? Add more powdered sugar gradually. The consistency matters significantly for the technique you’re using.
When flooding technique results in lumpy surfaces, you may not have thinned the icing enough. The icing should self-level within a few seconds of application. If you see peaks or valleys, thin it slightly more.
Prevent colors from bleeding into each other by letting each section dry completely before adding adjacent colors. This is especially important when creating detailed designs or multicolored cookies.
Serving Suggestions
Display your decorated Christmas cookies on a tiered cake stand for an impressive presentation. Arrange them by color or design for visual impact. Your decorated cookies will be the centerpiece of any holiday dessert table.
Pair Christmas cookies with mulled apple cider for a cozy holiday treat. The warm spiced cider complements sweet cookies perfectly. Set up a hot chocolate bar with various toppings and let guests enjoy cookies alongside their drinks.
Create a Christmas cookie platter that includes both decorated and simple cookies for variety. Include some peanut butter cup cookie bars or cake mix cookies alongside your elaborately decorated sugar cookies for different textures and flavors.
FAQs
Cookies decorated with royal icing can be made up to two weeks in advance when stored properly in airtight containers at room temperature. Buttercream-frosted cookies should be made within 3-4 days of serving for the best freshness. Always ensure the icing is completely dry before storing or stacking.
Gel food coloring provides the most concentrated color without thinning your icing. Start with a small amount and add more gradually until you reach your desired shade. Liquid food coloring works but requires more to achieve vibrant colors, which can thin your icing.
Store-bought frosting works well for simple spreading and casual decorating. However, it won’t dry hard like royal icing, so decorated cookies may not stack well or hold intricate details. For best results with detailed work, make royal icing from scratch or purchase pre-made royal icing.
Make sure cookies are completely cool before decorating. Store decorated cookies in containers at room temperature rather than the refrigerator, as condensation can make them soggy. Use airtight containers and place parchment paper between layers to maintain crispness.
The consistency of your royal icing is crucial. For flooding, thin it to the consistency of honey and self-level within 10 seconds. Let your outline dry for 15 minutes before flooding to prevent colors from bleeding. Use a toothpick to guide icing into corners and pop any air bubbles.