
Easy Homemade Bisquick Recipe

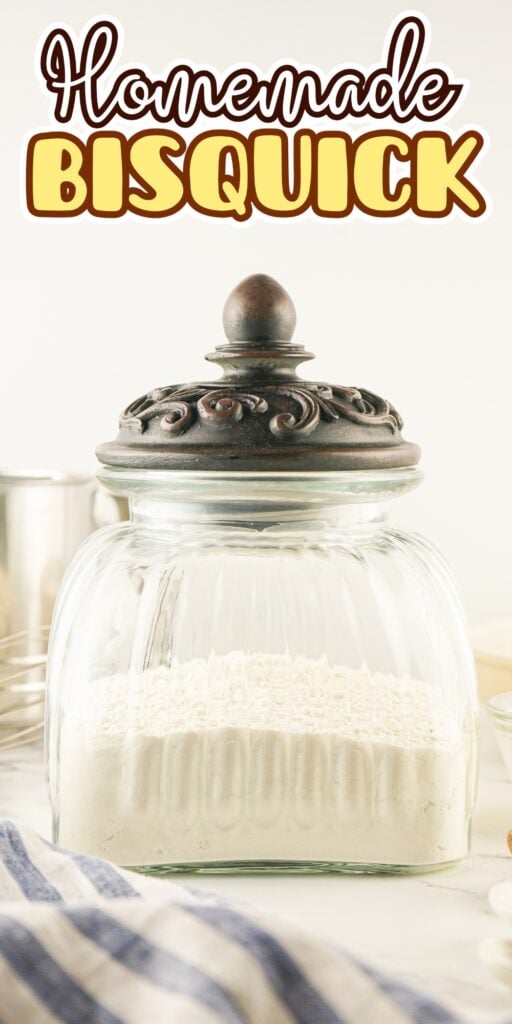
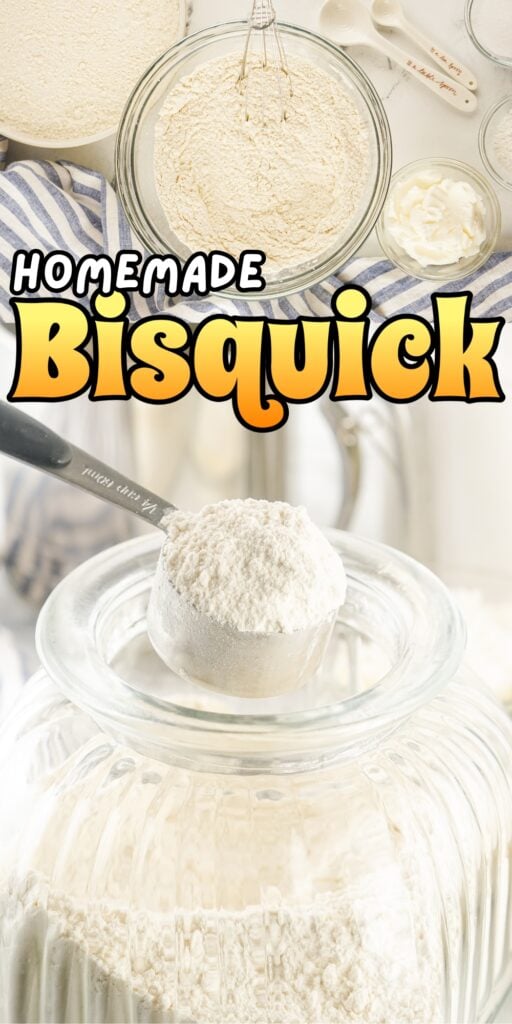
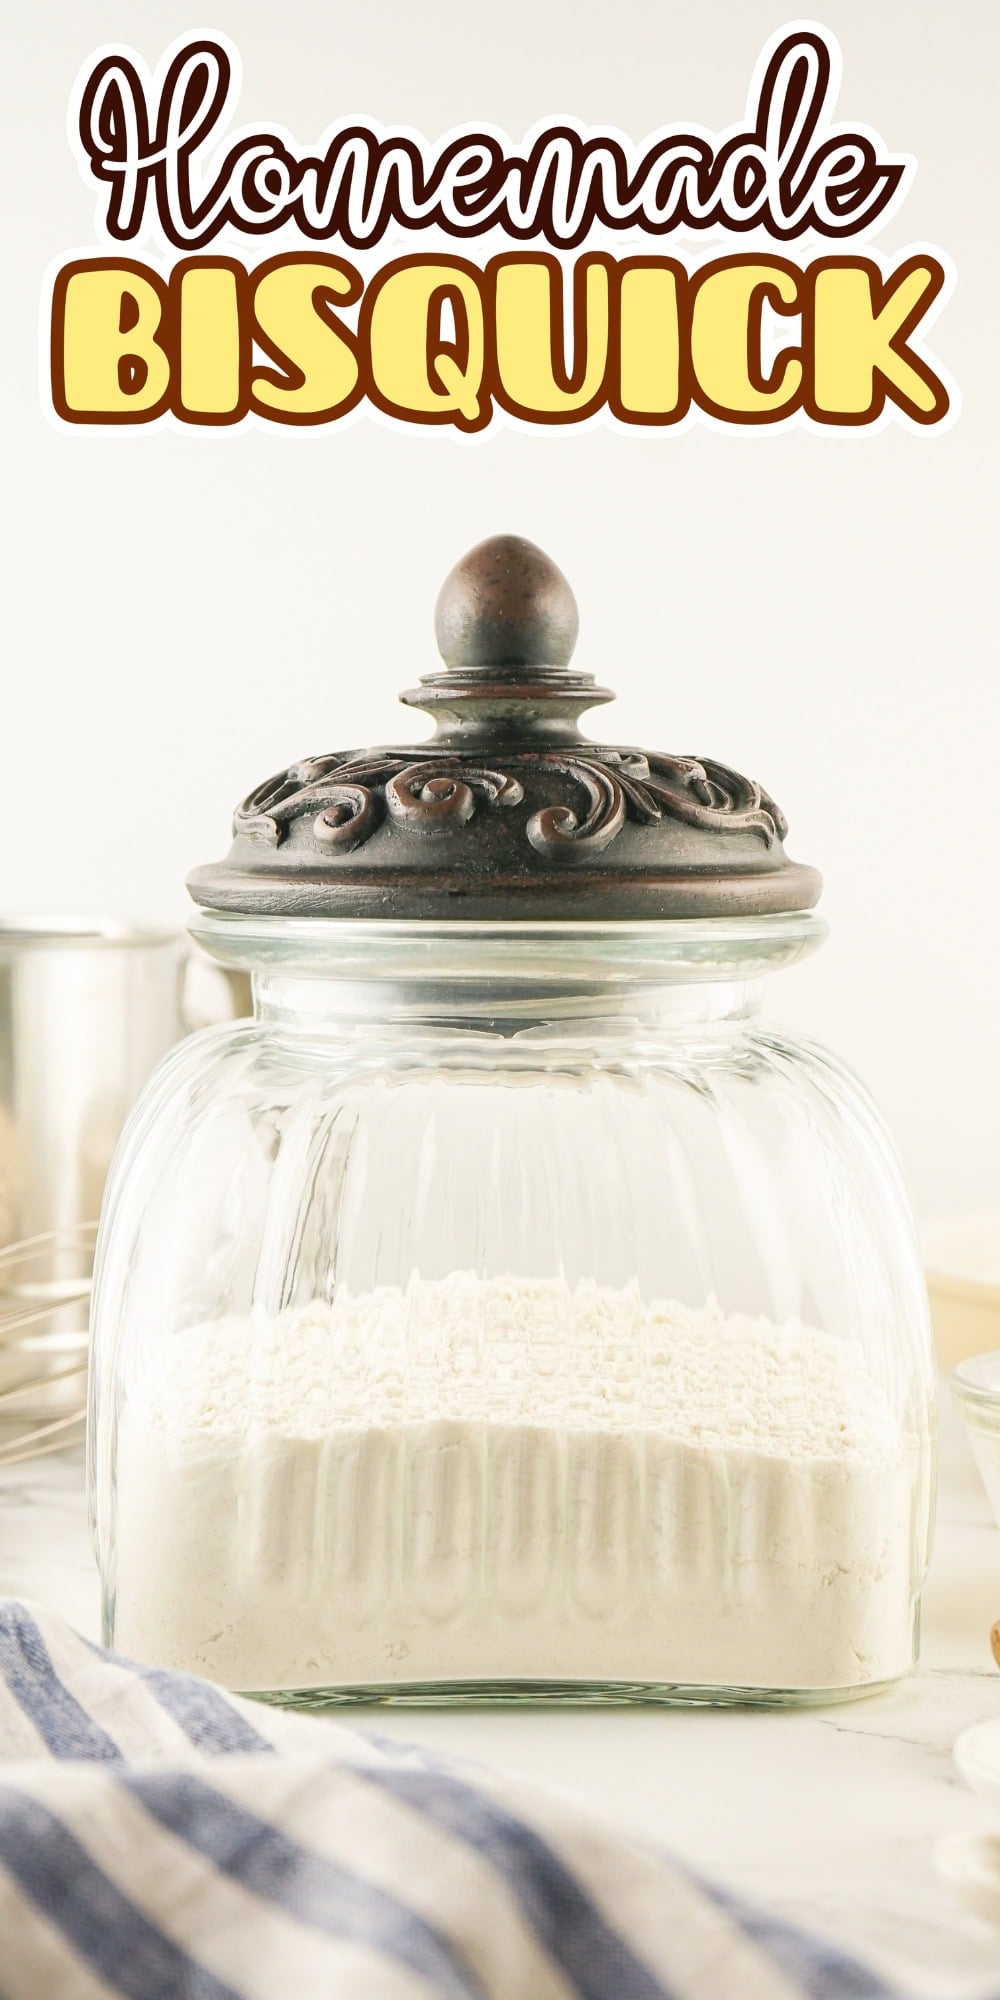
Skip the store-bought box and discover the joy of making your own homemade Bisquick mix from scratch! With just a handful of pantry staples, you can create a versatile baking mix that works even better than the one from the store. This homemade blend comes together in just 5 minutes, ready to turn into biscuits, pancakes, waffles, and more whenever the craving strikes.

Save This Post!
Once you try this fluffy, flavorful homemade mix, you’ll never go back to the store-bought box again. Plus, you can control exactly what goes into your baking mix, avoiding any preservatives or unnecessary ingredients.
Once your homemade Bisquick is ready, try it in my 3 Ingredient Sour Cream Biscuits for an ultra-tender treat, or whip up some Cheddar Biscuits with Chilies for a savory twist.
Still in the mood for baking? Check out my Rosemary Olive Oil Bread for another delicious homemade bread option!
Reasons You’ll Love This Recipe
- Ready in just 5 minutes from start to finish.
- Only requires 4 basic ingredients you likely have on hand.
- More economical than store-bought Bisquick.
- Endlessly versatile for biscuits, pancakes, waffles, and more.
What Is Bisquick Used For?
Bisquick is a versatile baking mix that serves as a foundation for countless recipes. Originally created in 1930, this blend of flour, shortening, baking powder, and salt can be used to make biscuits, pancakes, waffles, dumplings, and even pie crusts.
Making your own allows you to control the quality of ingredients while saving money. Plus, homemade Bisquick contains no preservatives or artificial ingredients, making it a healthier choice for your family.
What’s In This Homemade Bisquick Recipe?

Ingredient Notes:
- All-purpose flour forms the foundation of your Bisquick mix, providing structure for whatever you decide to bake.
- Shortening creates a tender, flaky texture and helps keep the mix fresh in storage.
- Baking Powder is the leavening agent that makes your baked goods rise beautifully and become light and airy.
- Salt enhances all the flavors and helps balance the mix perfectly.
See the recipe card below for the full ingredient list and exact measurements.
Substitutions and Additions
- Butter substitute – Replace shortening with cold unsalted butter for a richer flavor.
- Whole wheat option – Substitute up to half the all-purpose flour with whole wheat flour.
- Cheese addition – Mix in 1 cup of shredded cheddar for a cheesy variation.
- Herb variations – Add 1-2 teaspoons of dried herbs like rosemary or thyme.
- Spice options – Incorporate garlic powder or onion powder for a savory mix.
How to Make Homemade Bisquick (step-by-step directions)

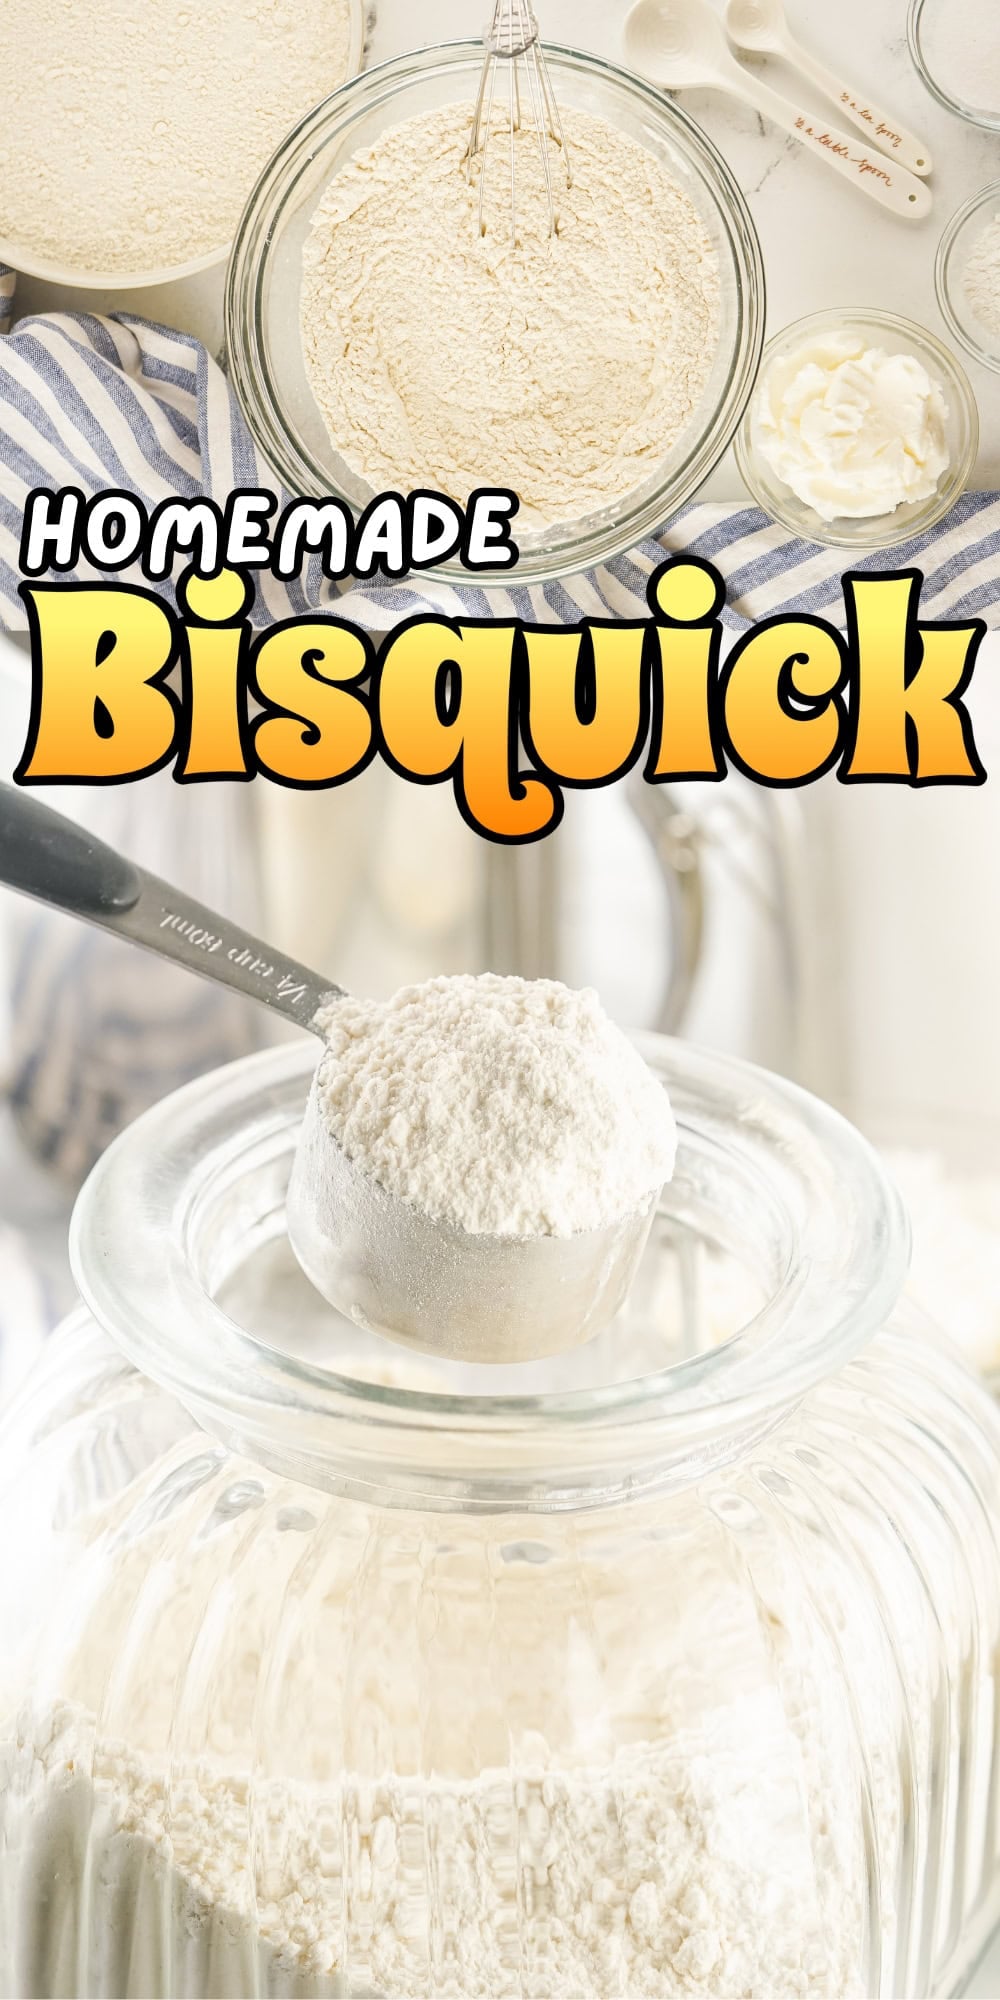
- Begin by whisking together your flour, baking powder, and salt in a medium mixing bowl until well combined. (Photos 1 & 2)
- Cut your cold shortening into small pieces and add to the dry ingredients. (Photo 3)
- Using a hand mixer or stand mixer with a whisk attachment, blend on medium-high speed until the shortening is fully incorporated into the flour mixture.
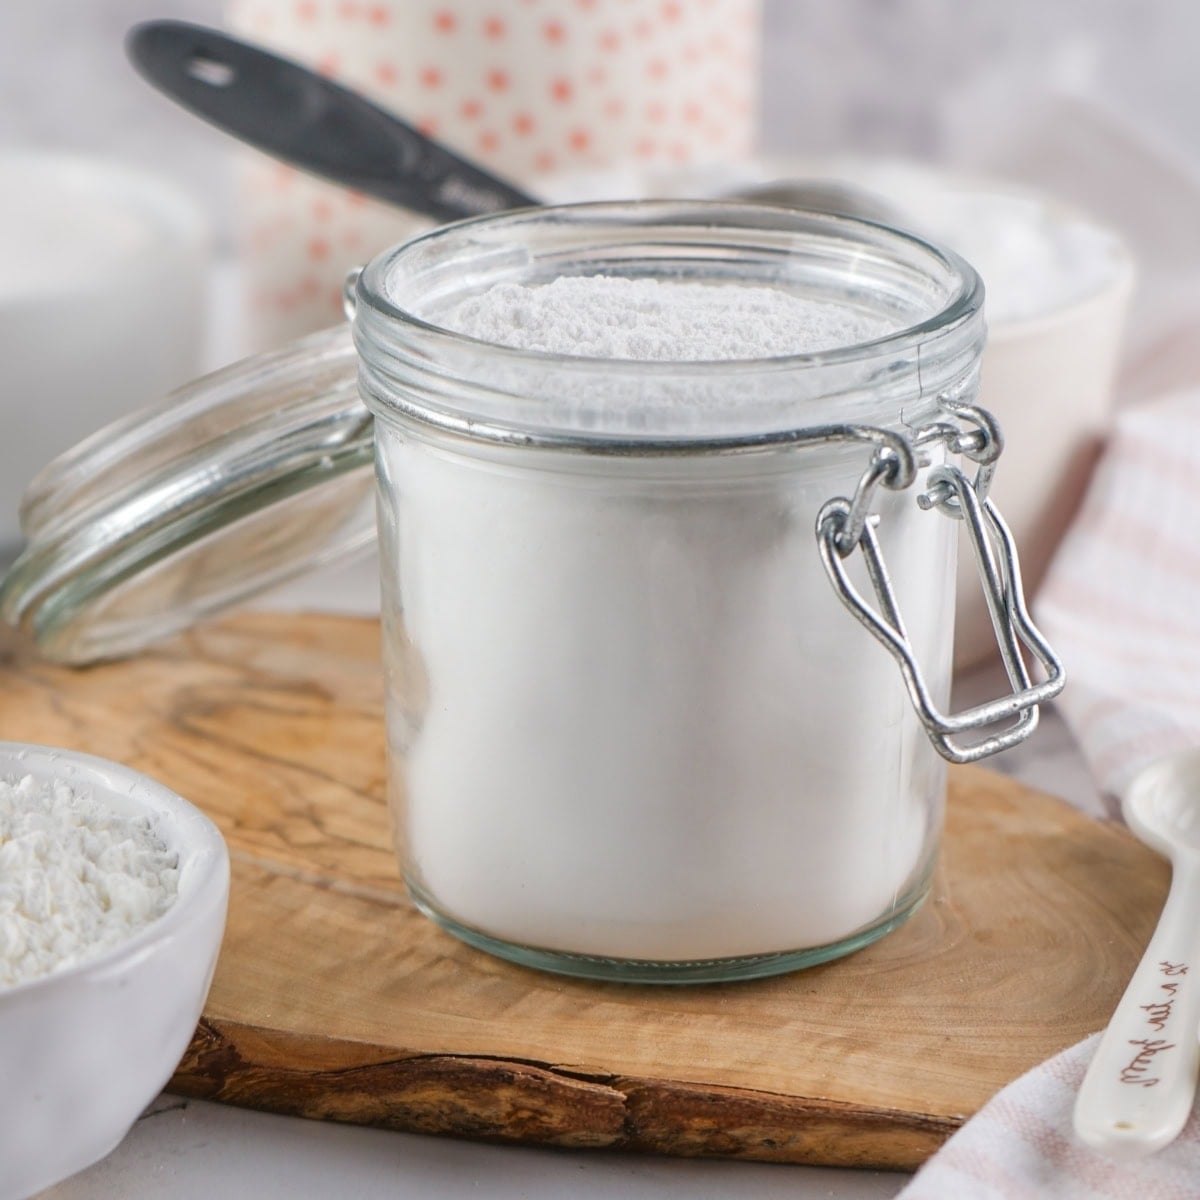
- Store your homemade Bisquick in an airtight container, or use it right away in your favorite recipe. (Photo 4)

Recipe Tips
- Keep all ingredients cold for the flakiest texture.
- Don’t overmix – stop as soon as the shortening is evenly incorporated.
- Sift the flour first to keep your mix free of lumps.
- Store in an airtight container to keep moisture out.
- Label your container with the date so you know when to use it by.
Storing Tips
- Storage: Keep homemade Bisquick mix in an airtight container in the refrigerator for up to 3 months.
- Room Temperature: The mix can be stored at room temperature in an airtight container for up to 1 week.
- Freezing: While freezing isn’t recommended for the dry mix, any biscuits or baked goods made from it can be frozen for up to 2 months.
- Reheating: Warm baked goods in a 350°F oven for 5-7 minutes or microwave for 15-20 seconds.
Serving Suggestions
Use your homemade Bisquick to whip up warm biscuits that pair perfectly with Homemade Creamy Baked Mac and Cheese for a comforting meal. For breakfast, turn it into pancakes or serve alongside Sheet Pan Scrambled Eggs to make delicious breakfast sandwiches.

Recipe FAQs
Check that your baking powder is fresh – it loses effectiveness over time. Also, make sure you’re using cold ingredients and not overworking the dough, as this can prevent proper rising.
Yes, you can substitute cold unsalted butter for the shortening. The texture will be slightly different but still delicious, and you’ll get a richer butter flavor in your biscuits.
If your Bisquick mix develops an off smell, shows signs of mold, or has been stored longer than 3 months in the refrigerator, it’s best to make a fresh batch.
Absolutely! This recipe doubles easily – just maintain the same ratios of ingredients. It’s great for batch cooking or when feeding a crowd.
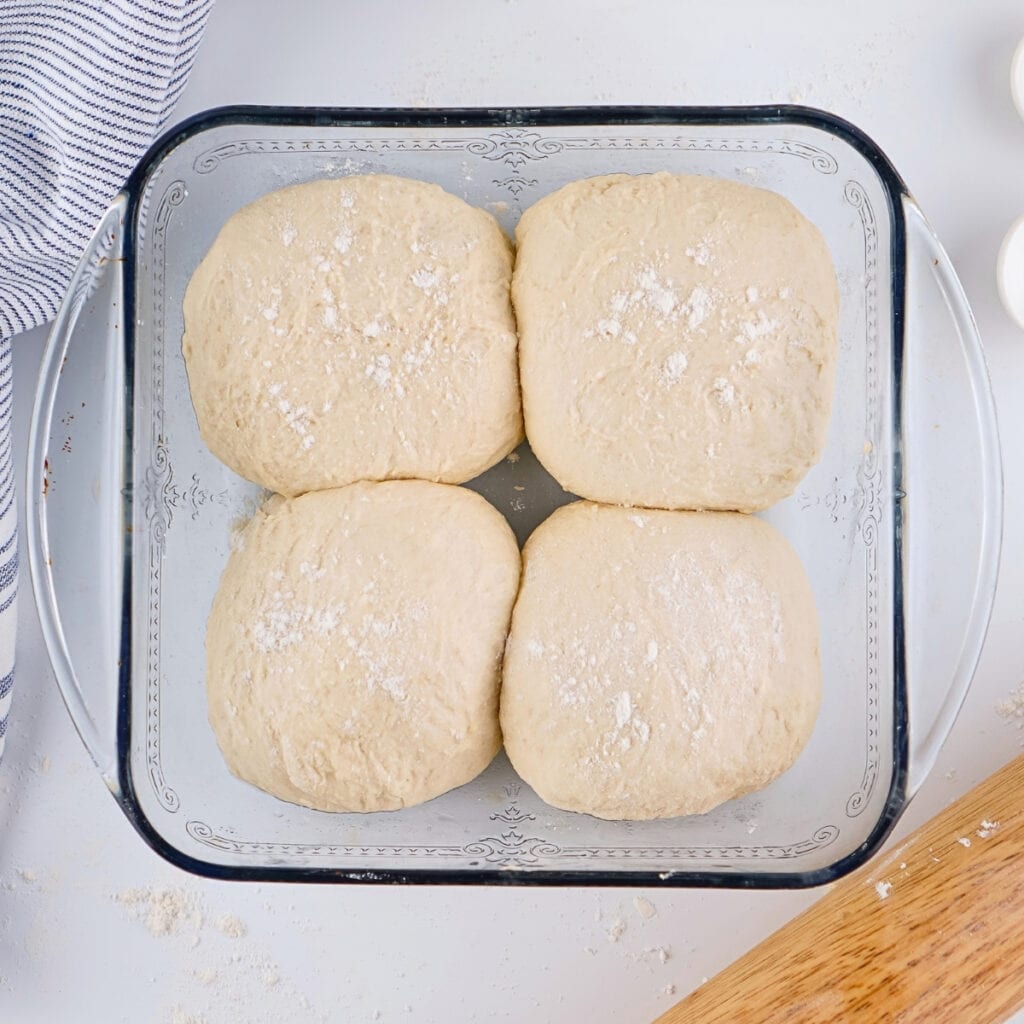



Homemade Bisquick Recipe
Equipment
Ingredients
- 3 Cups All Purpose Flour
- 3 ½ Tablespoons Shortening
- 1 ½ Tablespoons Baking Powder
- 1 Teaspoon Salt
Instructions
- Begin by whisking together your flour, baking powder, and salt in a medium mixing bowl until well combined.
- Cut your cold shortening into small pieces and add to the dry ingredients.
- Using a hand mixer or stand mixer with a whisk attachment, blend on medium-high speed until the shortening is fully incorporated into the flour mixture.
- Store your homemade Bisquick in an airtight container, or use it right away in your favorite recipe.
Notes
- Keep all ingredients cold for the flakiest texture.
- Don’t overmix – stop as soon as the shortening is evenly incorporated.
- Sift the flour first to keep your mix free of lumps.
- Store in an airtight container to keep moisture out.
- Label your container with the date so you know when to use it by.
Nutrition Information
Hungry for more?
Follow me on Pinterest and make sure to comment below!

Is there a lower fat option without the shortening?
The problem with a lower fat option, is that this mix is shelf stable and if you are planning to make it ahead of time to keep on hand, the lower fat options won’t work because they aren’t shelf stable. What you can do instead though is cut the shortening in half, and then add in 1¾ tablespoons of applesauce or greek yogurt to your biscuits when you are making them. You can also leave the shortening out altogether and add 3 1/4 tablespoons of Greek yogurt to your batch when making them. But, do not add the applesauce or greek yogurt to the mix if you are storing it, and making it ahead because they are not shelf stable.