
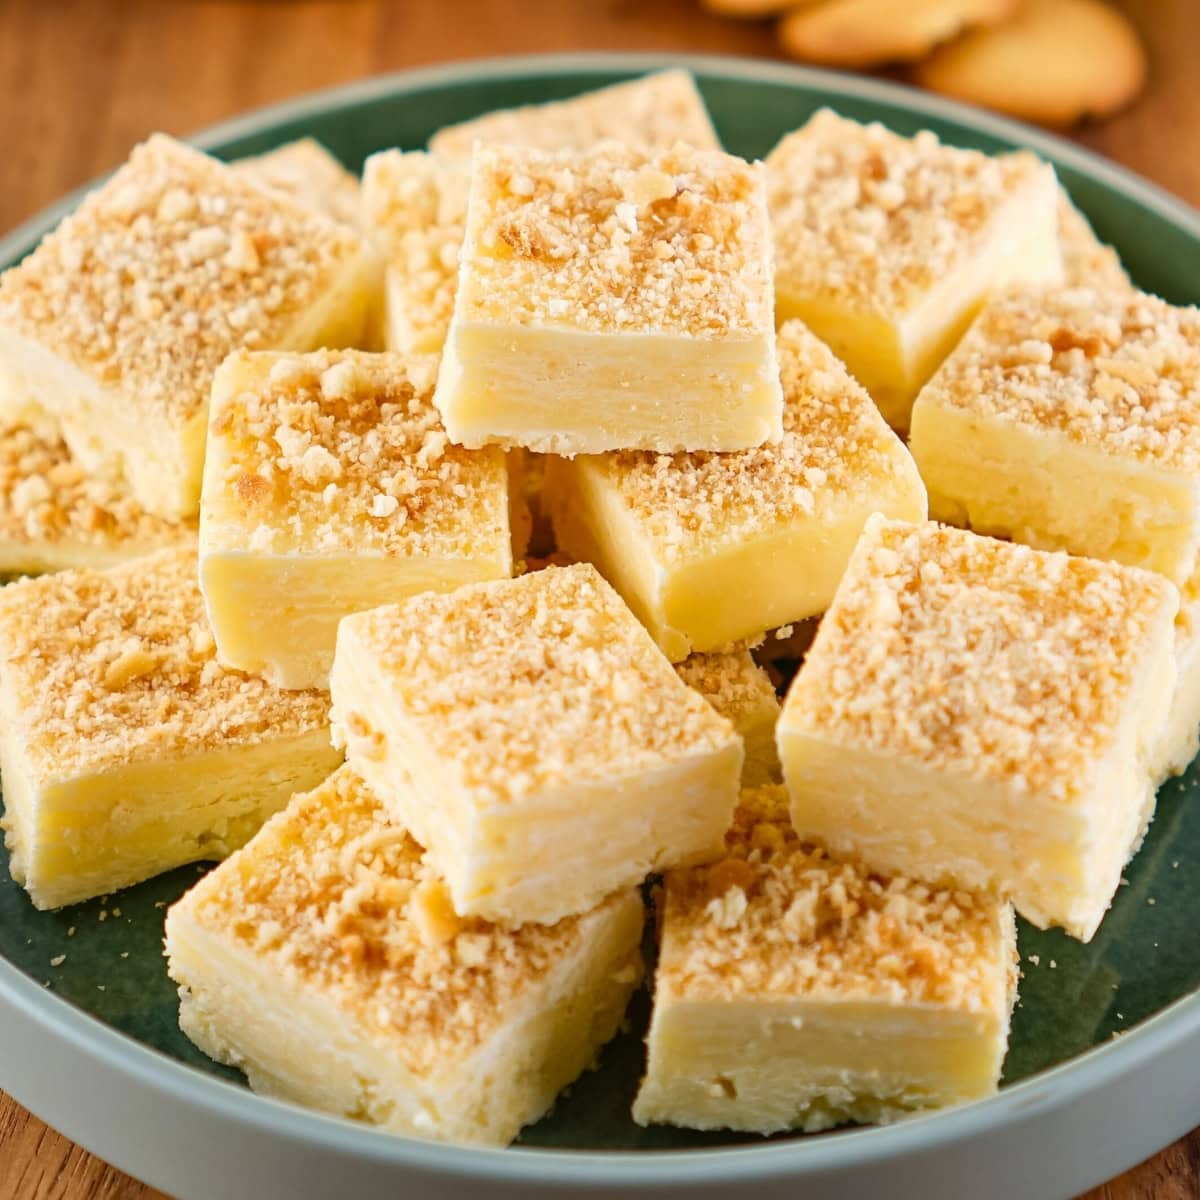
Easy Kit Kat Fudge Recipe (No Bake!)


Kit Kat fudge is a delicious and easy fudge recipe. Give this KitKat fudge recipe a try for a fun treat. This is a wonderful candy bar fudge that is perfect for any time of the year. This does make a delicious dessert for Christmas.

Save This Post!
Kit kat bars are one of my favorites, and when you pair with chocolate chips and condensed milk, it creates this rich and creamy fudge. This is a great way to incorporate Kit Kat candy bars into a dessert.
Try my old fashioned peanut butter fudge for a creamy and delicious treat. Or try out this simple sugar cookie fudge as well.

Ingredients for Kit Kat Fudge

- Sweetened Condensed Milk – This is super thick and creamy and is the thickening component in fudge.
- Semi-Sweet Chocolate Chips – This is going to be the chocolate to your fudge. So delicious and creates a rich and creamy texture.
- Kit Kat – Reach for your kit kat candy bars, and then you will get that wafer crunch when you bite in it.
How To Make Kit Kat Fudge
See the recipe card below for the full list of ingredients and exact measurements.

Step One: Line your 8×8 pan with parchment paper. Then set it aside.
Step Two: In a saucepan, you will melt your condensed milk and chocolate chips over medium heat. Make sure to stir often, or it will burn. (Photos 1 & 2)
Step Three: Once mixture is smooth, pour half the mixture into the baking dish. Then top with Kit Kat candy. (Photos 3 & 4)

Step Four: Add the rest of the fudge mixture on top, and then crumble Kit Kat on top of the fudge. (Photos 5 & 6)
Step Five: Cover and refrigerate for 2-3 hours or until set.
Step Six: Slice and serve when ready and enjoy. (Photos 7 & 8)

Recipe Tips
- Stir constantly on the stove. The condensed milk and chocolate chips mixture will burn quickly if left unattended. Keep the heat at medium and stir the whole time — it only takes a few minutes to come together.
- Use parchment paper. Lining your 8×8 pan with parchment paper before you start makes it much easier to lift the fudge out cleanly once it’s set. Leave a little overhang on the sides to use as handles.
- Let it chill long enough. Two to three hours in the fridge is the minimum, but if you can leave it overnight, the fudge slices even cleaner and holds its shape better when cut.
- A sharp knife is your best friend. Run a large knife under hot water and dry it before slicing. The warm blade cuts through the fudge without cracking the chocolate layers.
- Don’t skip the crumbled topping. Breaking up a few extra Kit Kat pieces to scatter over the top isn’t just for looks — it also signals to anyone grabbing a piece exactly what’s inside.

Storing Kit Kat Fudge
- Storage: Kit Kat fudge stores well at room temperature or in the fridge — both work, so choose what’s easiest for you.
- Room temperature: Keep the fudge in an airtight container in a cool, dry spot away from direct sunlight. It will stay fresh for up to 1–2 weeks. If your kitchen runs warm, the fridge is the better option to keep it from getting too soft.
- Refrigerator: Store in an airtight container and separate any layers with a piece of wax or parchment paper so the pieces don’t stick together. The fudge will keep well for up to 2 weeks.
- Freezing: Kit Kat fudge freezes really well. Slice it first, then place the pieces in a freezer-safe bag or container with layers of parchment between them. Freeze for up to 3–4 months.
- Thawing: Move frozen fudge to the fridge the night before you want to eat it. Let it thaw slowly in the fridge rather than at room temperature to prevent condensation from making it sticky.
Serving Suggestions
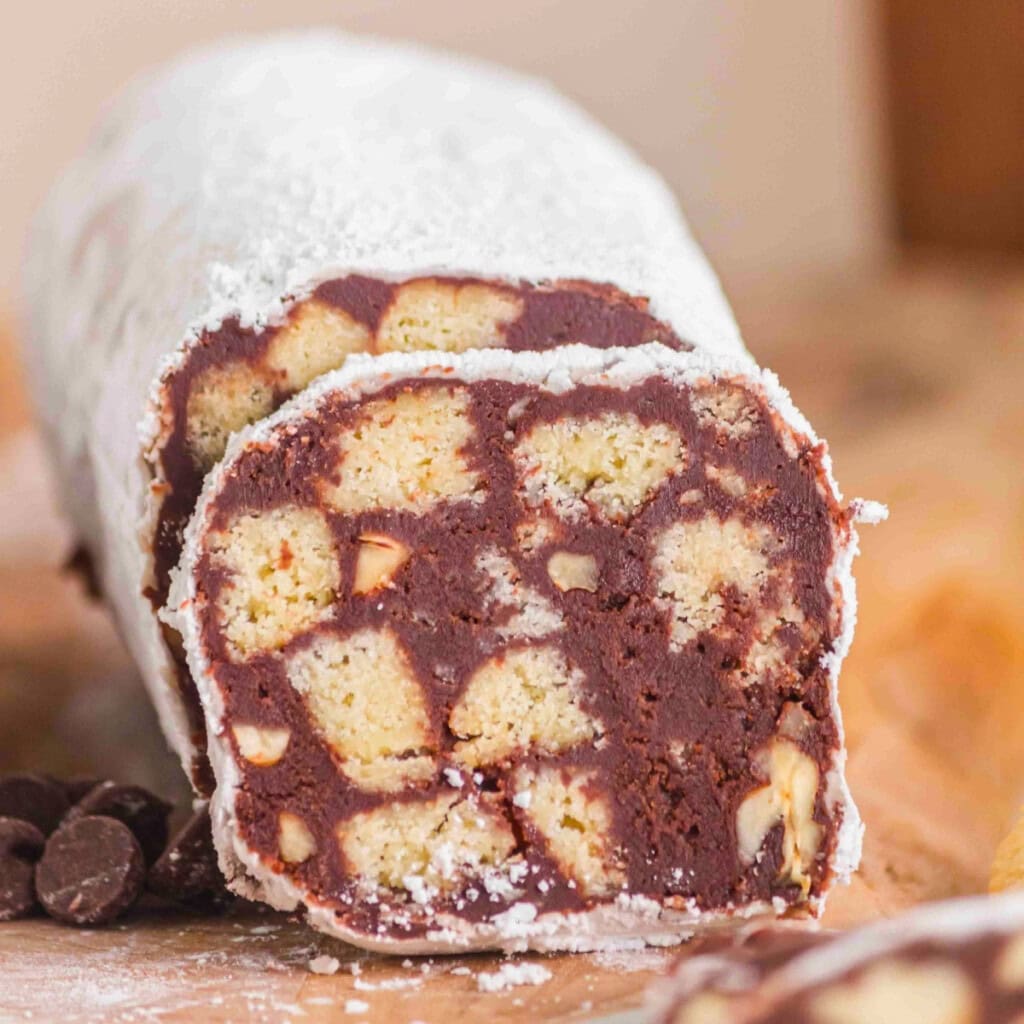
This kit kat fudge is great on its own, but it really shines as part of a bigger dessert spread. Cut it into small squares and serve it alongside Cool Whip Candy — that homemade 3 Musketeers-style treat — for a no-bake candy platter that people will go back to all night. If you’re building a holiday dessert table, adding a batch of Christmas Oreo Balls or some Homemade Gumdrop Nougat next to the fudge gives guests plenty of variety.
For gifting, this fudge packages beautifully. Stack a few squares in a small tin or cellophane bag and pair it with Easy Old Fashioned Peanut Butter Fudge or Sugar Cookie Fudge for a homemade candy assortment. If you want something to round out a dessert tray with a little crunch and a salty-sweet contrast, Christmas Crack Candy is always a hit alongside chocolate fudge.
Frequently Asked Questions
Yes, add condensed milk and chips to a microwave safe dish. Then heat in cycles of 30 seconds, stirring between each cycle. Then, once melted and creamy, pour into the pan.
You are more than welcome to double the recipe. Just use a 9×13 baking dish instead of an 8×8 pan.
Yes, and it’s easier than it sounds! Press the fudge mixture into a round springform pan instead of a square baking dish to give it a cake shape. You can layer the Kit Kat bars across the middle just as you would in the original recipe, then pour the remaining fudge on top and smooth it out. Once it’s set, release the springform pan, crumble extra Kit Kats over the top, and slice it like a cake. It’s a great no-bake option for birthdays or when you want something that looks a little more special without any actual baking.
The most common culprit is not enough chill time. Two hours is the minimum, but closer to three is more reliable, and overnight is even better. Make sure the fudge is on a flat surface in the fridge and not near the door, where the temperature fluctuates. If it still seems soft after a full chill, the ratio of chips to condensed milk may have been slightly off — double-check your measurements next time.
An 8×8 pan gives you a thicker, more traditional fudge slice. A 9×9 pan will work too and gives you slightly thinner pieces. Avoid using a larger pan without doubling the recipe, as the fudge layer will be too thin to slice cleanly.


Kit Kat Fudge
Ingredients
- 14 oz can sweetened condensed milk
- 2 cups semi sweet chocolate chips
- 3 king size kit kat candy bars
Instructions
- Line an 8×8 dish with parchment paper
- In a saucepan melt condensed milk and chocolate chips over medium heat stirring constantly until smooth
- Pour half of the mixture into the lined dish
- Place kit kat candy on top
- Pour remaining mixture on top of candy and evenly smooth out
- Crumble remaining kit kat bars and sprinkle on top
- Cover and refrigerate for 2-3 hours until set
- Slice, serve, and devour!
Notes
- Stir constantly on the stove. The condensed milk and chocolate chips mixture will burn quickly if left unattended. Keep the heat at medium and stir the whole time — it only takes a few minutes to come together.
- Use parchment paper. Lining your 8×8 pan with parchment paper before you start makes it much easier to lift the fudge out cleanly once it’s set. Leave a little overhang on the sides to use as handles.
- Let it chill long enough. Two to three hours in the fridge is the minimum, but if you can leave it overnight, the fudge slices even cleaner and holds its shape better when cut.
- A sharp knife is your best friend. Run a large knife under hot water and dry it before slicing. The warm blade cuts through the fudge without cracking the chocolate layers.
- Don’t skip the crumbled topping. Breaking up a few extra Kit Kat pieces to scatter over the top isn’t just for looks — it also signals to anyone grabbing a piece exactly what’s inside.
Nutrition Information
Hungry for more?
Follow me on Pinterest and make sure to comment below!

