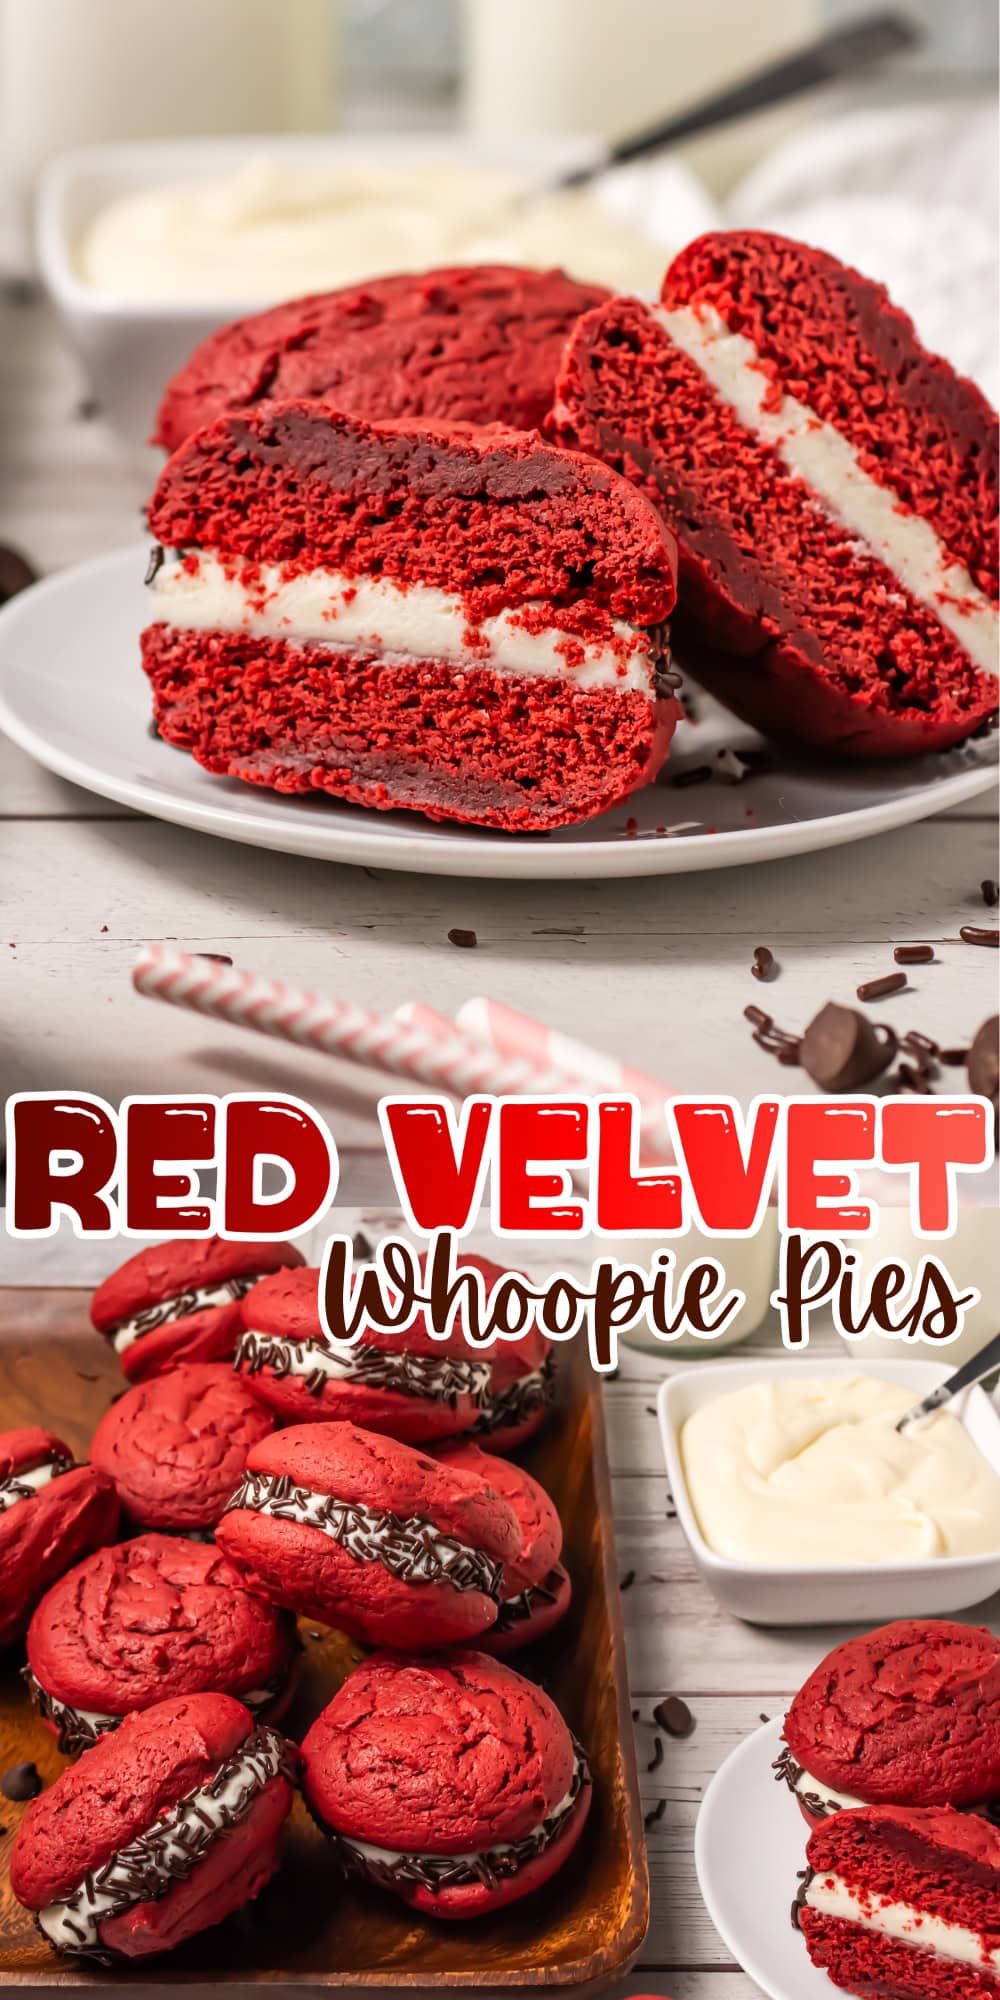
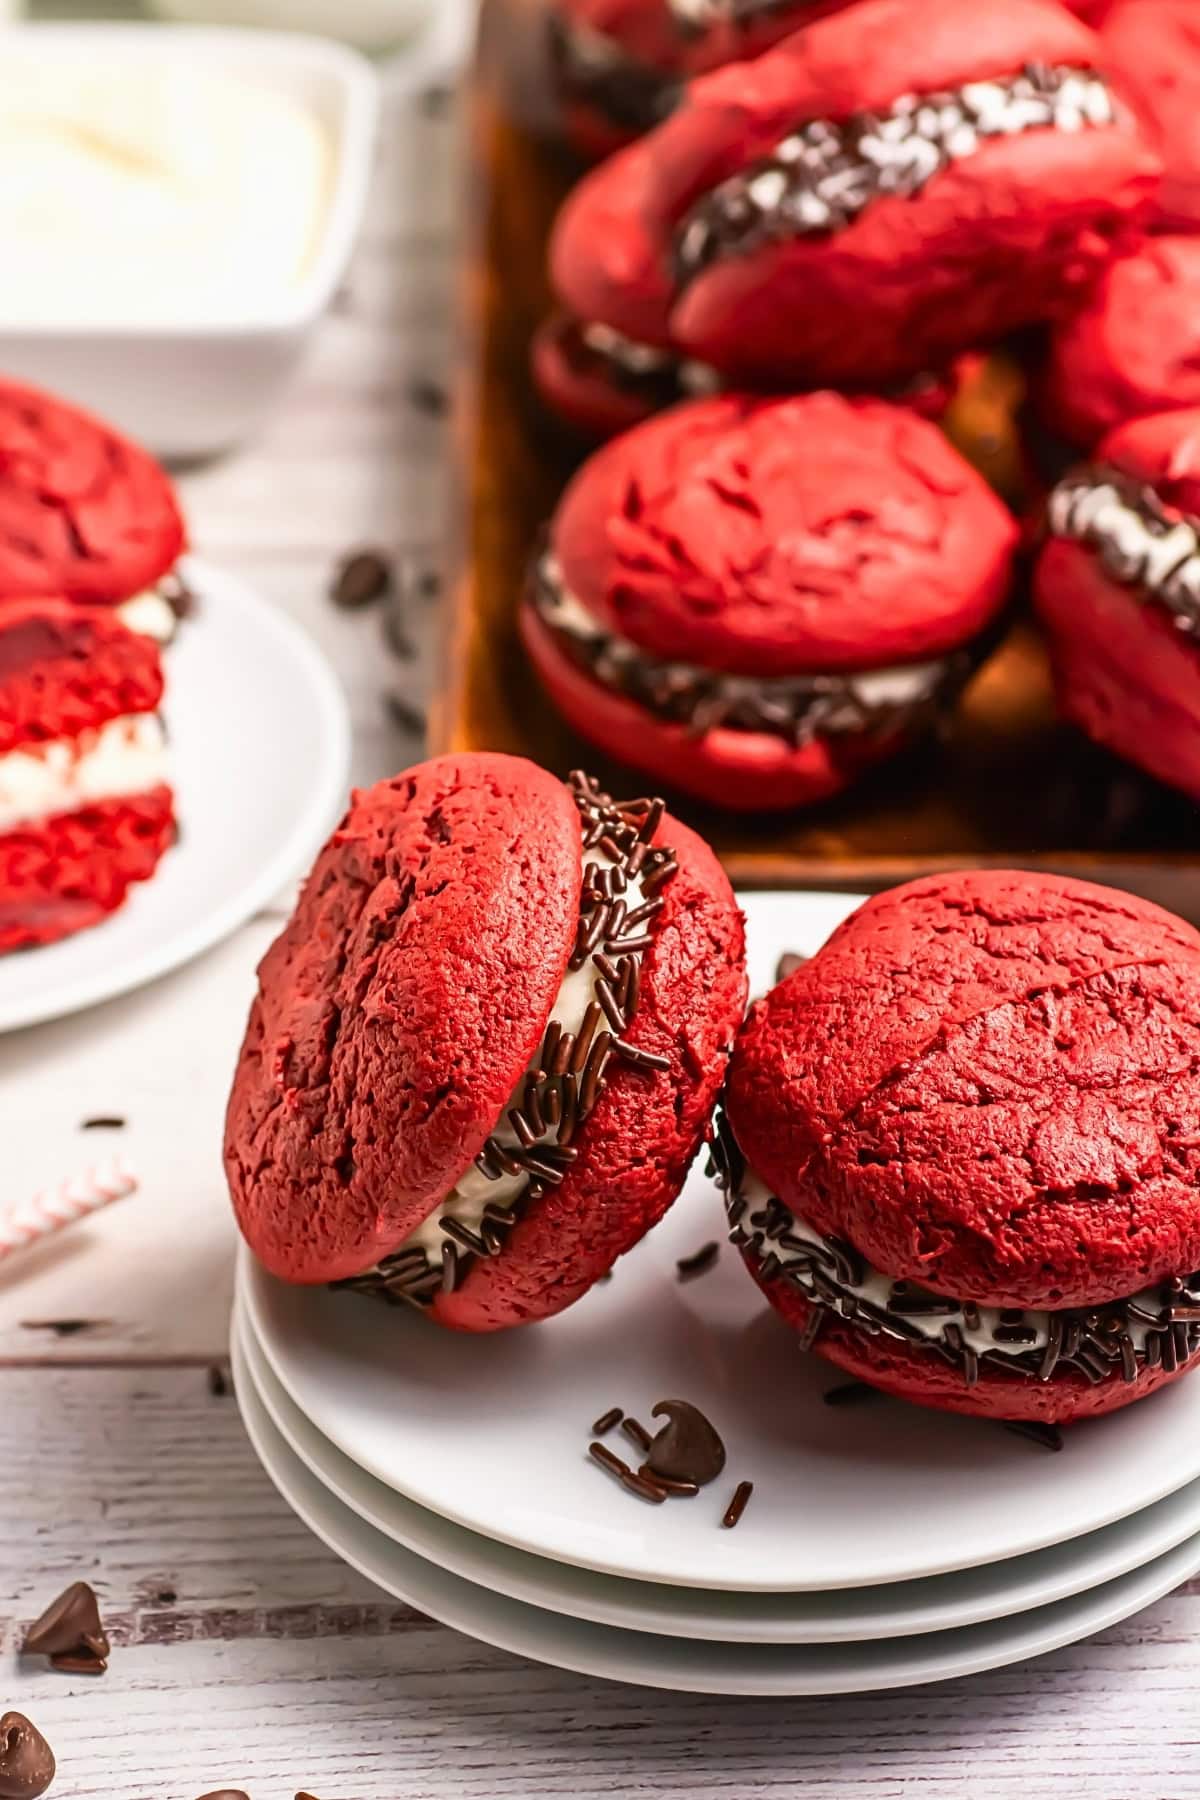
Red Velvet Whoopie Pies with Cream Cheese Frosting


These Red Velvet Whoopie Pies are soft, cake-like cookies with a rich cocoa flavor and cream cheese filling that’s impossible to resist. Ready in about 30 minutes, these treats bring together the classic red velvet taste with the fun, handheld format of whoopie pies.
Save This Post!
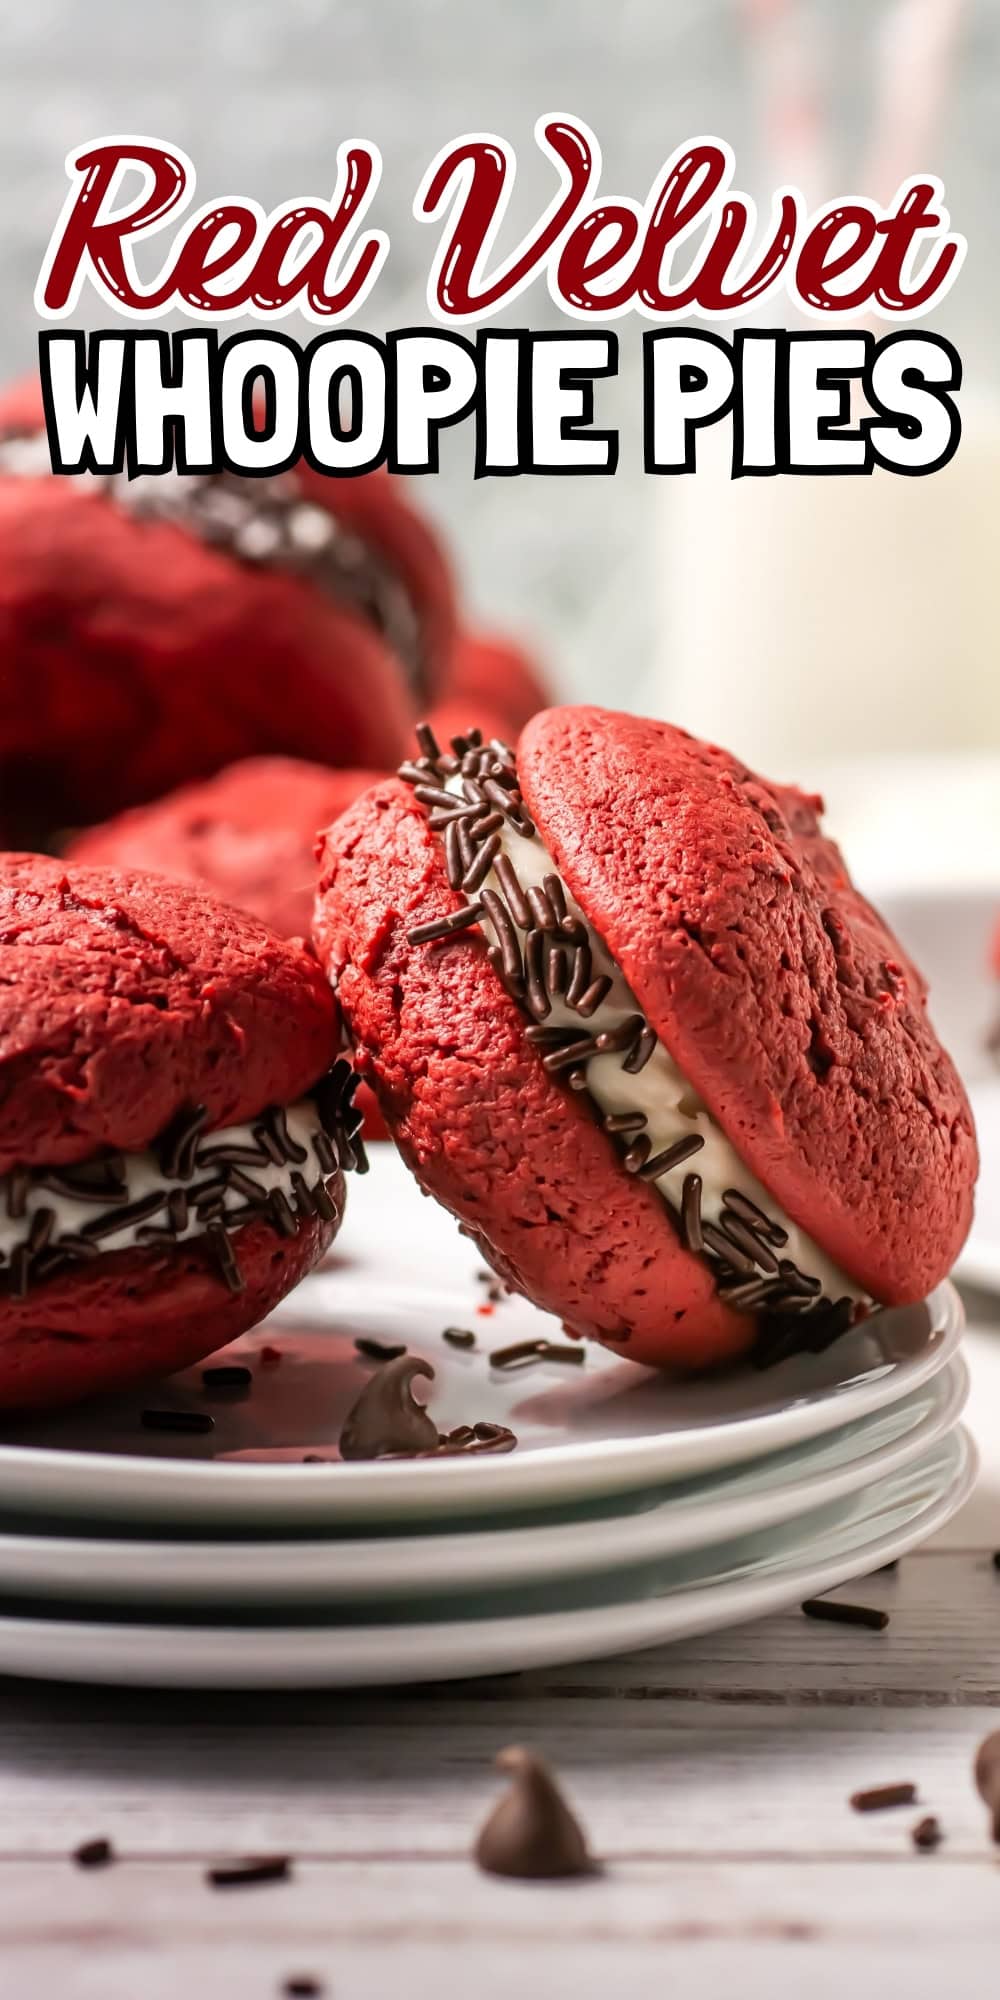
Perfect for Valentine’s Day or any special occasion, these red velvet whoopie pies feature chocolate jimmies rolled around the edges for extra sweetness. The combination of tender red velvet cakes and fluffy cream cheese frosting creates an unforgettable dessert that looks as good as it tastes.
Looking for more Valentine’s Day treats? These Red Velvet Cake Balls are another festive option, and these Italian Lemon Ricotta Cookies make beautiful holiday cookies. If you’re a whoopie pie fan, don’t miss the Dessert Burger Whoopie Pies for a fun twist on this classic treat
Reasons You’ll Love This Recipe
- Classic Red Velvet Flavor: Red velvet whoopie pies combine the beloved taste of red velvet cake with a cream cheese filling in a portable, shareable format. The cocoa adds depth while the vinegar creates that signature tang everyone loves.
- Quick and Easy: Despite their impressive appearance, these whoopie pies come together in less than 30 minutes from start to finish. The simple batter requires basic ingredients and straightforward mixing.
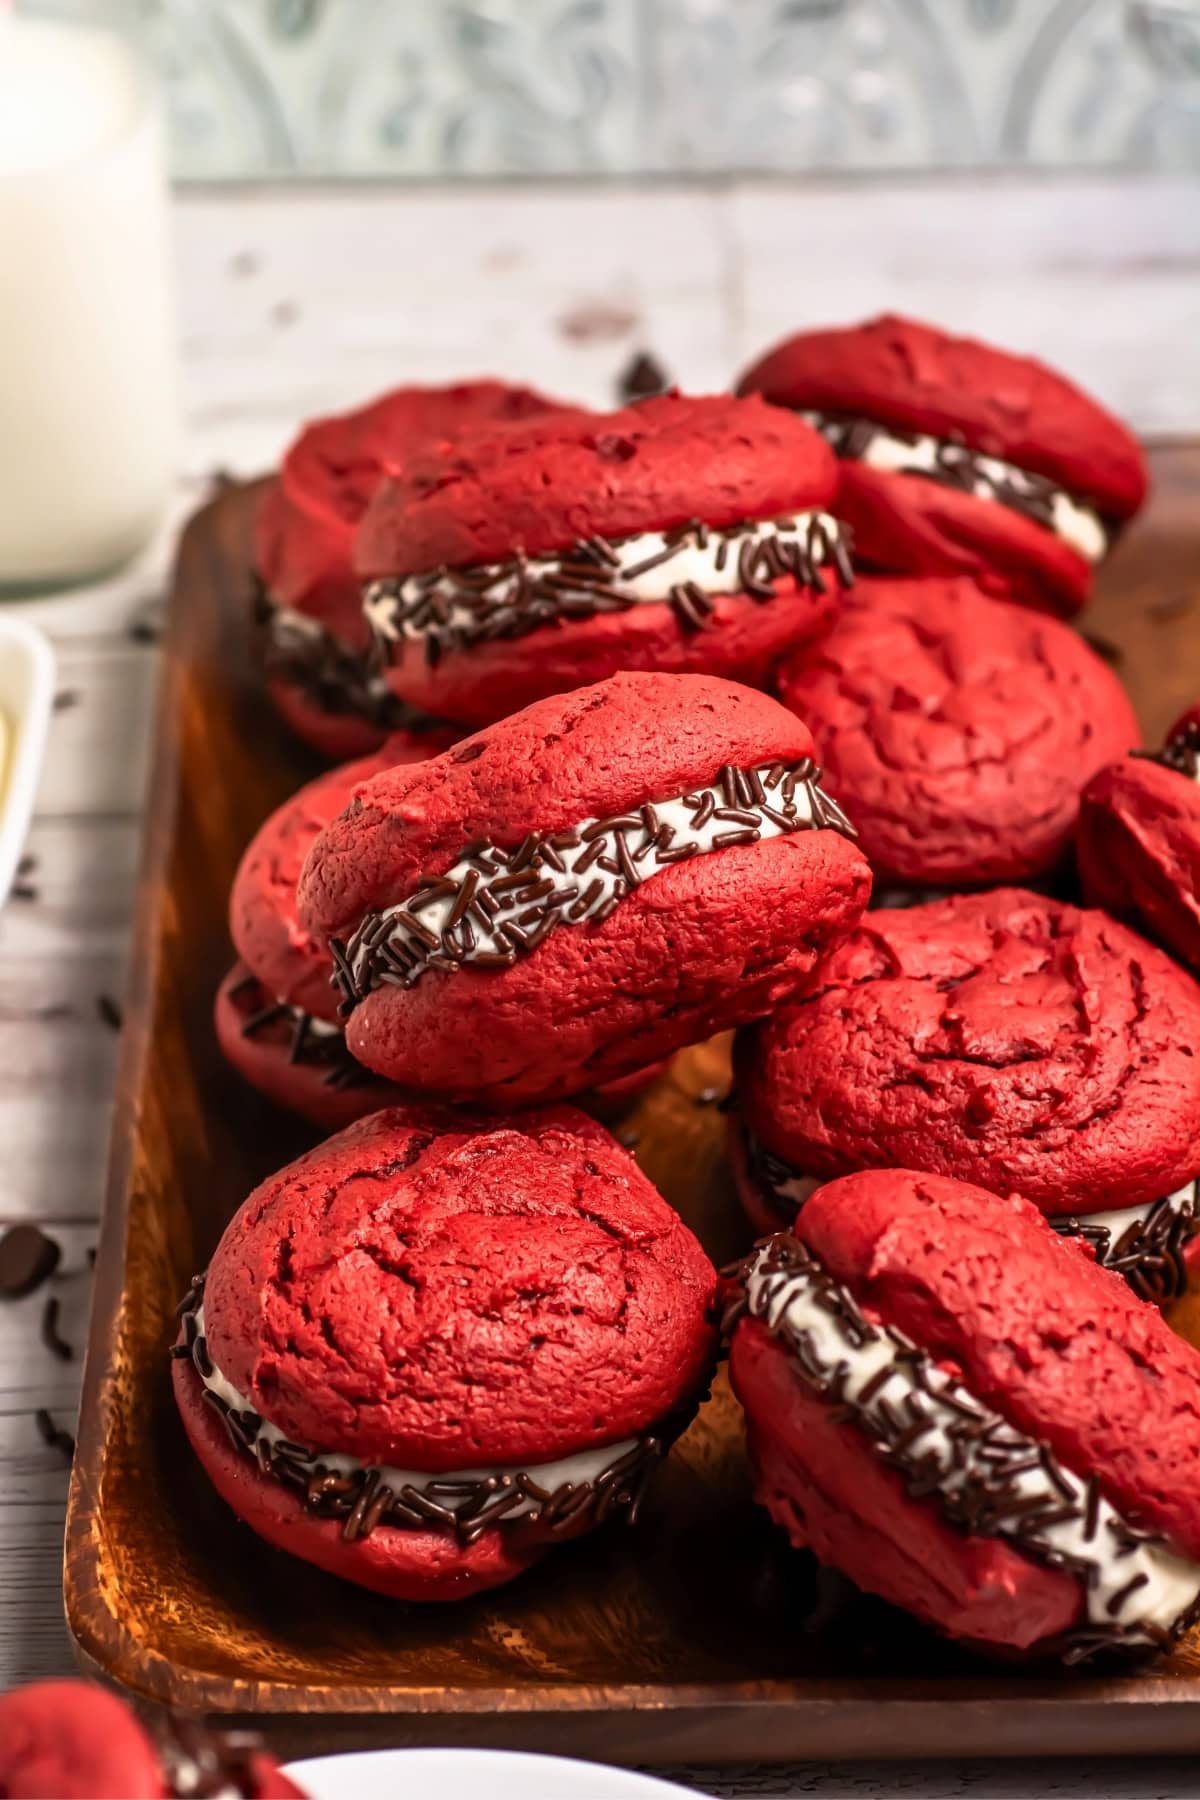
- Perfect for Gifting: The chocolate jimmies add a professional bakery look that makes these red velvet whoopie pies ideal for gift boxes or party platters. They transport well and stay fresh for several days.
- Customizable Presentation: While the chocolate sprinkles are gorgeous, you can swap them for Valentine’s Day sprinkles, crushed cookies, or leave them plain for a more traditional look.
Red Velvet Whoopie Pies Ingredients
See the recipe card below for the full list of ingredients and exact measurements.
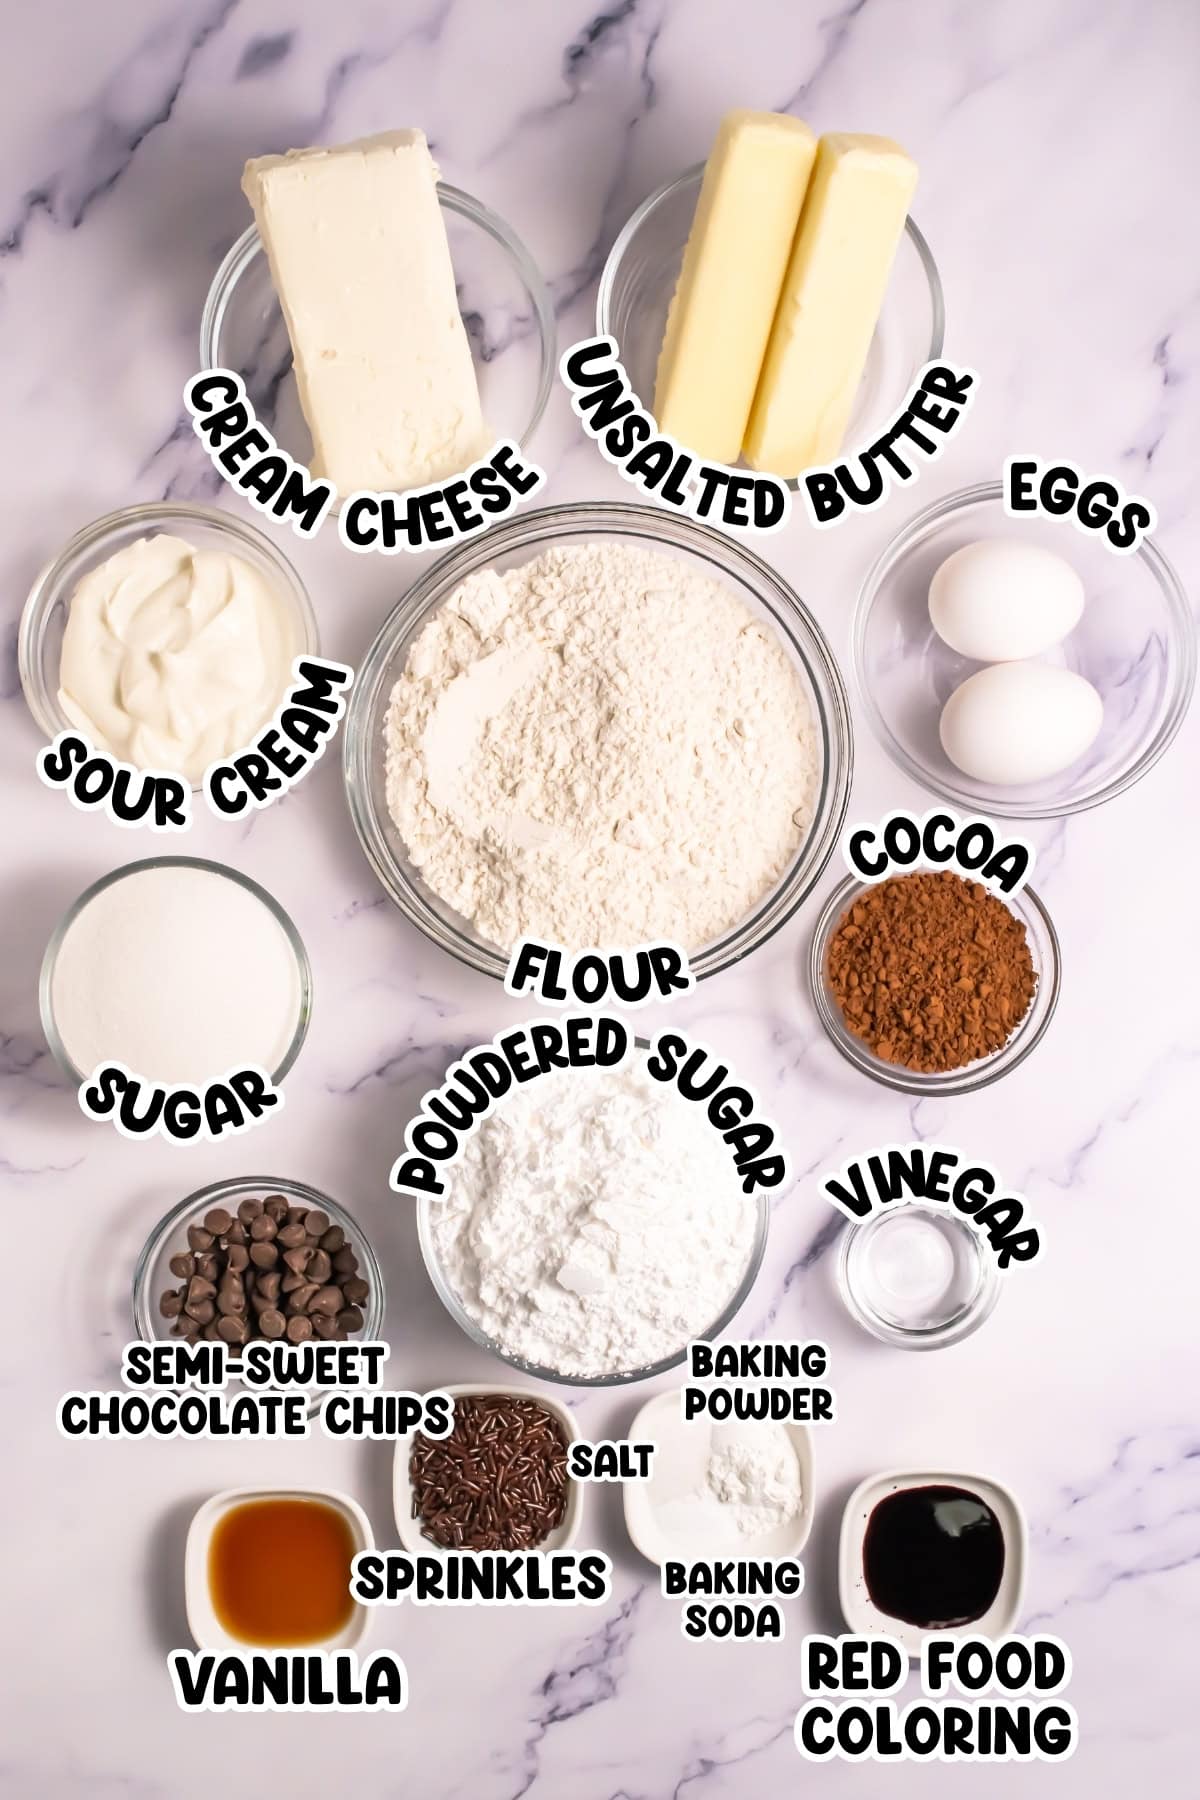
- Unsalted butter – Softened butter creates a tender crumb in the whoopie pie cakes. Make sure it’s at room temperature so it creams properly with the sugar for the best texture.
- Sugar – Granulated sugar sweetens the cakes and helps create their soft, cake-like structure. The sugar also contributes to browning during baking.
- Eggs – Eggs bind the ingredients together and add richness to the red velvet whoopie pies. They should be at room temperature for easier incorporation.
- Sour cream – Sour cream adds moisture and creates the tender texture that makes these whoopie pies so soft. It also contributes to the slight tang in red velvet.
- Red food coloring – The signature red color makes these whoopie pies instantly recognizable and festive. Use gel food coloring for more intense color with less liquid.
- Vinegar – White vinegar reacts with the baking soda to create lift and contributes to the characteristic red velvet tang. Don’t skip this ingredient.
- Vanilla – Pure vanilla extract enhances all the other flavors in the red velvet whoopie pies without overpowering them.
- Flour – All-purpose flour provides the structure for the cakes. Measure carefully by spooning into the measuring cup and leveling off.
- Cocoa – Unsweetened cocoa powder gives these red velvet whoopie pies their subtle chocolate flavor and deeper color.
- Baking powder – Baking powder helps the cakes rise and creates their light, fluffy texture.
- Salt – A small amount of salt balances the sweetness and enhances all the other flavors.
- Baking soda – Baking soda works with the vinegar to create additional lift and tenderness in the cakes.
- Semi-sweet chocolate chips – Melted chocolate chips add richness and deeper chocolate flavor to the red velvet batter.
- Cream cheese – Softened cream cheese is essential for the classic whoopie pie filling. Use full-fat cream cheese for the best flavor and texture.
- Unsalted butter (for filling) – Additional butter makes the cream cheese filling smooth and spreadable. Make sure both the cream cheese and butter are softened.
- Powdered sugar – Confectioners’ sugar sweetens the filling without adding grittiness. It also helps stabilize the cream cheese frosting.
- Vanilla (for filling) – Extra vanilla in the filling complements the cream cheese and ties the flavors together.
- Chocolate jimmy sprinkles – These thin chocolate sprinkles add crunch and visual appeal when rolled around the edges of the assembled whoopie pies.
Substitutions and Additions
- Use buttermilk instead of sour cream – You can substitute an equal amount of buttermilk if you don’t have sour cream on hand.
- Try different sprinkles – Valentine’s Day sprinkles, crushed candy canes, or mini chocolate chips all work beautifully instead of chocolate jimmies.
- Add espresso powder – A teaspoon of instant espresso powder enhances the chocolate flavor without making them taste like coffee.
- Make them mini – Use a smaller cookie scoop for bite-sized red velvet whoopie pies perfect for parties.
- Swap the filling – Try marshmallow fluff or vanilla buttercream if you want a different filling flavor.
How to Make Red Velvet Whoopie Pies (step-by-step directions)

STEP 1. Preheat your oven to 375 degrees Fahrenheit. Line several baking sheets with parchment paper and set them aside while you prepare the batter. In the bowl of a stand mixer, combine the softened butter and sugar. Cream them together until the mixture is smooth and fluffy, which usually takes about 2-3 minutes on medium speed. (Photo 1)
STEP 2. Add the eggs, sour cream, vinegar, vanilla, and red food coloring to the creamed butter mixture. Mix well, making sure to scrape down the sides of the bowl often so all ingredients are fully incorporated. (Photo 2)
STEP 3. Add the flour, cocoa powder, baking powder, salt, and baking soda to the wet ingredients. Mix thoroughly, continuing to scrape down the sides often to ensure an even batter with no lumps. (Photo 3)
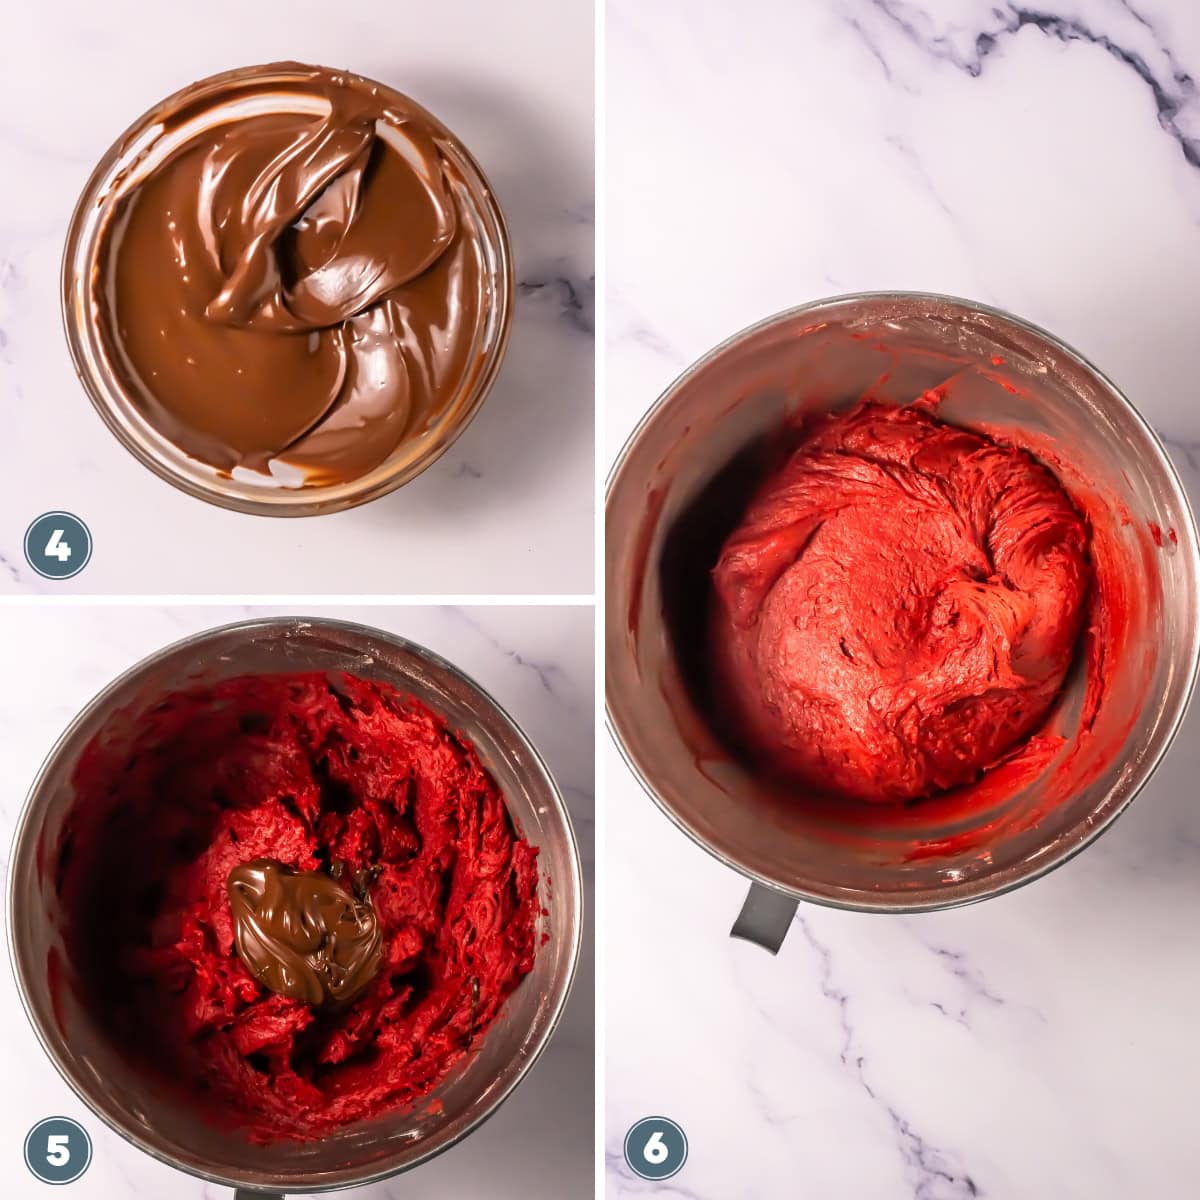
STEP 4. Melt the semi-sweet chocolate chips in the microwave or over a double boiler, then allow them to cool slightly. Add the melted chocolate to the red velvet batter and mix thoroughly, scraping down the sides often for even distribution. (Photos 4, 5 & 6)

STEP 5. Using a large ice cream scoop, divide the batter into equal mounds and place the dollops onto the prepared parchment-lined baking sheets, spacing them about 2 inches apart.Bake in the preheated oven for 9-10 minutes, or until the centers are set and a toothpick inserted comes out clean. Allow the cakes to cool completely on the baking sheets before assembling your red velvet whoopie pies. (Photos 7 & 8)
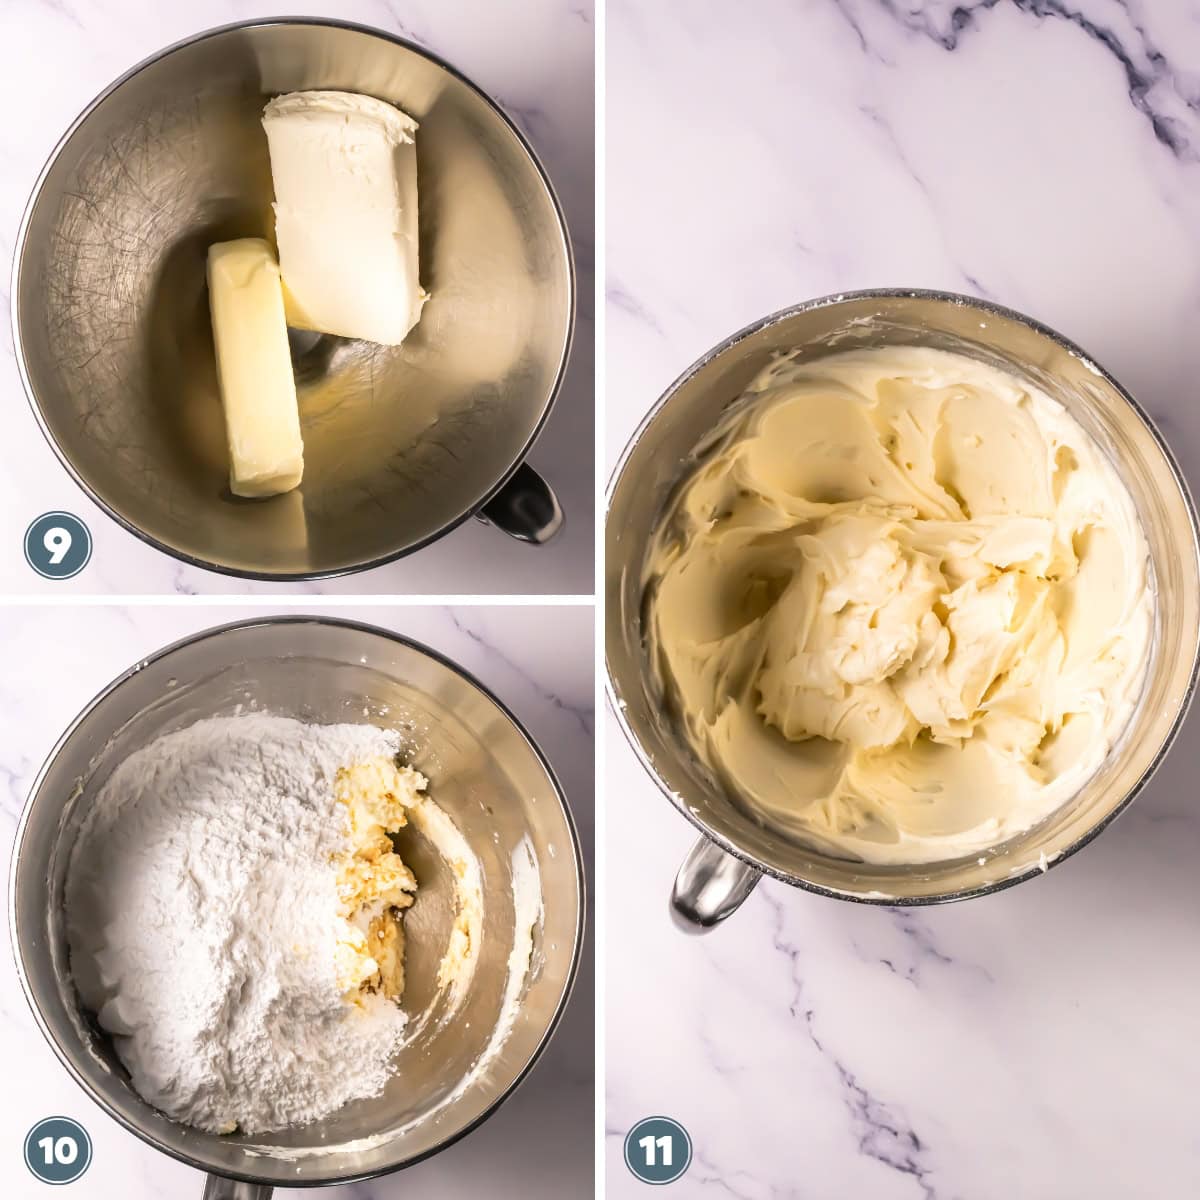
STEP 6. For the filling, combine the softened cream cheese and butter in the bowl of a stand mixer. Cream them together until the mixture is smooth and well-blended. (Photo 9)
STEP 7. Add the powdered sugar and vanilla to the cream cheese mixture. Mix on low speed until the ingredients are combined, then increase the speed to medium and whip until smooth, about 1-2 minutes. Scrape down the sides often during this process. Transfer the cream cheese frosting to a piping bag fitted with a large round tip for easier assembly. (Photos 10 & 11)
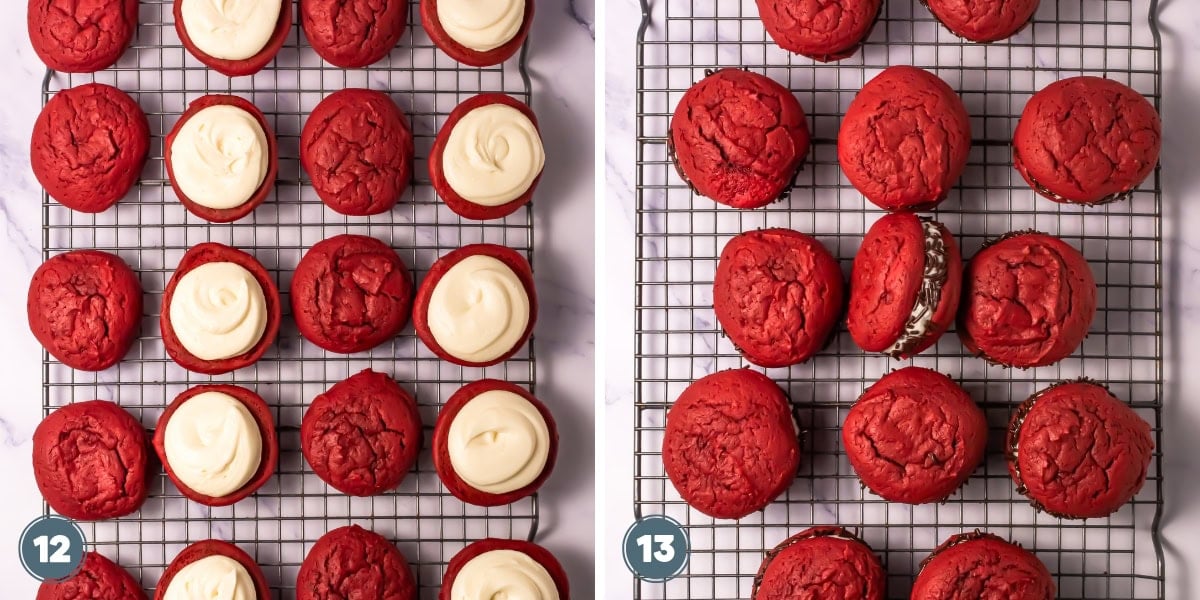
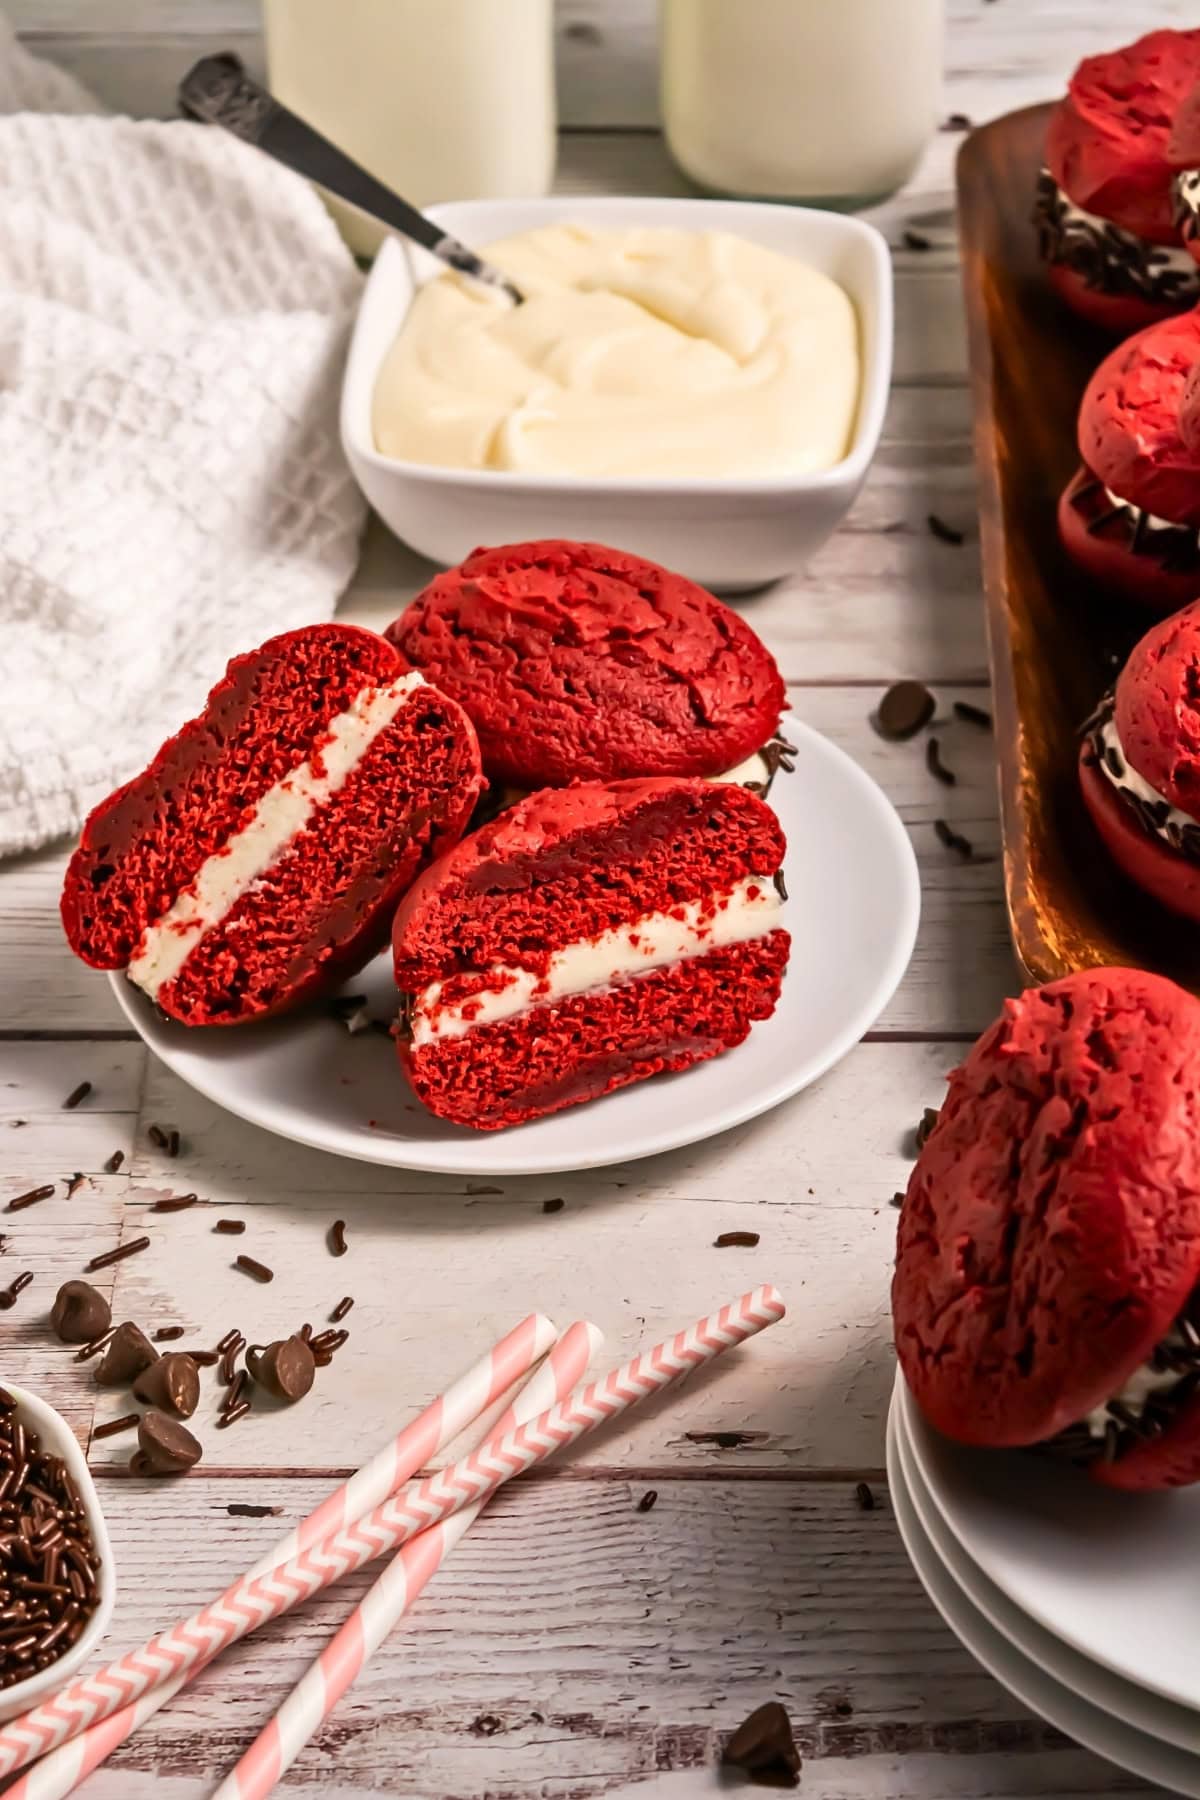
STEP 8. To assemble the whoopie pies, pipe a large mound of frosting onto the flat side of one red velvet cake. Top with another cake half to complete the sandwich, pressing gently to spread the filling to the edges. (Photo 12)
STEP 9. Place the chocolate jimmies on a shallow plate. Roll the frosting edge of each assembled whoopie pie through the sprinkles until the sides are coated. (Photo 13)

Recipe Tips
- Don’t overbake the cakes – The cakes are done when the centers are just set. Overbaking will make them dry instead of soft and tender.
- Cool completely before filling – Warm cakes will melt the cream cheese frosting, so patience is key for beautiful whoopie pies.
- Use room temperature ingredients – Room temperature butter, eggs, and cream cheese blend more easily and create better texture.
- Make uniform sizes – Using an ice cream scoop ensures all your red velvet whoopie pies are the same size and bake evenly.
- Pipe the filling – A piping bag gives you better control and creates more professional-looking whoopie pies than spreading with a knife.
- Chill before serving – The cream cheese filling sets better after refrigeration, making the whoopie pies easier to handle.
Storing Tips
- Storage: Red velvet whoopie pies should be stored in an airtight container to keep them fresh and prevent the cakes from drying out.
- Refrigerator: Store your whoopie pies in the refrigerator in an airtight container for up to 3 days. The cream cheese filling requires refrigeration to stay safe and fresh.
- Freezing: You can freeze assembled whoopie pies for up to 2 months. Wrap each one individually in plastic wrap, then place them in a freezer-safe container or bag.
- Reheating: Let frozen whoopie pies thaw in the refrigerator overnight or at room temperature for about an hour before serving. They’re best enjoyed at room temperature.
Serving Suggestions
These red velvet whoopie pies are perfect alongside a cup of coffee or hot chocolate for an afternoon treat. Serve them with Copycat Starbucks Cream Cheese Danish for a decadent brunch spread.
For a Valentine’s Day dessert table, arrange them with Cake Mix Cookies with Sprinkles and Frosted Chocolate Chip Cookies. Looking for more red desserts? Try Patriotic Fudge for the 4th of July or Cherry Loaf for another fruity option.
Recipe FAQs
Yes, you can make the cakes up to 2 days ahead and store them unfilled in an airtight container. Fill them with the cream cheese frosting a few hours before serving for the best texture and freshness.
Flat whoopie pies usually result from overmixing the batter or using old leavening agents. Make sure your baking powder and baking soda are fresh, and mix the batter just until the ingredients are combined.
Absolutely! While cream cheese frosting is traditional, you can use vanilla buttercream, marshmallow fluff, or even white chocolate ganache. The cream cheese filling complements the slight tang in red velvet cakes perfectly.
Gel food coloring produces more vibrant red velvet whoopie pies than liquid food coloring because you can use more without adding extra liquid to the batter. Start with a small amount and add more until you reach your desired shade.
Whoopie pies that stick usually weren’t baked long enough. Make sure the centers are fully set before removing them from the oven. Let them cool for a few minutes on the pan before transferring to a cooling rack.


Red Velvet Whoopie Pies
Ingredients
For the whoopie pies –
- ¾ c unsalted butter softened
- 1 c sugar
- 2 eggs
- ½ c sour cream
- Red food coloring
- 2 t vinegar
- 1 t vanilla
- 2 ¼ c flour
- ¼ c cocoa
- 2 t baking powder
- 1 t salt
- ¼ t baking soda
- ¼ c semi-sweet chocolate chips melted
For the filling –
- 8 oz cream cheese softened
- ½ c unsalted butter softened
- 3 c powdered sugar
- 1 t vanilla
- ¼ c chocolate jimmy sprinkles
Instructions
- Preheat your oven to 375 degrees Fahrenheit. Line several baking sheets with parchment paper and set them aside while you prepare the batter. In the bowl of a stand mixer, combine the softened butter and sugar. Cream them together until the mixture is smooth and fluffy, which usually takes about 2-3 minutes on medium speed.
- Add the eggs, sour cream, vinegar, vanilla, and red food coloring to the creamed butter mixture. Mix well, making sure to scrape down the sides of the bowl often so all ingredients are fully incorporated.
- Add the flour, cocoa powder, baking powder, salt, and baking soda to the wet ingredients. Mix thoroughly, continuing to scrape down the sides often to ensure an even batter with no lumps.
- Melt the semi-sweet chocolate chips in the microwave or over a double boiler, then allow them to cool slightly. Add the melted chocolate to the red velvet batter and mix thoroughly, scraping down the sides often for even distribution.
- Using a large ice cream scoop, divide the batter into equal mounds and place the dollops onto the prepared parchment-lined baking sheets, spacing them about 2 inches apart.Bake in the preheated oven for 9-10 minutes, or until the centers are set and a toothpick inserted comes out clean. Allow the cakes to cool completely on the baking sheets before assembling your red velvet whoopie pies.
- For the filling, combine the softened cream cheese and butter in the bowl of a stand mixer. Cream them together until the mixture is smooth and well-blended.
- Add the powdered sugar and vanilla to the cream cheese mixture. Mix on low speed until the ingredients are combined, then increase the speed to medium and whip until smooth, about 1-2 minutes. Scrape down the sides often during this process. Transfer the cream cheese frosting to a piping bag fitted with a large round tip for easier assembly.
- To assemble the whoopie pies, pipe a large mound of frosting onto the flat side of one red velvet cake. Top with another cake half to complete the sandwich, pressing gently to spread the filling to the edges.
- Place the chocolate jimmies on a shallow plate. Roll the frosting edge of each assembled whoopie pie through the sprinkles until the sides are coated.
Notes
- Don’t overbake the cakes – The cakes are done when the centers are just set. Overbaking will make them dry instead of soft and tender.
- Cool completely before filling – Warm cakes will melt the cream cheese frosting, so patience is key for beautiful whoopie pies.
- Use room temperature ingredients – Room temperature butter, eggs, and cream cheese blend more easily and create better texture.
- Make uniform sizes – Using an ice cream scoop ensures all your red velvet whoopie pies are the same size and bake evenly.
- Pipe the filling – A piping bag gives you better control and creates more professional-looking whoopie pies than spreading with a knife.
- Chill before serving – The cream cheese filling sets better after refrigeration, making the whoopie pies easier to handle.
Nutrition Information
Hungry for more?
Follow me on Pinterest and make sure to comment below!