
Ultimate Kitchen Cleaning Checklist: Daily, Weekly, and Monthly Tasks

Keeping your kitchen clean isn’t just about having a tidy space – it’s about creating a healthy environment where you can cook with peace of mind. A clean kitchen means fewer germs, less cross-contamination, and a more pleasant cooking experience. Whether you’re tackling a quick daily wipe-down or planning a deep clean, having a kitchen cleaning checklist keeps you organized and makes sure nothing gets overlooked.
Save This Post!
Looking for other organizing tips for your home? Check out our House Deep Cleaning Checklist for room-by-room guidance, or our Spring Cleaning Checklist to freshen up your entire home.
Reasons You’ll Love This Cleaning Checklist
- Save time and effort: With a structured plan, you’ll clean more efficiently without wasting energy figuring out what needs to be done.
- Prevent buildup of dirt and grime: Regular cleaning prevents tough stains and buildup that require more intensive scrubbing later.
- Keep your kitchen safer: A clean kitchen means fewer harmful bacteria and reduced risk of cross-contamination while cooking.
- Extend the life of your appliances: Regular maintenance and cleaning help your appliances work better and last longer.
Daily Kitchen Cleaning Tasks
The key to a consistently clean kitchen is handling small tasks daily rather than facing a huge mess later. These quick tasks take just minutes but make a world of difference.
Start by clearing and wiping down your countertops after each meal prep. A simple mix of warm water and dish soap works great for daily cleaning, or you can use a gentle all-purpose cleaner. For stubborn spots, try making a paste with baking soda and water.
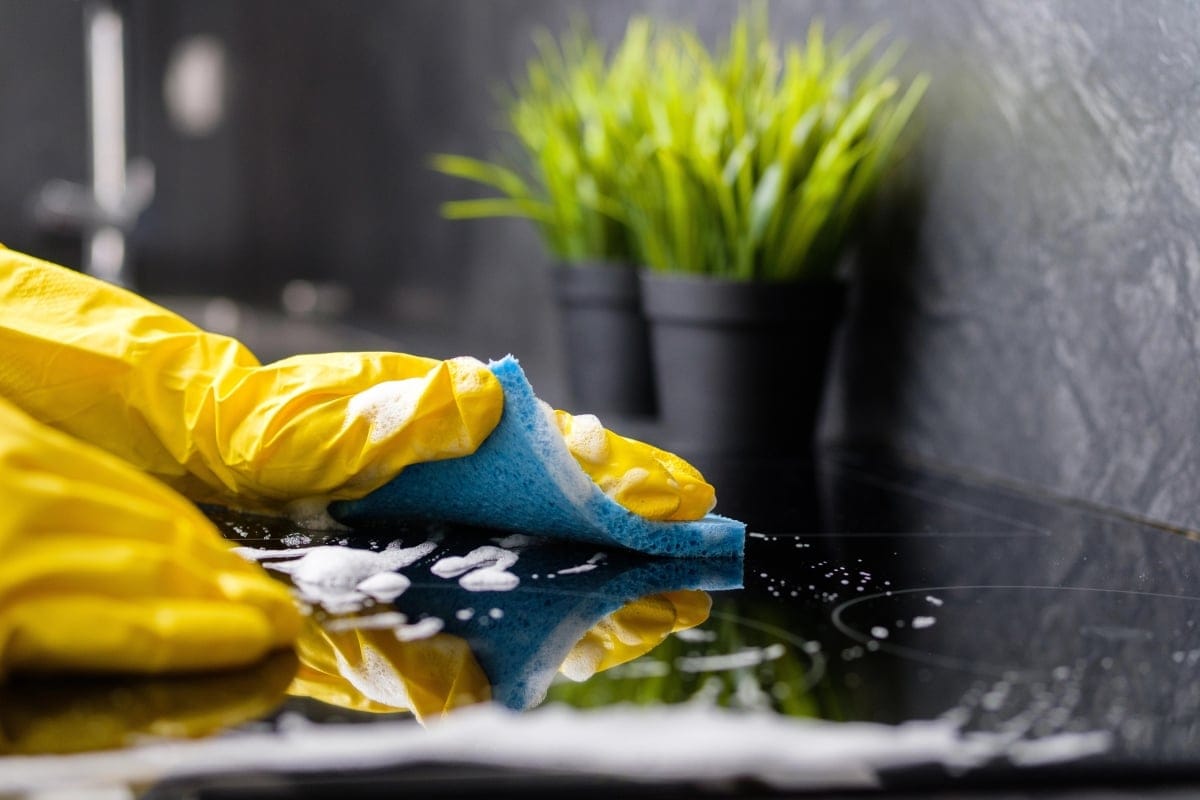
Don’t forget to wipe down your stovetop after cooking – this prevents grease buildup and makes deep cleaning much easier down the road. A microfiber cloth works wonderfully for this task.
Wash dishes promptly or load them in the dishwasher instead of letting them pile up. Then wipe down your sink with a sponge or cloth to remove food particles and prevent odors.
Sweep the floor quickly to catch any crumbs or spills. This takes just a minute but prevents dirt from being tracked throughout your home.
Finally, take out the kitchen trash when it’s full to prevent odors and pests. Keeping up with these small daily tasks makes weekly cleaning much easier.
Weekly Kitchen Cleaning Schedule
Weekly cleaning tasks dig a bit deeper than your daily maintenance. Set aside about 30-45 minutes once a week to tackle these important jobs.
Start by clearing out your refrigerator of any old leftovers or expired foods. Wipe down refrigerator shelves with a solution of warm water and mild dish soap. This is also a good time to organize your meal prep storage containers for the week ahead.

Clean your microwave by heating a bowl of water with lemon juice for 2-3 minutes, then wiping down the loosened food particles. The steam makes cleanup much easier!
Mop your kitchen floors thoroughly using an appropriate cleaner for your floor type. For tile floors, don’t forget to occasionally scrub the grout with a small brush.
Wipe down cabinet fronts, especially around handles where fingerprints and food splatter tend to accumulate. A solution of warm water and mild dish soap works well for most cabinet finishes.
Clean small appliances like your toaster, coffee maker, and blender. For coffee makers, run a cycle with equal parts water and white vinegar to remove mineral buildup.
Don’t forget to wash your dish towels, sponges, and cleaning cloths. Sponges can be sanitized in the microwave (when damp) for 1 minute or run through the dishwasher.
Monthly Kitchen Deep Cleaning Tasks
Monthly deep cleaning reaches the spots that daily and weekly cleaning might miss. These tasks take more time but are essential for a truly clean kitchen.
Clean behind and underneath appliances by pulling them out from the wall when possible. These hidden areas collect dust and can harbor pests if neglected.
Descale your coffee maker and clean your dishwasher by running a cycle with a cup of white vinegar. This removes mineral buildup and improves performance.
Clean your oven according to the manufacturer’s instructions. For many ovens, the self-cleaning feature works well, or you can make a paste with baking soda and water for stubborn spots.

Empty and clean the inside of your cabinets and pantry, wiping down shelves and reorganizing contents. This is a perfect time to check for expired items and take inventory of what you have.
Clean your range hood and filter, which collect grease and dust over time. Most filters can be run through the dishwasher or soaked in hot, soapy water.
Deep clean your sink and disposal by scrubbing with baking soda and flushing with hot water and vinegar. For garbage disposals, grinding ice cubes can help clean the blades.
Don’t forget to clean refrigerator coils (usually located on the back or bottom) with a vacuum attachment or coil brush. This helps your refrigerator run more efficiently.
Seasonal Kitchen Cleaning
Some kitchen cleaning tasks only need to be done a few times a year, but make a big difference in maintaining a truly clean space.
Clean the tops of high cabinets and refrigerator, which collect dust and grease over time. Using a step stool and microfiber cloth with an all-purpose cleaner works well.
Check and clean your garbage disposal and sink drain to prevent buildup and odors. A mixture of baking soda followed by vinegar can help keep drains clear.
Deep clean your dishwasher, including the filter, spray arms, and door gasket. Check the manufacturer’s instructions for specific cleaning recommendations.
Clean windows, including frames and tracks, which can collect dust and dirt. A vinegar and water solution works well for streak-free windows.
Take time to reorganize your pantry inventory and kitchen storage areas. This helps prevent food waste and makes cooking more efficient.

Essential Kitchen Cleaning Tools
Having the right tools makes kitchen cleaning easier and more effective. Here are the must-have items for your cleaning arsenal:
- Microfiber cloths: These versatile cloths trap dust and dirt better than paper towels and can be washed and reused.
- Scrub brushes: Various sizes help you clean everything from grout to bottle interiors.
- Quality all-purpose cleaner: Look for one that cuts through grease but is safe for your countertop material.
- Baking soda and white vinegar: These natural cleaners handle most kitchen messes affordably.
- Dish soap: Good for daily cleaning of counters and surfaces beyond just dishes.
- Mop and broom: Essential for keeping floors clean and preventing dirt from spreading.
- Vacuum with attachments: Helpful for reaching crumbs in tight spaces and cleaning refrigerator coils.
- Microwave-safe bowl: For steam cleaning your microwave with water and lemon juice.
Natural Cleaning Solutions for Your Kitchen
Many effective kitchen cleaners can be made from simple ingredients you already have. These natural alternatives save money and reduce chemical exposure.
Create an all-purpose cleaner by mixing equal parts water and white vinegar in a spray bottle. Add a few drops of lemon essential oil or fresh lemon juice to offset the vinegar smell.
For stubborn stains, make a paste with baking soda and water. This works wonderfully on countertops, sinks, and even stovetops.

Clean your wooden cutting boards by sprinkling with coarse salt and scrubbing with half a lemon. The acid from the lemon combined with the abrasive salt cleans and deodorizes naturally.
Freshen your garbage disposal by grinding ice cubes made with vinegar and lemon peels. This cleans the blades while eliminating odors.
Use diluted castile soap to gently clean most surfaces. It’s biodegradable and free from harsh chemicals.
Tips for Maintaining a Clean Kitchen Between Deep Cleans
Keeping your kitchen consistently clean requires some daily habits that prevent messes from accumulating.
Clean as you cook by keeping a bowl for scraps and wiping surfaces while waiting for water to boil or food to finish cooking. This makes after-meal cleanup much faster.
Create a “one touch” rule where items don’t get set down temporarily – they go directly to their proper home. This prevents clutter from accumulating on counters.
Keep cleaning supplies easily accessible but out of sight, perhaps in a caddy under the sink or in a nearby closet. When tools are handy, you’re more likely to use them.
Develop a habit of wiping down the sink after doing dishes. This simple step prevents soap scum and food particles from building up.
Consider implementing a “clean for 10” routine where everyone in the household spends just 10 minutes before bed tidying the kitchen. Many hands make light work!
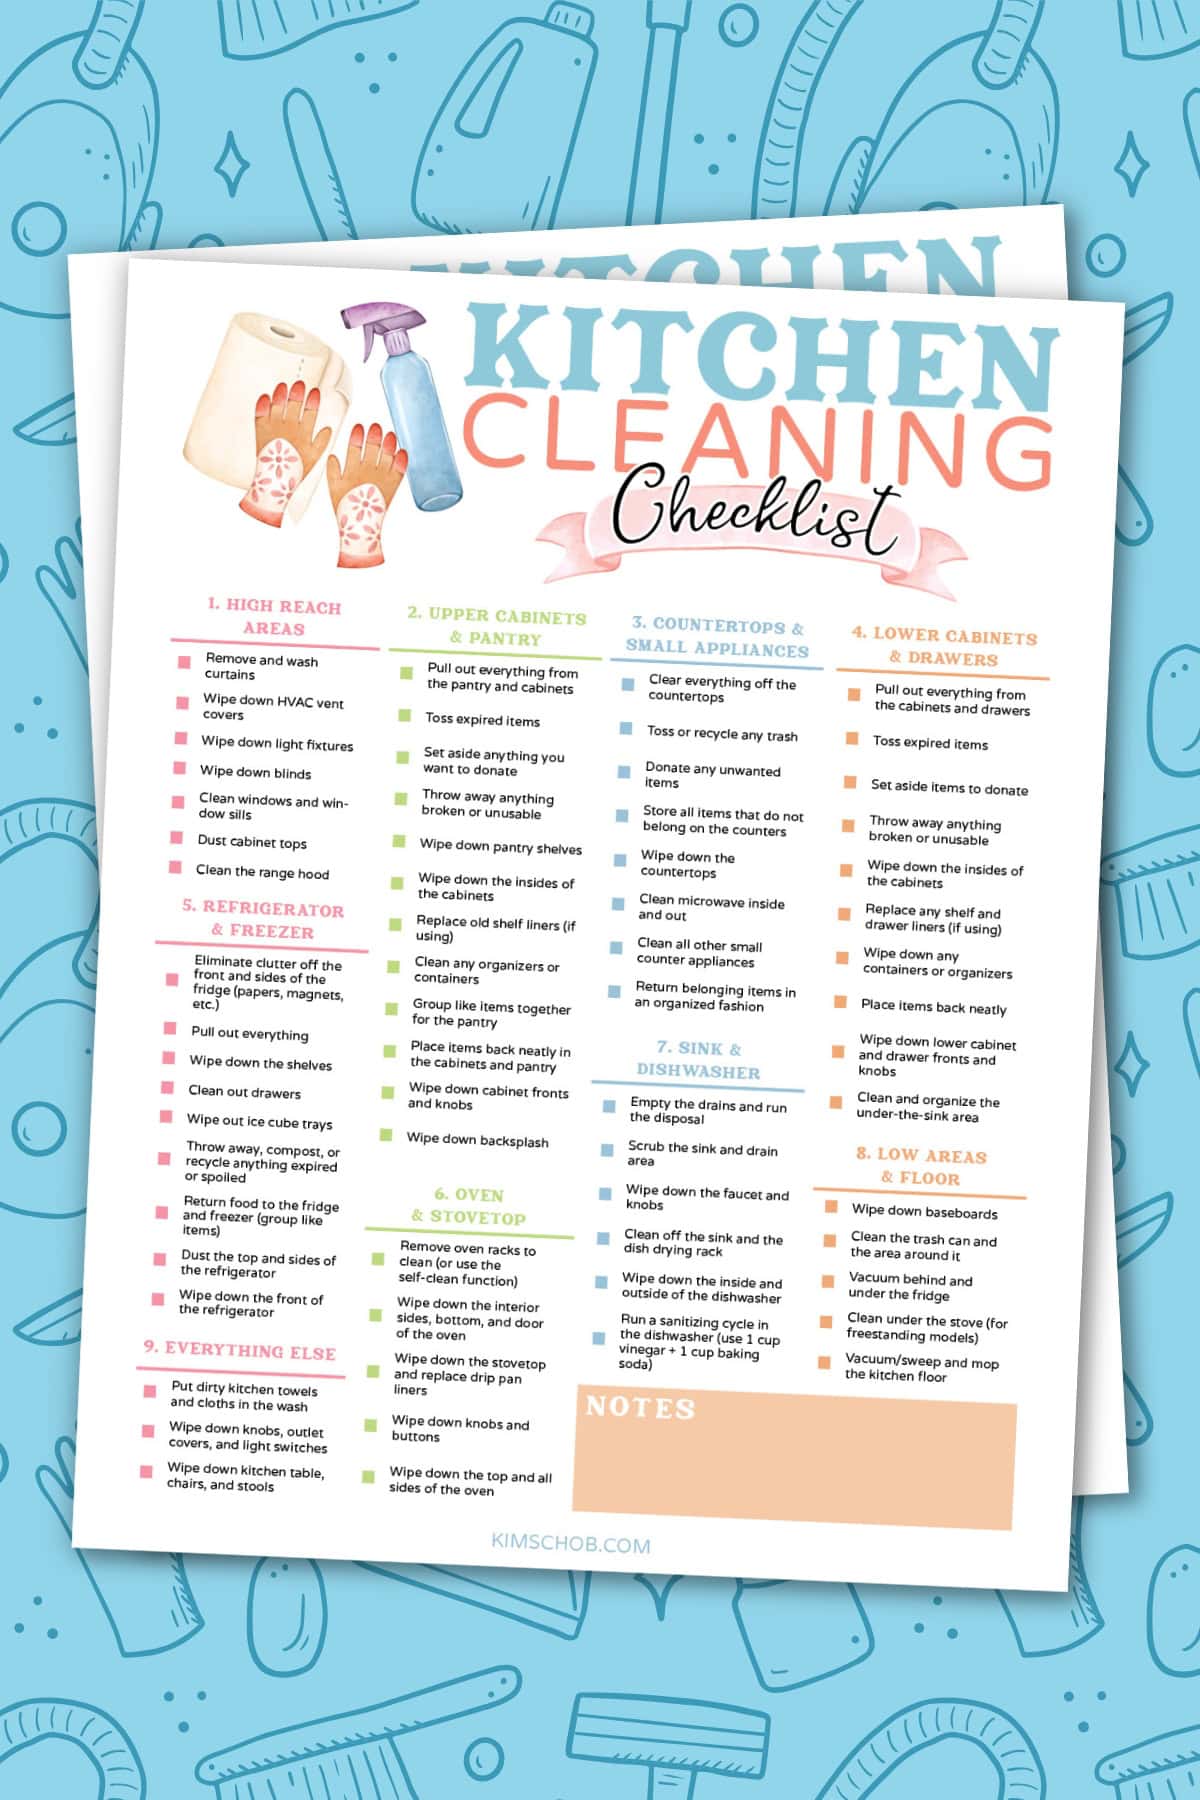
Printable Kitchen Cleaning Checklist
We’ve created a free printable kitchen cleaning checklist that you can download and use to stay organized. This printable breaks down all the tasks by frequency – daily, weekly, monthly, and seasonal – so you never forget an important cleaning task.
Print it out and keep it on your refrigerator or inside a cabinet door for easy reference. Check off tasks as you complete them for a satisfying sense of accomplishment!
The checklist includes all the tasks mentioned in this article, organized by frequency, with extra space to add your own custom cleaning tasks specific to your kitchen.
All you have to do to get it is click Ultimate Kitchen Cleaning Checklist PDF! and then hit print.
FAQs
Yes, it is free to download and print our kitchen cleaning checklist. Just know this is for personal use only. You cannot sell this printable as your own.
A thorough deep clean of your kitchen typically takes 2-4 hours, depending on the size of your kitchen and how often you maintain it. Breaking tasks into smaller sessions can make it more manageable.
Start from the top and work down – begin with overhead lighting, cabinet tops, and upper surfaces, then move to countertops, appliances, and finally floors. This prevents dust and debris from falling onto already-cleaned surfaces.
Cleaning behind and underneath your refrigerator should be done at least 3-4 times per year. This prevents dust buildup on the coils, which can reduce energy efficiency and potentially cause mechanical issues.
For daily cleaning, wipe with a microfiber cloth and warm, soapy water. For deeper cleaning and to prevent streaks, apply a small amount of olive oil on a cloth and wipe in the direction of the grain. The oil helps repel fingerprints and water spots.