
5-Flavor Skittles Vodka Recipe – Easy Infusion
This Skittles vodka recipe transforms your favorite rainbow candy into a colorful, fruity infused spirit that’s perfect for parties and special occasions. With just 10 minutes of prep time and a 5-day infusion period, you’ll have a sweet, vibrant cocktail base that brings out the nostalgic flavors of childhood in adult form.
Save This Post!
The process creates beautifully colored Skittles-infused vodka that captures the essence of each candy flavor while maintaining the smooth quality of your chosen vodka. Each color creates its own unique taste profile, making this a fun project that yields multiple delicious varieties to enjoy or gift to friends.
Looking for more creative cocktail ideas? Try my Jolly Rancher Vodka for another candy-infused spirit, or check out these 14 Easy Jello Shots for colorful party drinks. For more fruity cocktails, this Fresh Mango Margarita is absolutely refreshing.
Reasons You’ll Love This Recipe
- Simple Preparation: Making Skittles vodka requires minimal effort with just two main ingredients and basic equipment. The hands-on time is only 10 minutes, though patience is needed for the 5-day infusion process that creates the magic.
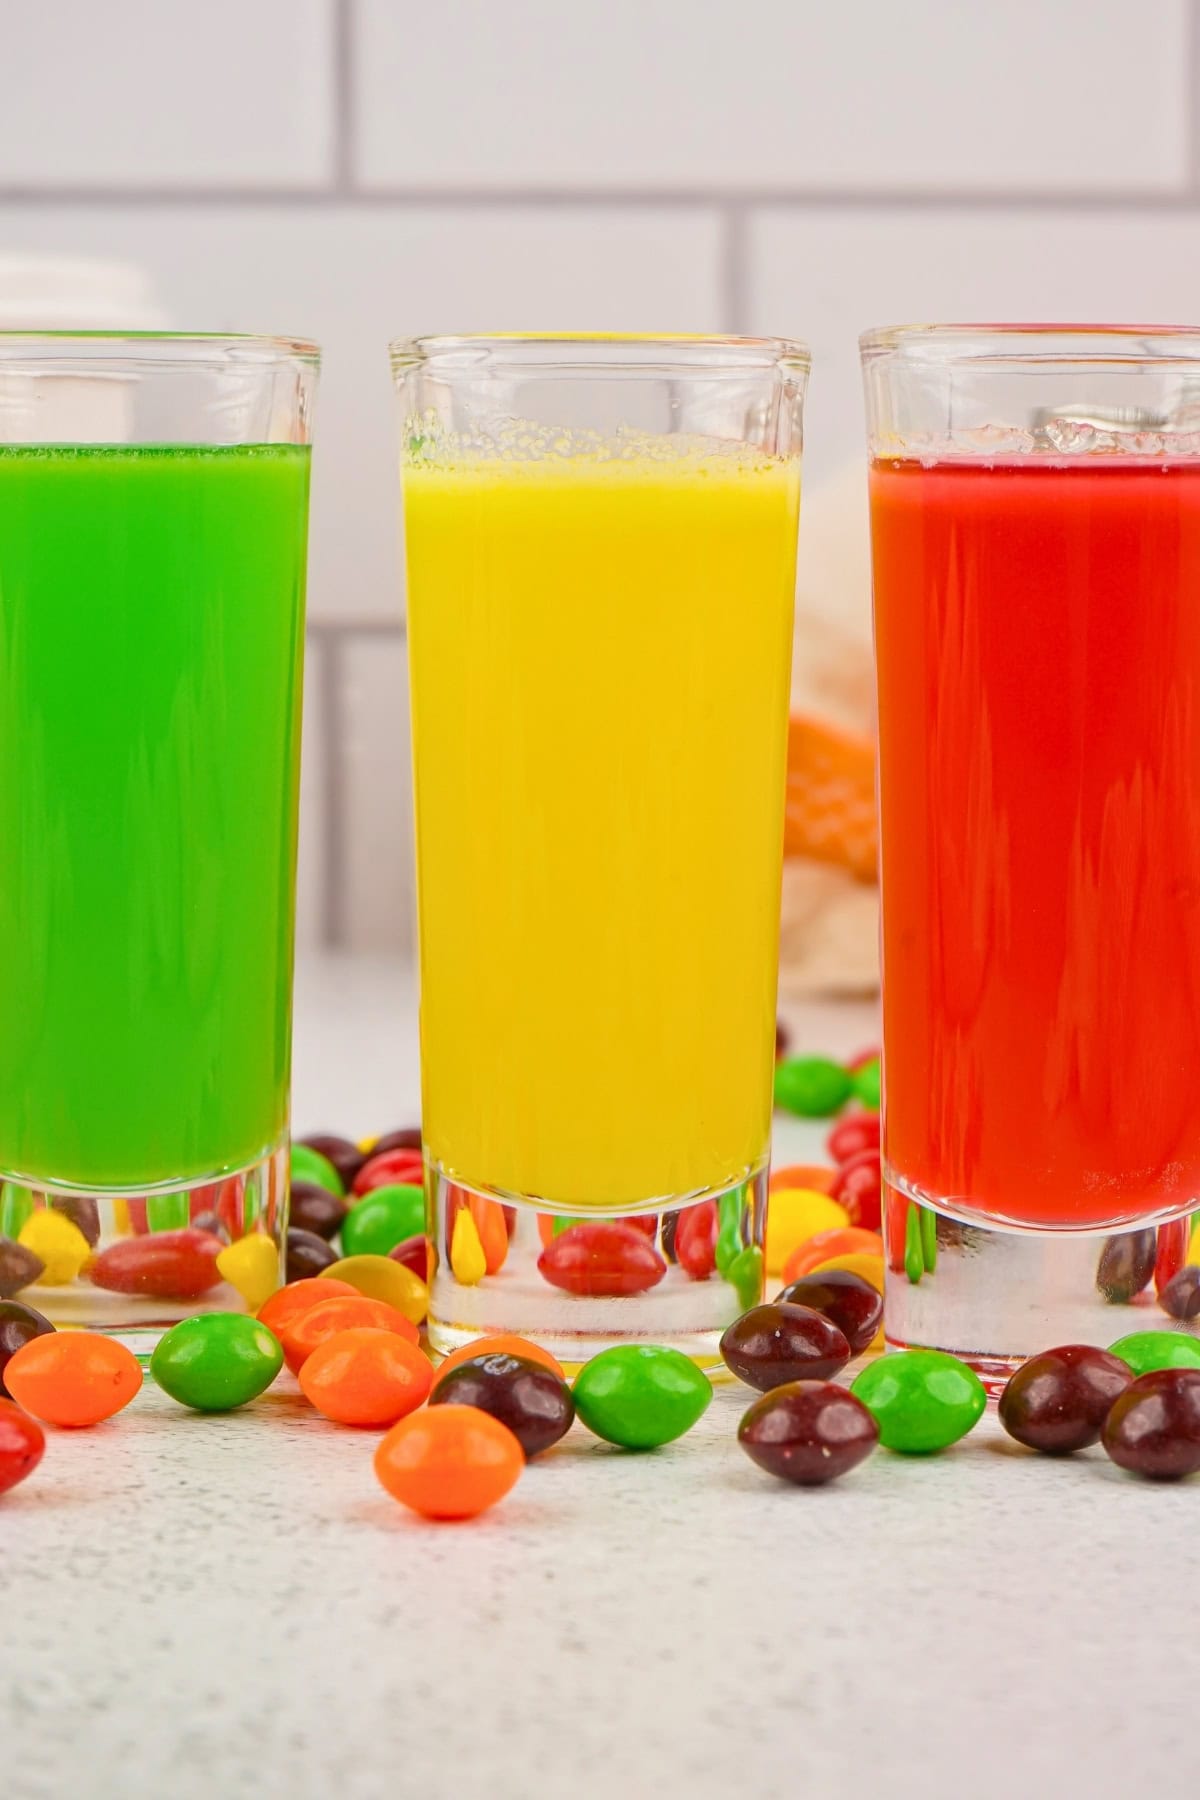
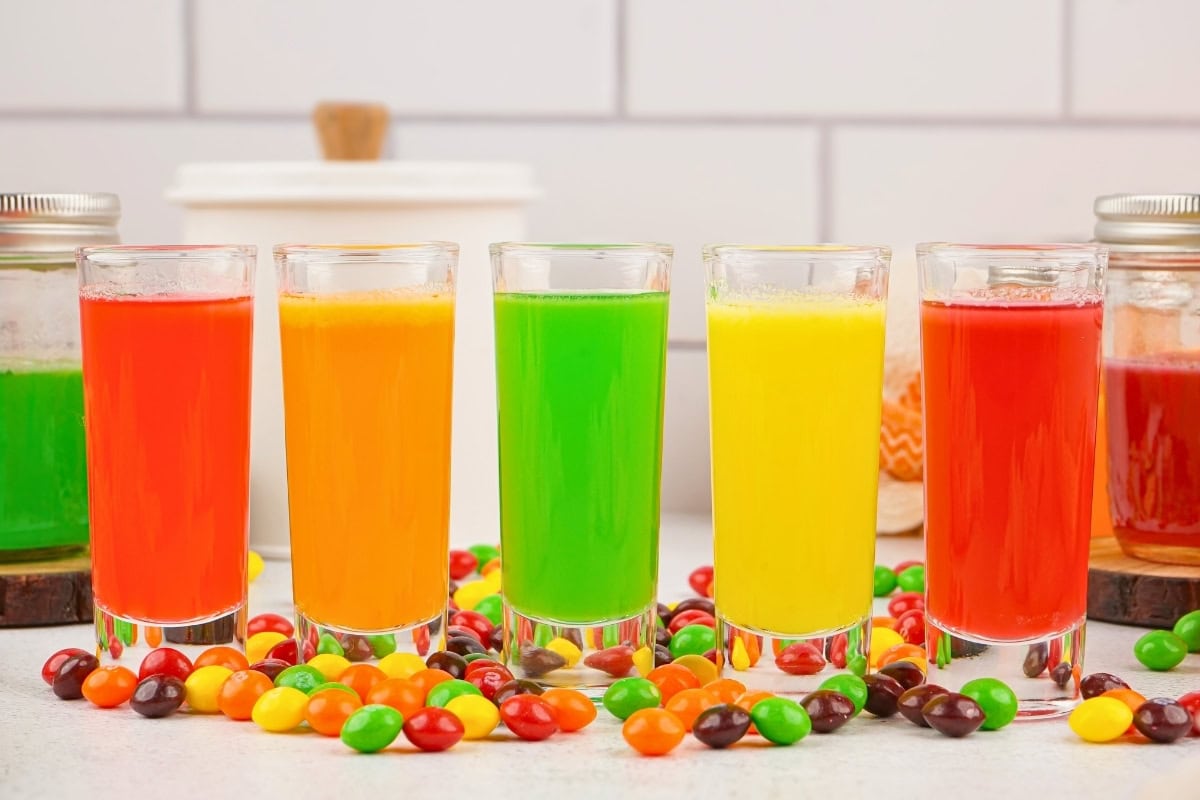
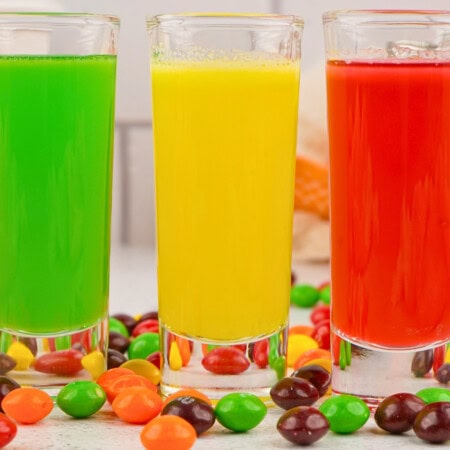
- Customizable Colors and Flavors: You can create separate jars for each Skittles color, resulting in five distinct flavored vodkas with beautiful, vibrant colors. Each flavor offers a unique taste experience from strawberry to green apple.
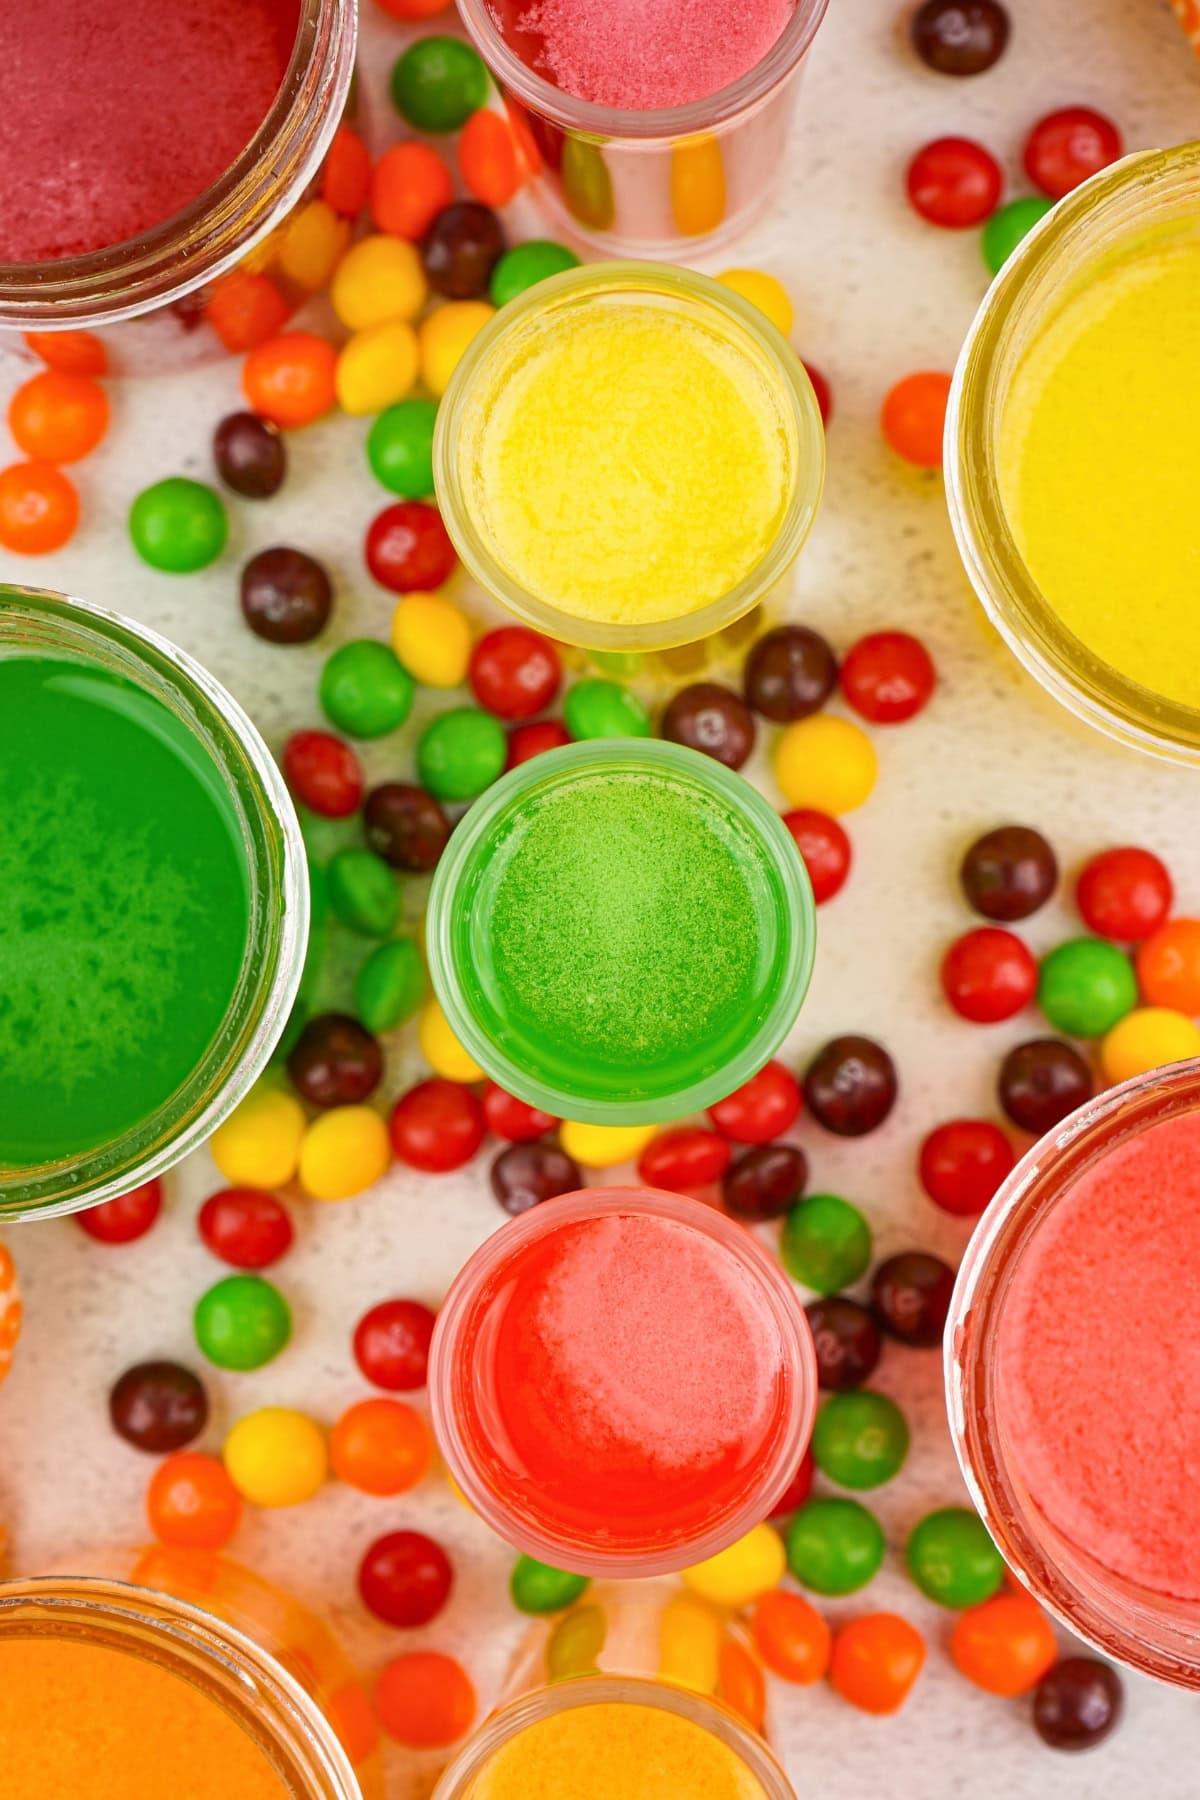
- Perfect Party Centerpiece: This colorful infused vodka makes an impressive addition to any gathering and serves as a great conversation starter. Guests will be amazed by the brilliant colors and sweet, fruity flavors that remind them of their favorite childhood candy.
- Great Gift Idea: The finished product makes thoughtful, homemade gifts for friends who enjoy cocktails. Package them in decorative bottles with custom labels for birthdays, holidays, or housewarming presents.
What is Skittles Vodka?
Skittles vodka is a candy-infused alcoholic beverage created by steeping Skittles candies in vodka for several days. The process extracts the fruity flavors and vibrant colors from the candy, creating a sweet, colorful spirit that maintains the alcohol content while adding delicious candy notes.
Each color of Skittles produces a distinct flavor profile, ranging from the red strawberry to the purple grape, allowing for the creation of multiple varieties from a single bag of candy.
Skittles Vodka Ingredients
See the recipe card below for the full list of ingredients and exact measurements.
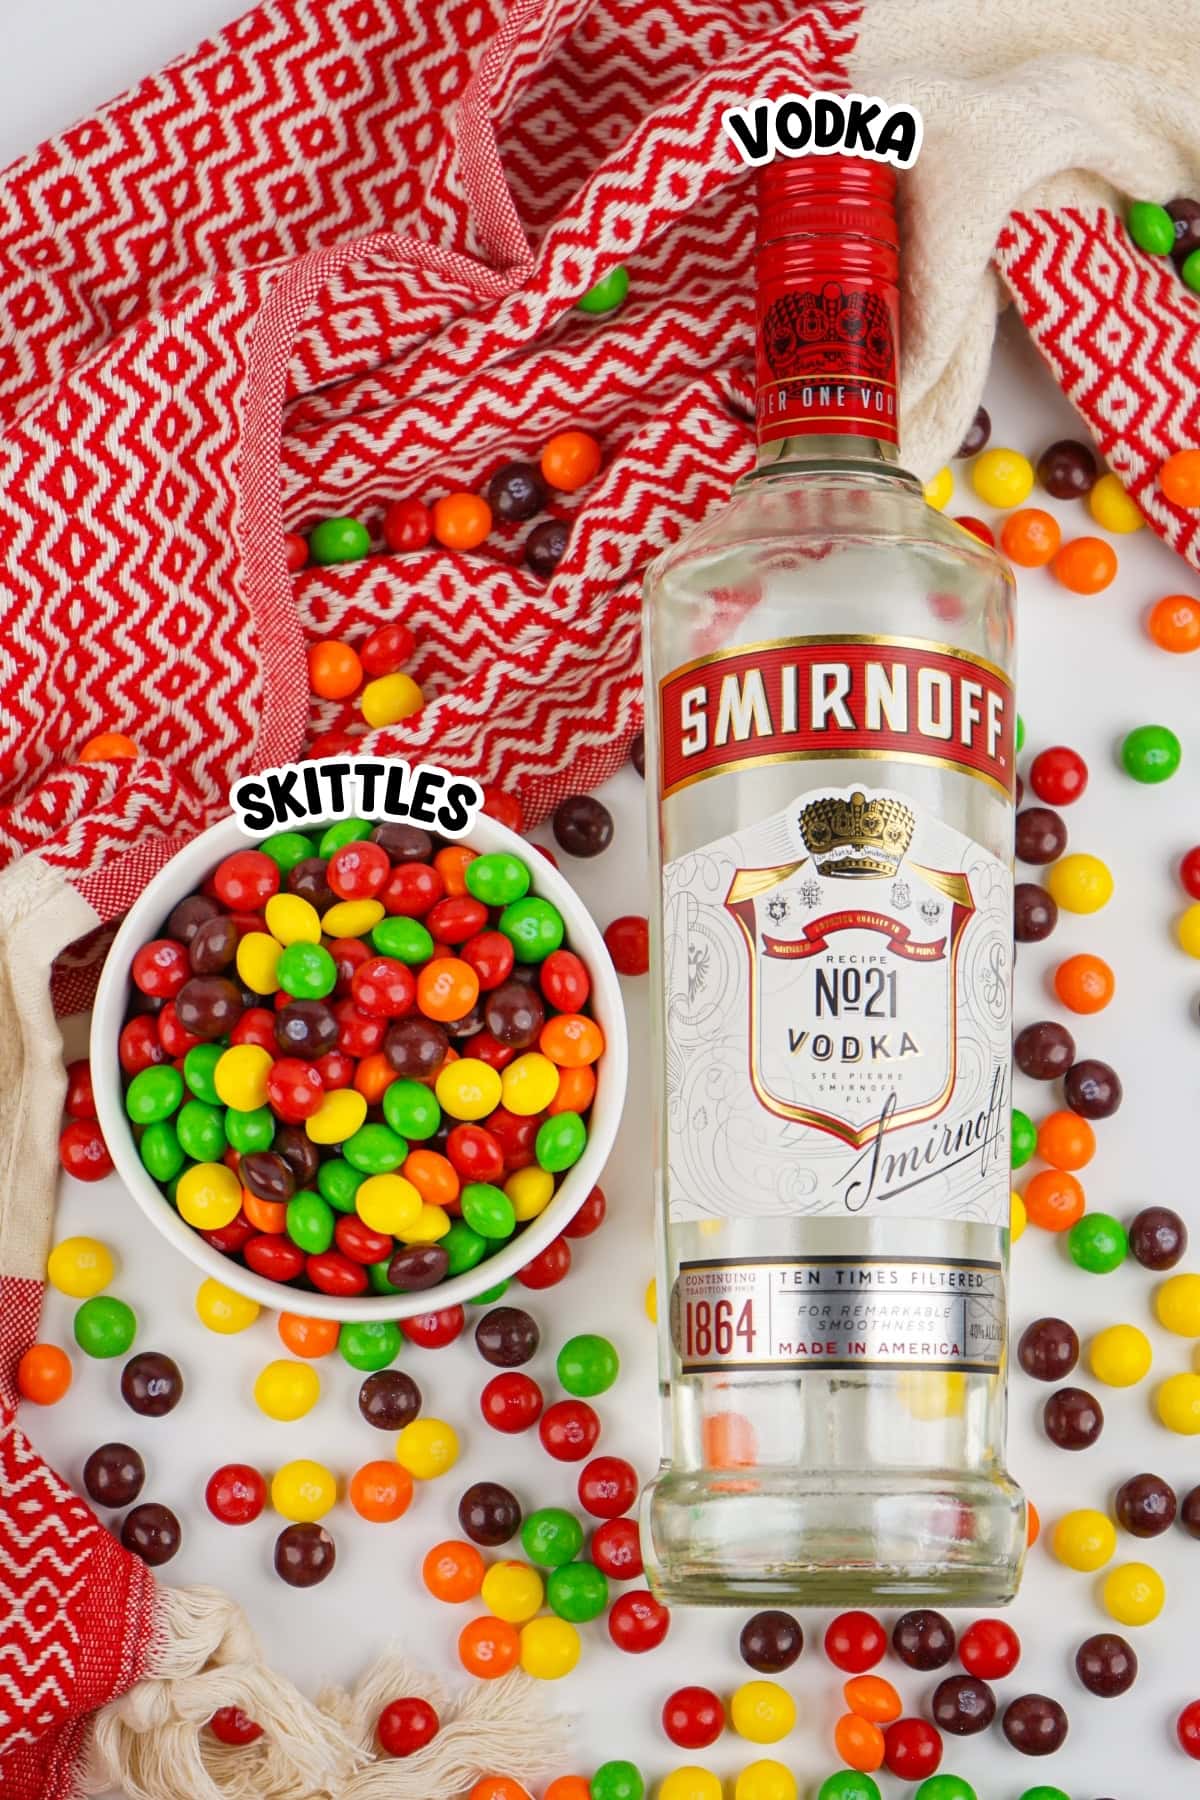
- Vodka – Choose a quality vodka as the base since the final product’s smoothness depends heavily on your vodka selection. Premium vodka creates a much better-tasting infusion, whereas cheap vodka with harsh flavors can negatively impact the final result.
- Skittles Candy – Use only one color per jar to maintain distinct flavors and appealing colors. Mixing colors creates muddy brown colors that look unappetizing, even though the taste remains good. Separate the colors carefully before starting the infusion process.
- Mason Jars with Lids – Sixteen-ounce jars work perfectly for this recipe size and provide an airtight seal during the infusion period. You’ll need one jar per color if making multiple flavors simultaneously.
- Cheesecloth or Fine Strainer – Essential for removing candy debris and ensuring a smooth, clear final product. This step prevents any remaining candy particles from affecting the texture of your finished vodka.
Substitutions and Additions
- Different Candy Types – Try this method with other hard candies, such as Jolly Ranchers, Life Savers, or Starburst, for unique flavor variations.
- Vodka Alternatives – Experiment with other clear spirits like white rum or silver tequila, though vodka provides the most neutral base for candy flavors.
- Flavor Combinations – While single colors work best visually, you can experiment with complementary color combinations in small test batches.
- Sweetness Levels – Adjust the amount of Skittles per jar based on your preferred sweetness level, using anywhere from 1/3 cup to 2/3 cup per jar.
How to Make Skittles Vodka (step-by-step directions)
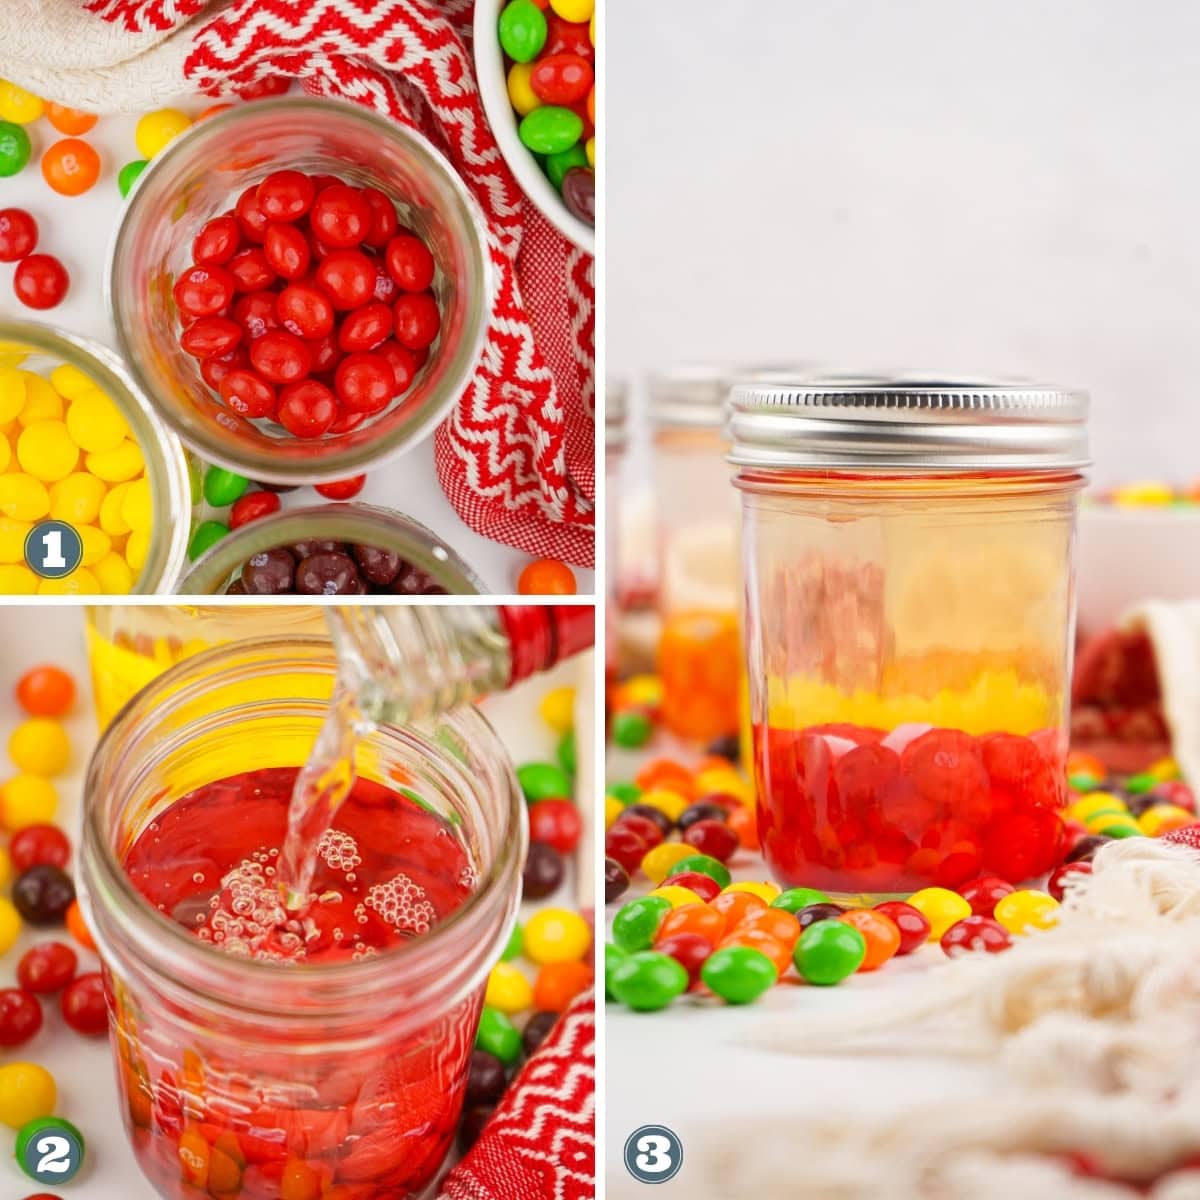
STEP 1. Begin by separating your Skittles by color, as mixing colors will create an unappealing brown color, despite having a good flavor. You’ll need separate mason jars for each color you plan to infuse, making this recipe scalable based on the number of flavors you want to create. (Photo 1)
STEP 2. Place half a cup of the same-colored Skittles into each 16-ounce mason jar. Pour 16 ounces of vodka over the candy, ensuring all Skittles are completely covered by the liquid. (Photo 2)
STEP 3. Secure the lid tightly on each jar and place them in the refrigerator for the 5-day infusion period. The cold temperature helps extract flavors while preventing any spoilage during the lengthy process. (Photo 3)
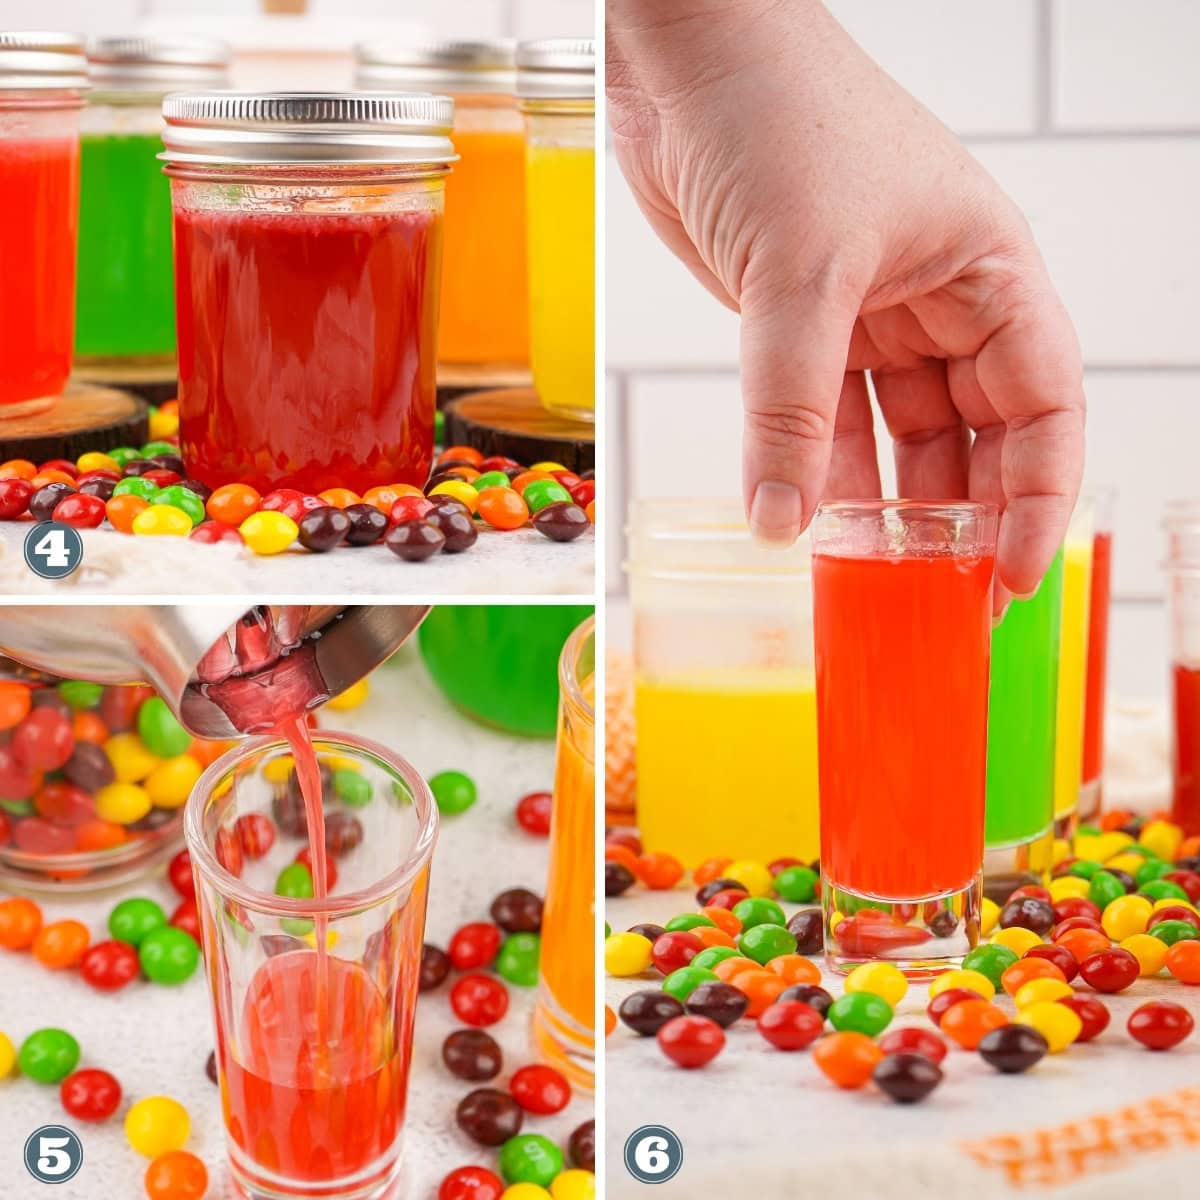
STEP 4. After about 2-3 days, turn each jar upside down to help distribute the dissolving candy and ensure even flavor extraction. Turn the jars right-side up again on day 4 to allow any remaining sediment to settle. (Photo 4)
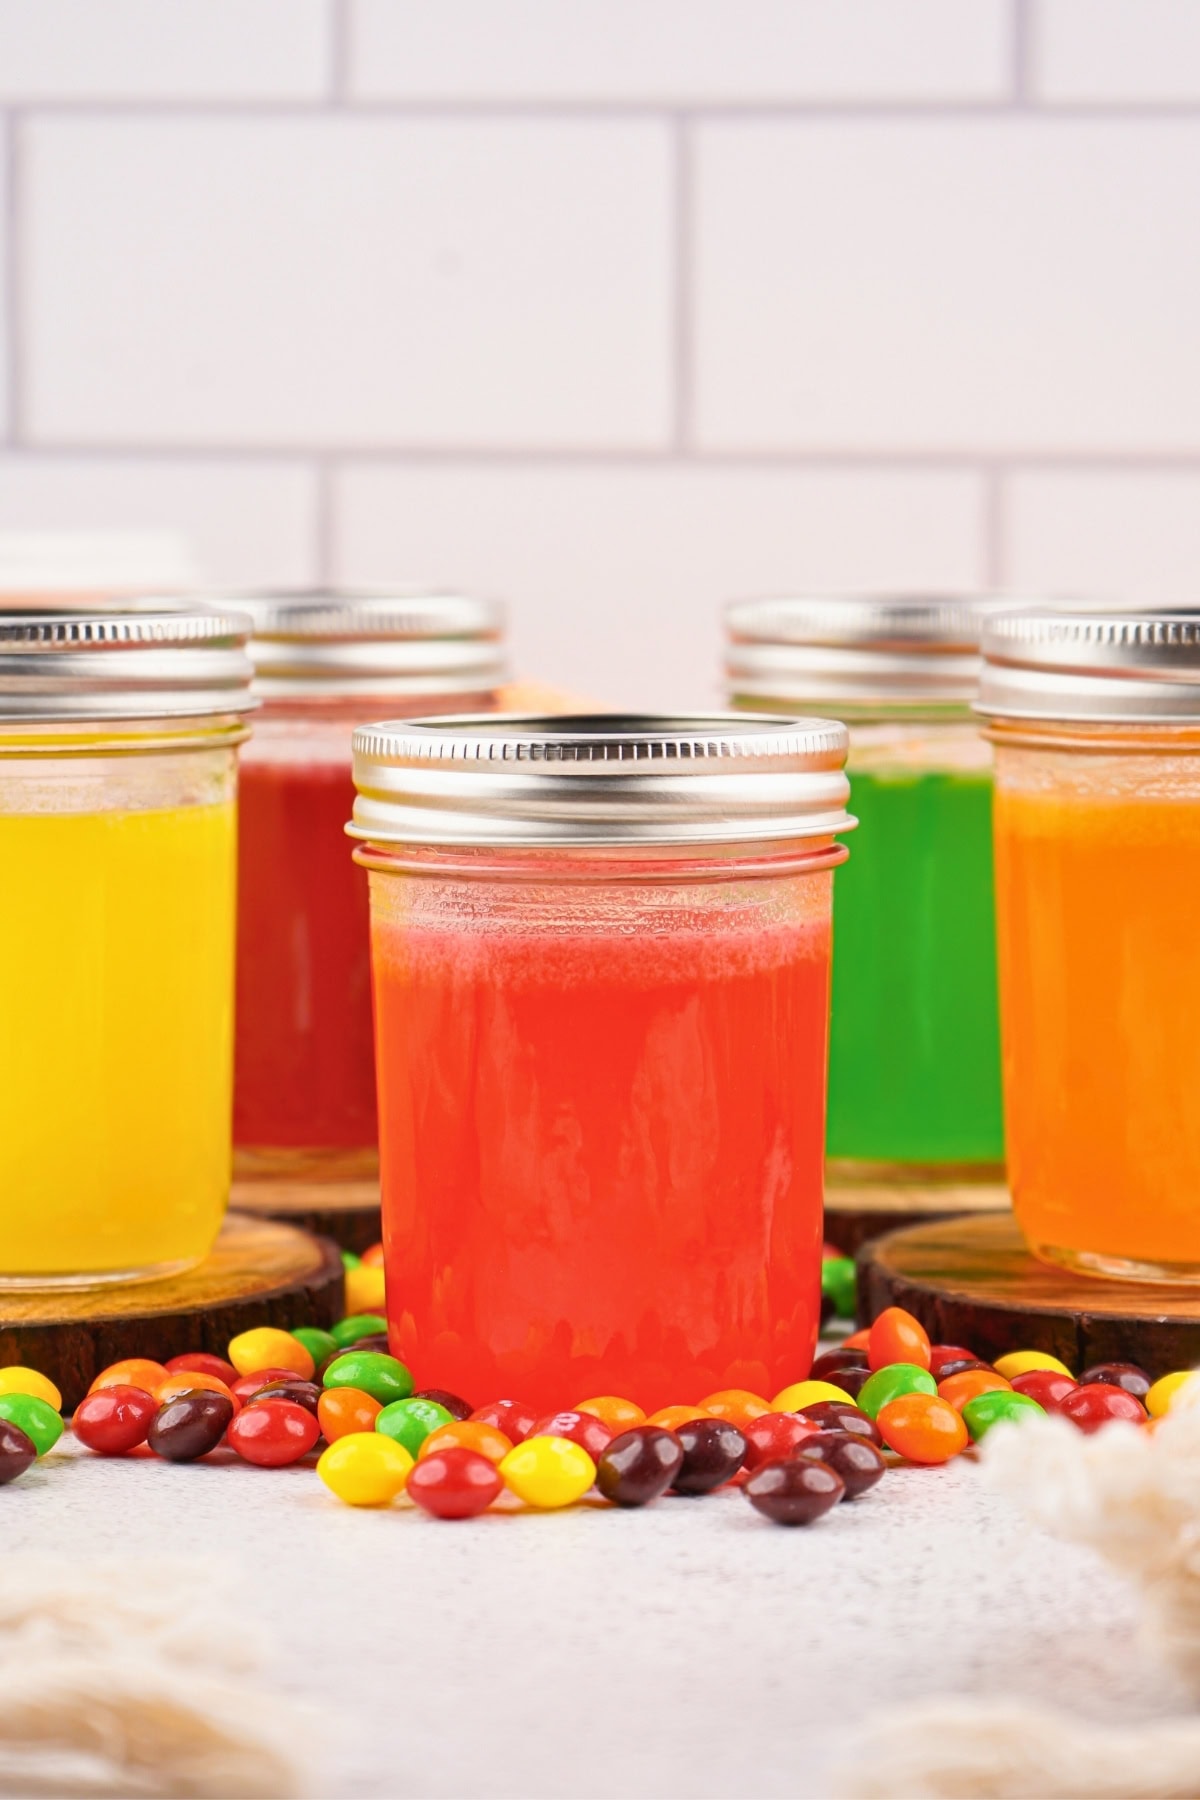
STEP 5. On day 5, strain each jar through cheesecloth or a fine-mesh strainer to remove any remaining candy particles and debris. Your Skittles vodka should be clear and beautifully colored, ready for serving or storage. (Photos 5 & 6)
Recipe Tips For Candy Infused Vodka
- Quality Matters – Invest in high-quality vodka, as the base spirit significantly impacts the final taste and smoothness of your infused vodka.
- Color Separation – Always separate Skittles colors before infusing to maintain vibrant, appealing colors rather than muddy brown mixtures.
- Temperature Control – Keep jars refrigerated throughout the entire infusion process to maintain quality and prevent any fermentation issues.
- Patience Pays Off – Don’t rush the 5-day process, as this time allows for complete flavor extraction and proper candy dissolution.
- Straining Thoroughly – Take time to strain carefully, removing all candy debris for the smoothest possible final product.
Storing Tips
- Storage: Keep your finished Skittles vodka in sealed mason jars or transfer to decorative bottles with tight-fitting lids to maintain freshness and prevent evaporation.
- Refrigerator: Store in the refrigerator for up to 1 month for best quality and flavor retention. The cold temperature helps preserve the vibrant colors and fruity flavors.
- Freezing: This infused vodka will not freeze due to its alcohol content, making it perfect for serving ice-cold shots directly from the freezer.
- Room Temperature: Avoid storing at room temperature as this will alter the taste negatively and may cause the colors to fade over time.
Serving Suggestions
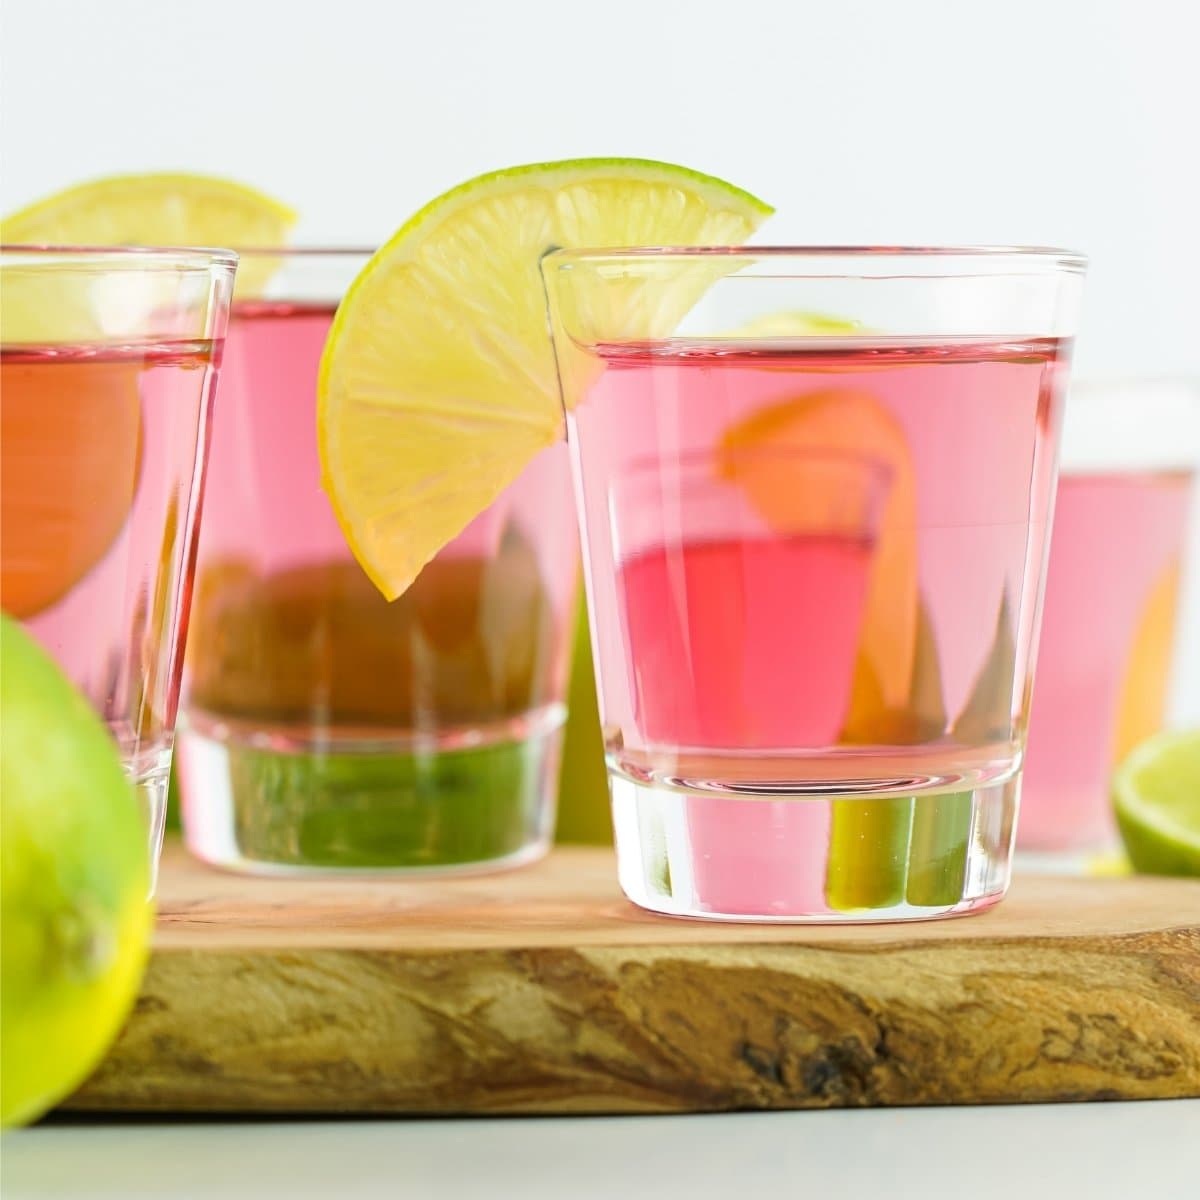
Serve your Skittles vodka as colorful shots for parties, or use it as a base for creative cocktails and mixed drinks. Try mixing it with Tropical Jello Shots for a fun party combination, or incorporate it into Cotton Candy Jello Shots for an extra sweet treat.
For a festive presentation, create a rainbow flight of all five colors served alongside Blue Raspberry Jello Shots and other colorful party drinks. The vibrant colors make it perfect for birthday parties, bachelorette celebrations, or any event where you want to add some fun.
Recipe FAQs
The prep time for Skittles vodka is only 10 minutes, but the infusion process requires 5 days in the refrigerator. This waiting period is essential for extracting the full flavor and color from the candy.
While you can mix colors, it’s not recommended, as combining different-colored Skittles creates an unappetizing, muddy brown color. The flavors will still taste good, but the visual appeal is lost when colors are mixed.
Quality vodka makes a significant difference in the final product. Premium vodkas create smoother, better-tasting Skittles vodka, while cheap vodkas with harsh flavors will negatively impact your infusion.
Use cheesecloth or a fine-mesh strainer to remove all candy debris and particles. Some people double-strain through both cheesecloth and a coffee filter for the clearest possible result.
Yes, you can adjust the Skittles quantity based on your taste preferences. Use less candy for milder flavor or more for stronger candy taste, though 1/2 cup per 16 ounces provides the best balance.

Homemade Skittles Vodka Recipe
Equipment
- Mason Jars 16-Ounce
Ingredients
- 16 Ounces Vodka per jar
- ½ Cup Skittles per color, only one color per jar
Instructions
- Begin by separating your Skittles by color, as mixing colors will create an unappealing brown color, despite having a good flavor. You’ll need separate mason jars for each color you plan to infuse, making this recipe scalable based on the number of flavors you want to create.
- Place half a cup of the same-colored Skittles into each 16-ounce mason jar. Pour 16 ounces of vodka over the candy, ensuring all Skittles are completely covered by the liquid.
- Secure the lid tightly on each jar and place them in the refrigerator for the 5-day infusion period. The cold temperature helps extract flavors while preventing any spoilage during the lengthy process.
- After about 2-3 days, turn each jar upside down to help distribute the dissolving candy and ensure even flavor extraction. Turn the jars right-side up again on day 4 to allow any remaining sediment to settle.
- On day 5, strain each jar through cheesecloth or a fine-mesh strainer to remove any remaining candy particles and debris. Your Skittles vodka should be clear and beautifully colored, ready for serving or storage.
Notes
- Flavor Combinations – While single colors work best visually, you can experiment with complementary color combinations in small test batches.
- Sweetness Levels – Adjust the amount of Skittles per jar based on your preferred sweetness level, using anywhere from 1/3 cup to 2/3 cup per jar.
- Quality Matters – Invest in high-quality vodka, as the base spirit significantly impacts the final taste and smoothness of your infused vodka.
- Color Separation – Always separate Skittles colors before infusing to maintain vibrant, appealing colors rather than muddy brown mixtures.
- Temperature Control – Keep jars refrigerated throughout the entire infusion process to maintain quality and prevent any fermentation issues.
- Patience Pays Off – Don’t rush the 5-day process, as this time allows for complete flavor extraction and proper candy dissolution.
- Straining Thoroughly – Take time to strain carefully, removing all candy debris for the smoothest possible final product.
Nutrition Information
Hungry for more?
Follow me on Pinterest and make sure to comment below!