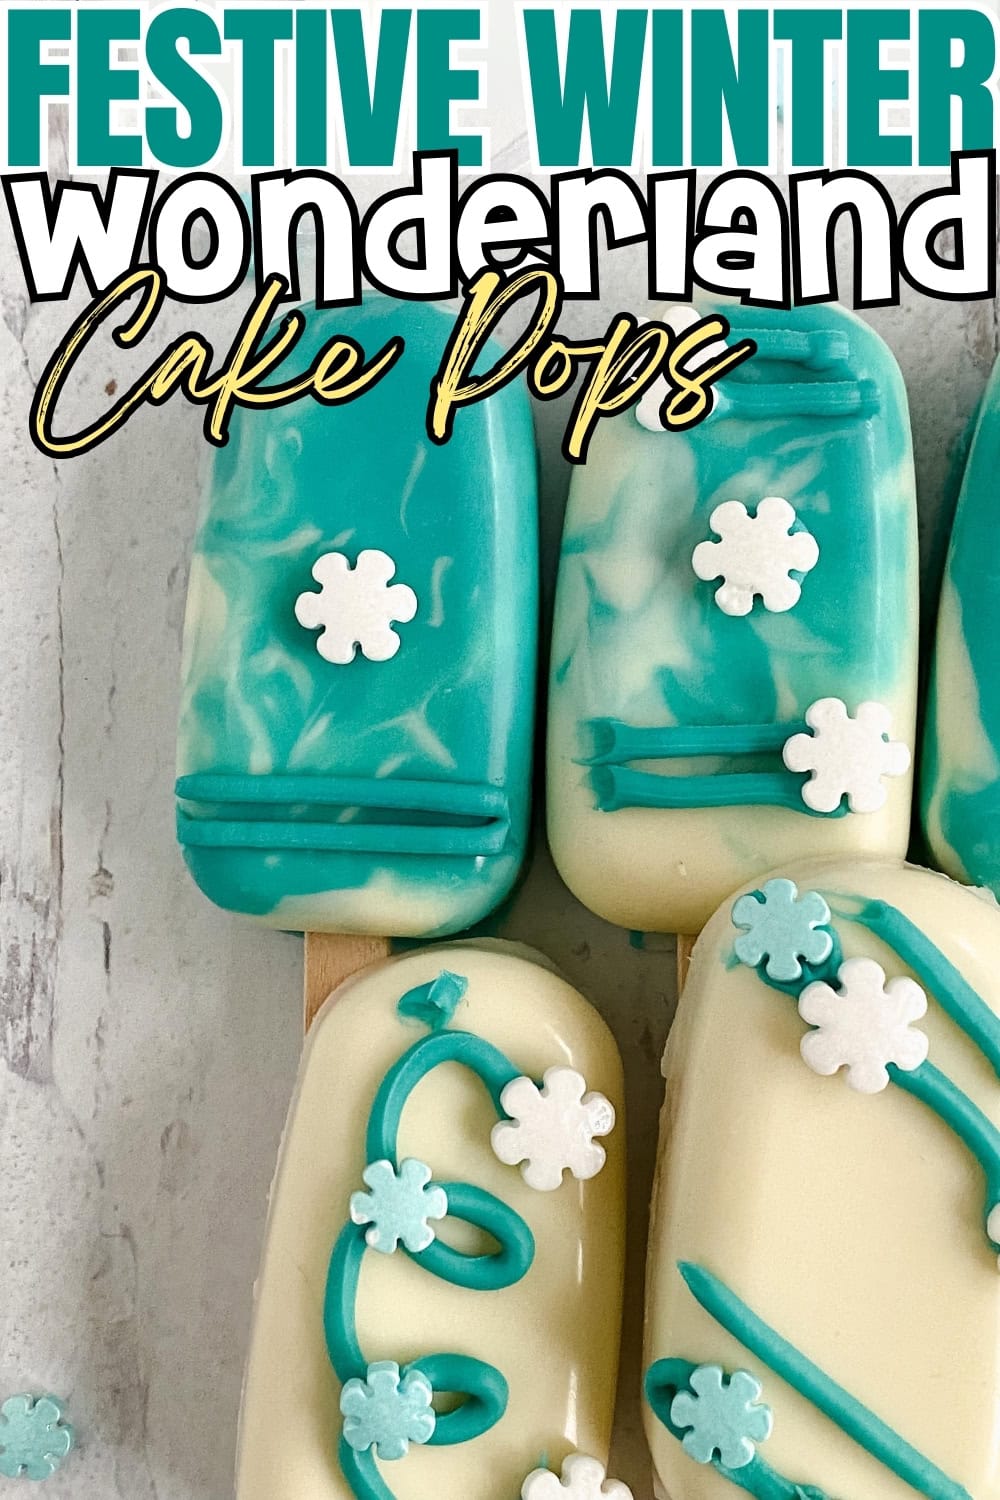
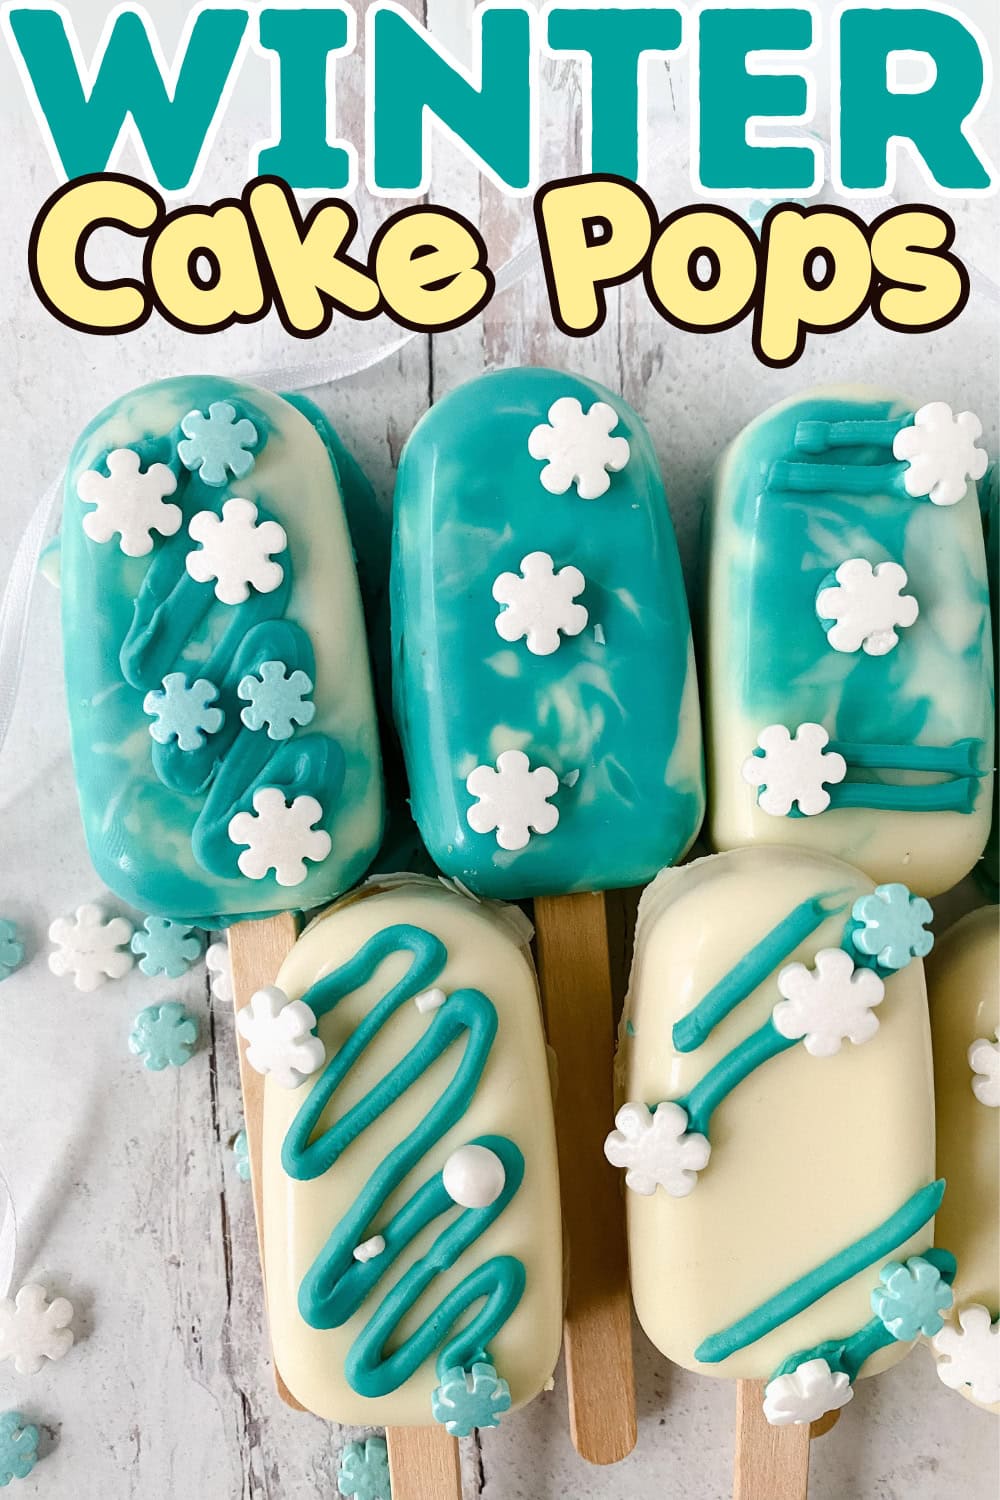
Winter Wonderland Cake Pops
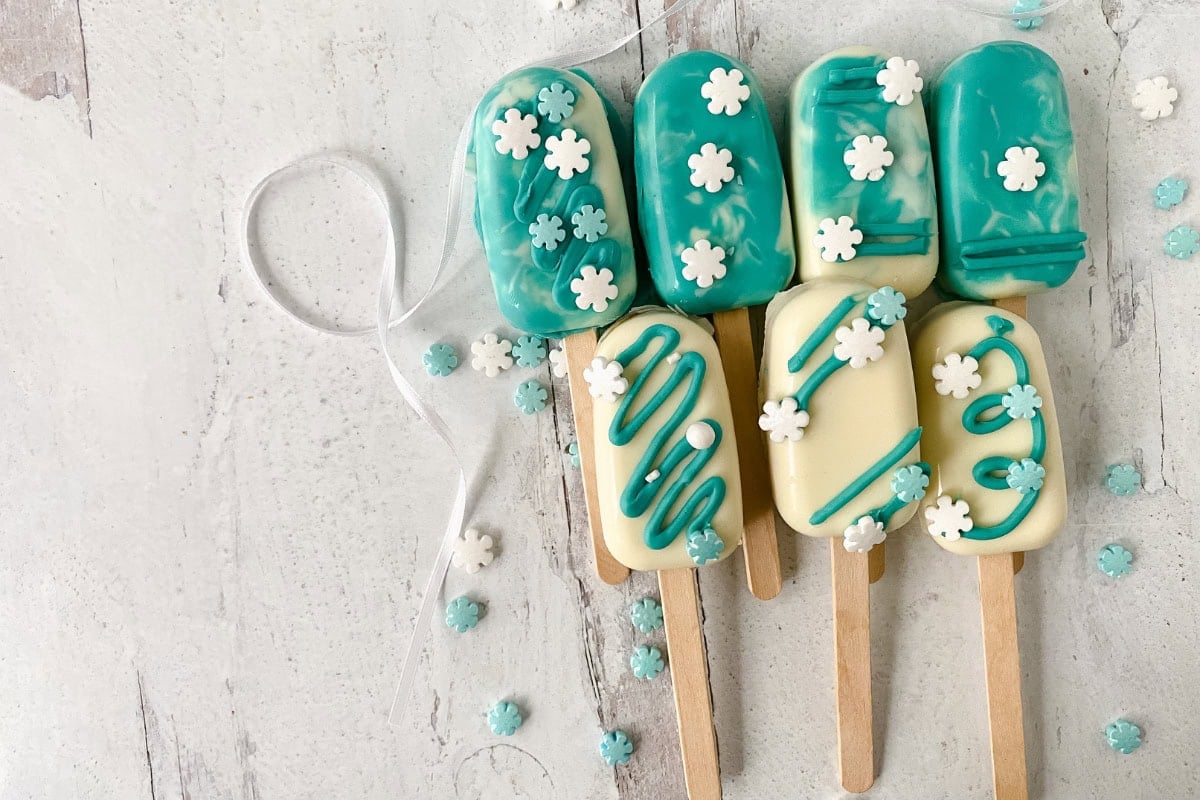
Winter Wonderland Cake Pops are festive cake pops that will liven up your holiday season. These pops are made from pound cake, which is then frosted and decorated to look like a winter scene.

The great thing about making cake pops is that you can customize them any way you want. You can use any flavor of cake and frosting, and you can decorate them with any type of candy or sprinkles.
Table of Contents
Why you should make these Winter Cake Pops
Festive – They are festive and fun, and they will add a touch of winter to your holiday celebrations.
Cake Based – They are made from pound cake, which is a delicious and versatile cake flavor. Who doesn’t love cake?
Customizable – The frosting and decorations can be customized to match your own personal taste.
Easy to make -They are easy to make, and even beginners can make them.
If you love recipes like this, you may also enjoy this Oreo Reindeer Pops recipe.
What You Need To Make This Winter Wonderland Cake Pops Recipe
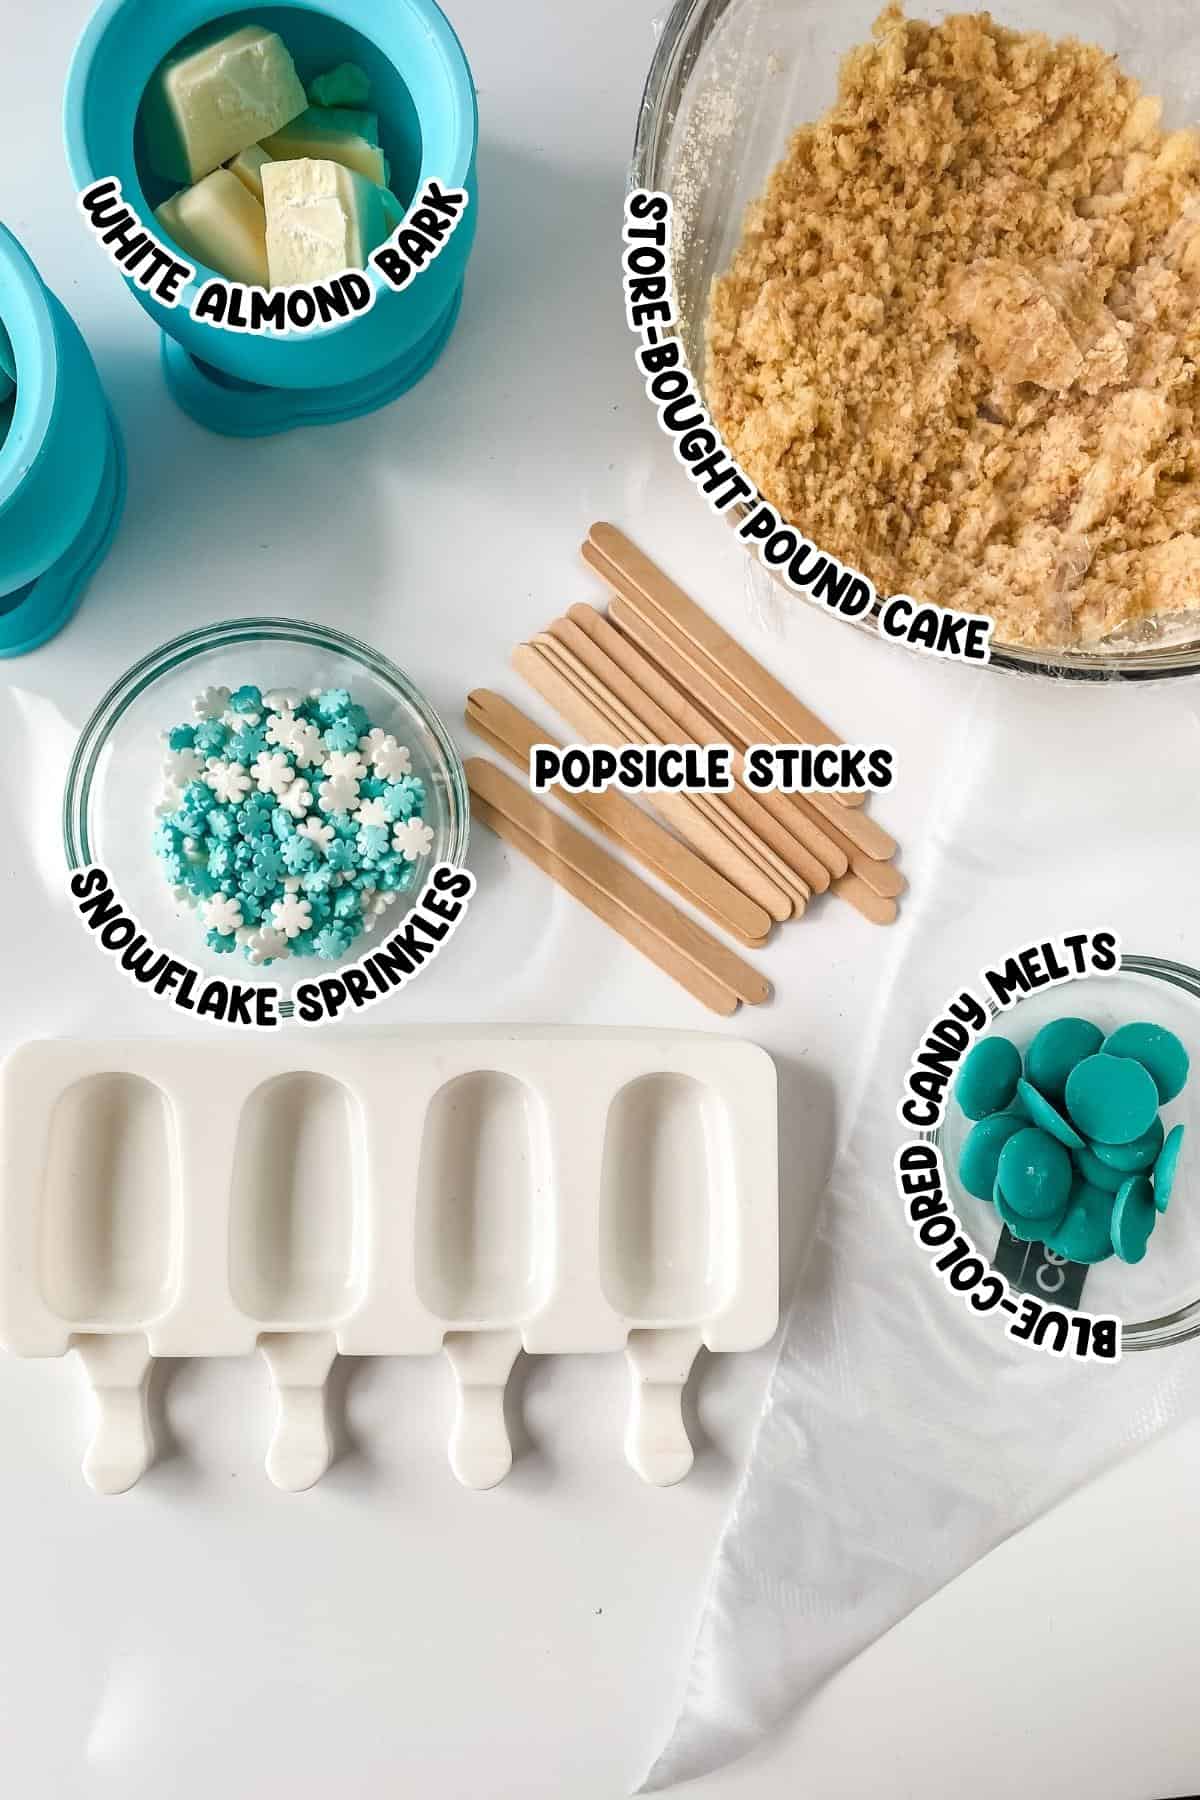
- store-bought pound cake
- vanilla icing
- blue-colored candy melts
- white almond bark or candy coating
- Snowflake Sprinkles
- Popsicle sticks
How to Make Winter Wonderland Cake Pops
See the recipe card below for a complete list of ingredients and measurements.

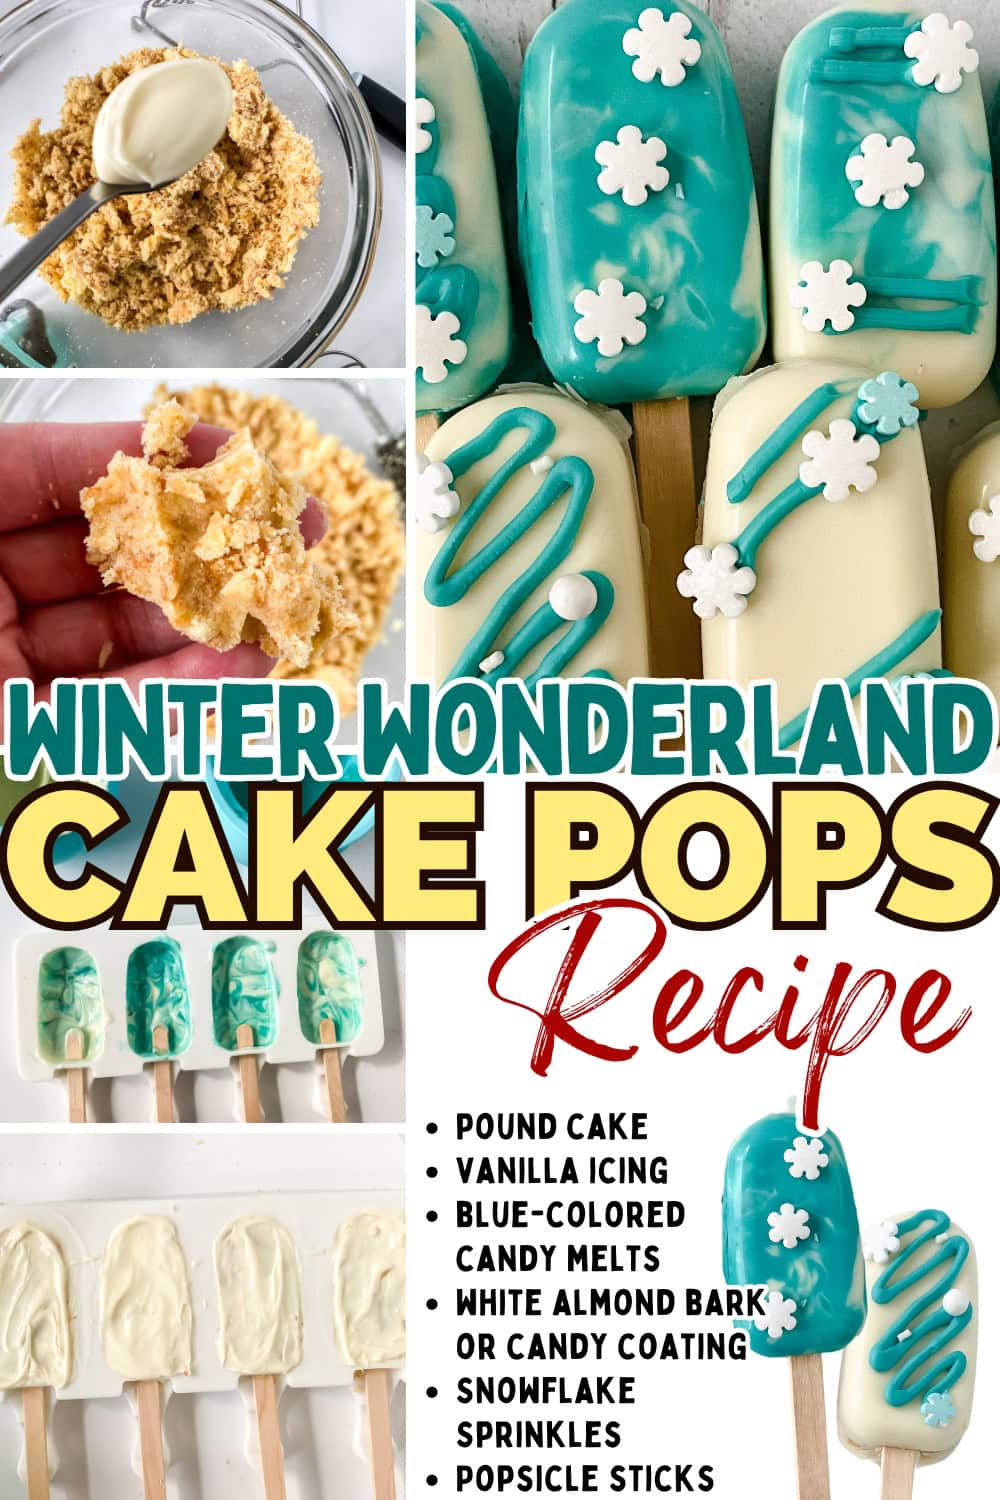
- Break up the cake into crumbs using a whisk or large spoon. Add a small spoonful of icing and mix for several mins until it forms a dough. (Photos 1 & 2)
- Melt the almond bark in 30-sec increments. Stir every 30 seconds. (Photo 3)
- After 1 min see how much time is still needed after stirring out as many lumps as possible, you may only need 15 sec as opposed to 30 sec to smooth out the chocolate.
- Pour candy into the mold if using pots (or 1 spoonful if using a bowl). (Photo 4)

- Spread candy up the sides of the mold. (Photo 5)
- If more chocolate is needed to cover the center do so.
- Slide in the popsicle sticks to the center making sure they are as even as possible. Freeze for 15 mins.
- When placed in the freezer it needs to be flat and the sticks can not be pointed down inside the chocolate they should hover above it.
- Remove trays from the freezer, portion out the cake pop dough, and be careful not to overfill the cavity.
- Press gently into the mold, careful not to break the chocolate.
- Cover the back with melted chocolate. Clean up the edges as much as possible. (Photo 6)
- Freeze for another 5 min, so the chocolate is hardened, and carefully remove from molds by peeling from the top down.
To remove from the mold
Very carefully loosen one of the end pieces. Peeling the mold from the top, very carefully peel the entire pop free. Carefully push the sticks up through the mold. Rest on a parchment-lined baking sheet. (Photo 7)
Decorating the top
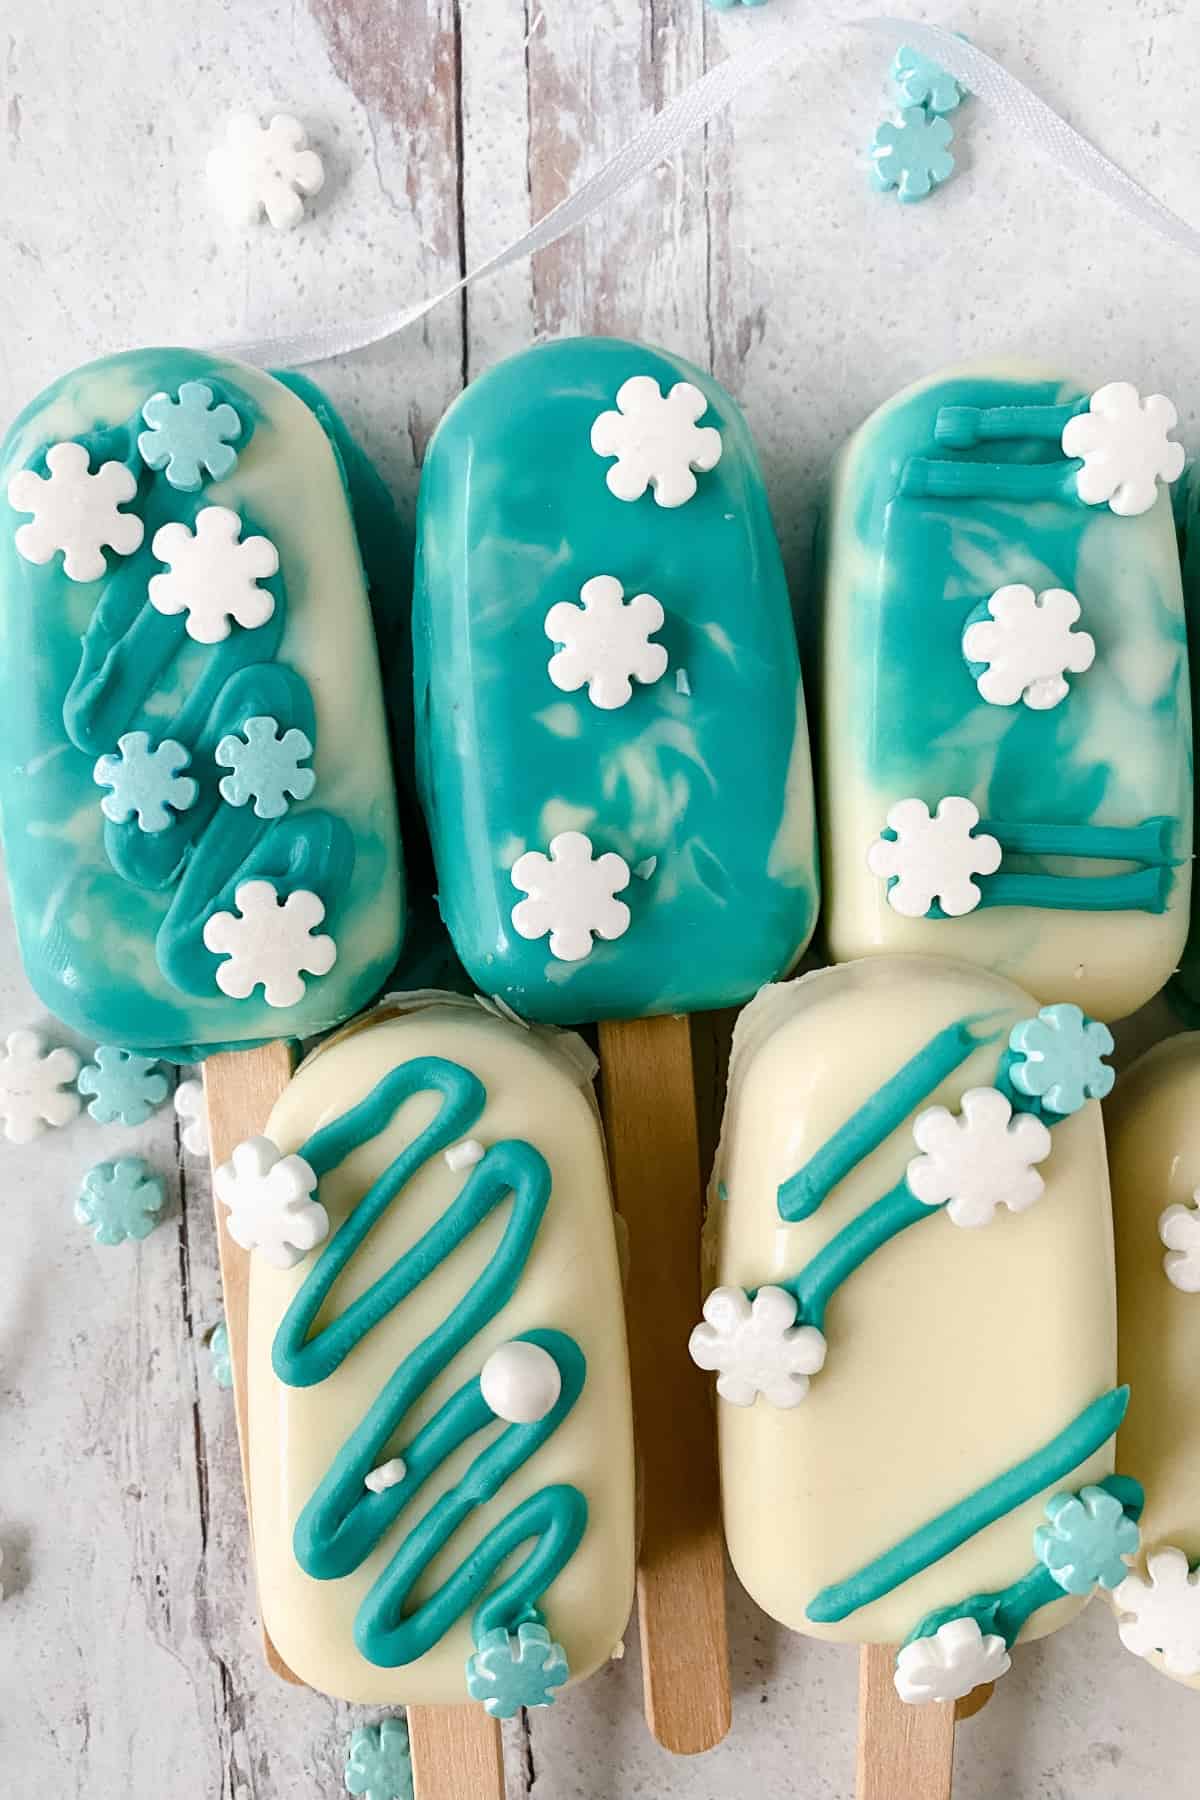
Melt the blue chocolate, add it to a piping bag. Cut a small hole and draw lines and circles across the top of the cakescicle. Add snow sprinkles immediately, let dry completely (about 20-30 mins) (Photo 8)
To marble the pops, add white and blue in the mold. Use a butter knife or spoon or toothpick to swirl the colors together.

Storage
Store vanilla cake pops in an airtight container in the fridge for up to 2 weeks. You can also freeze them for up to 2 months.
Tips
- If the stick won’t stay inside the dough, remove it from the mold, dip in melted chocolate and insert into pop. Let set for 10-15 mins.
- If the chocolate cracks when removing: Peel the chocolate off; if no cake is in the chocolate, remelt it and start over.
- The sides are not fully covered: Dab a bit of the melted chocolate into the exposed areas and let dry.
- If extra chocolate is on the outer rim: Use a pair of clean scissors carefully trim it off.
Substitutions and Variations
Use any color candy coating for the coatings if you want to change up these frozen themed cake pops
Switch up the cake flavor for whatever is your favorite. Chocolate or lemon, the choice is yours.
Add different toppings as decorations if you want to make these pops more personalized. Go ahead and get creative!
Winter Wonderland Cake Pops FAQs
Yes! You can either make them ahead and store them in the fridge or freezer. I recommend making them no more than forty-eight hours in advance.
Simply peel off the chocolate and if there is no cake attached, remelt the chocolate and start over.
Yes, they can be frozen for up to two months.
More Christmas Recipes You May Love
Or any other delicious recipes on my site? If so, please leave a ★★★★★ star rating below and a 📝 comment sharing your thoughts!
To ensure you’re not missing a thing. Subscribe to my newsletter and follow along below!

Winter Wonderland Cake Pops
Equipment
- Parchment Lined Baking Sheets
- Microwave-Safe Bowls With Lids
Ingredients
- 16 ounce (453 ⅗ g) pound cake
- ¼ cup (56 ½ g) vanilla icing
- ¼ cup (56 ½ g) blue-colored candy melts
- ¼ cup (59 ⅐ g) white almond bark or candy coating
- 6 Popsicle sticks
- Snowflake Sprinkles
Instructions
- Crumble pound cake and then stir in frositng.
- Melt the almond bark in 30-sec increments. Stir every 30 seconds.
- After 1 min see how much time is still needed after stirring out as many lumps as possible, you may only need 15 sec as opposed to 30 sec to smooth out the chocolate.
- Pour candy into the mold if using pots (or 1 spoonful if using a bowl)
- Spread candy up the sides of the mold.
- If more chocolate is needed to cover the center do so.
- Slide in the popsicle sticks to the center making sure they are as even as possible. Freeze for 15 mins
- When placed in the freezer it needs to be flat and the sticks can not be pointed down inside the chocolate they should hover above it.
- Remove trays from the freezer, portion out the cake pop dough, and be careful not to overfill the cavity.
- Press gently into the mold careful not to break the chocolate.
- Cover the back with melted chocolate. Clean up the edges as much as possible.
- Freeze for another 5 min so the chocolate is hardened and carefully remove from molds by peeling from the top down.
- To remove from the mold: Very carefully loosen one of the end pieces. Peeling the mold from the top, very carefully peel the entire pop free. Carefully push the sticks up through the mold. Rest on a parchment-lined baking sheet.
- Decorating the top: Melt the blue chocolate, add it to a piping bag. Cut a small hole and draw lines and circles across the top of the cakescicle. Add snow sprinkles immediately, let dry completely (about 20-30 mins)
- To marble, the pops, add white and blue in the mold. Use a butter knife or spoon or toothpick to swirl the colors together.
Notes
Nutrition Information
Hungry for more?
Follow me on Pinterest and make sure to comment below!
