
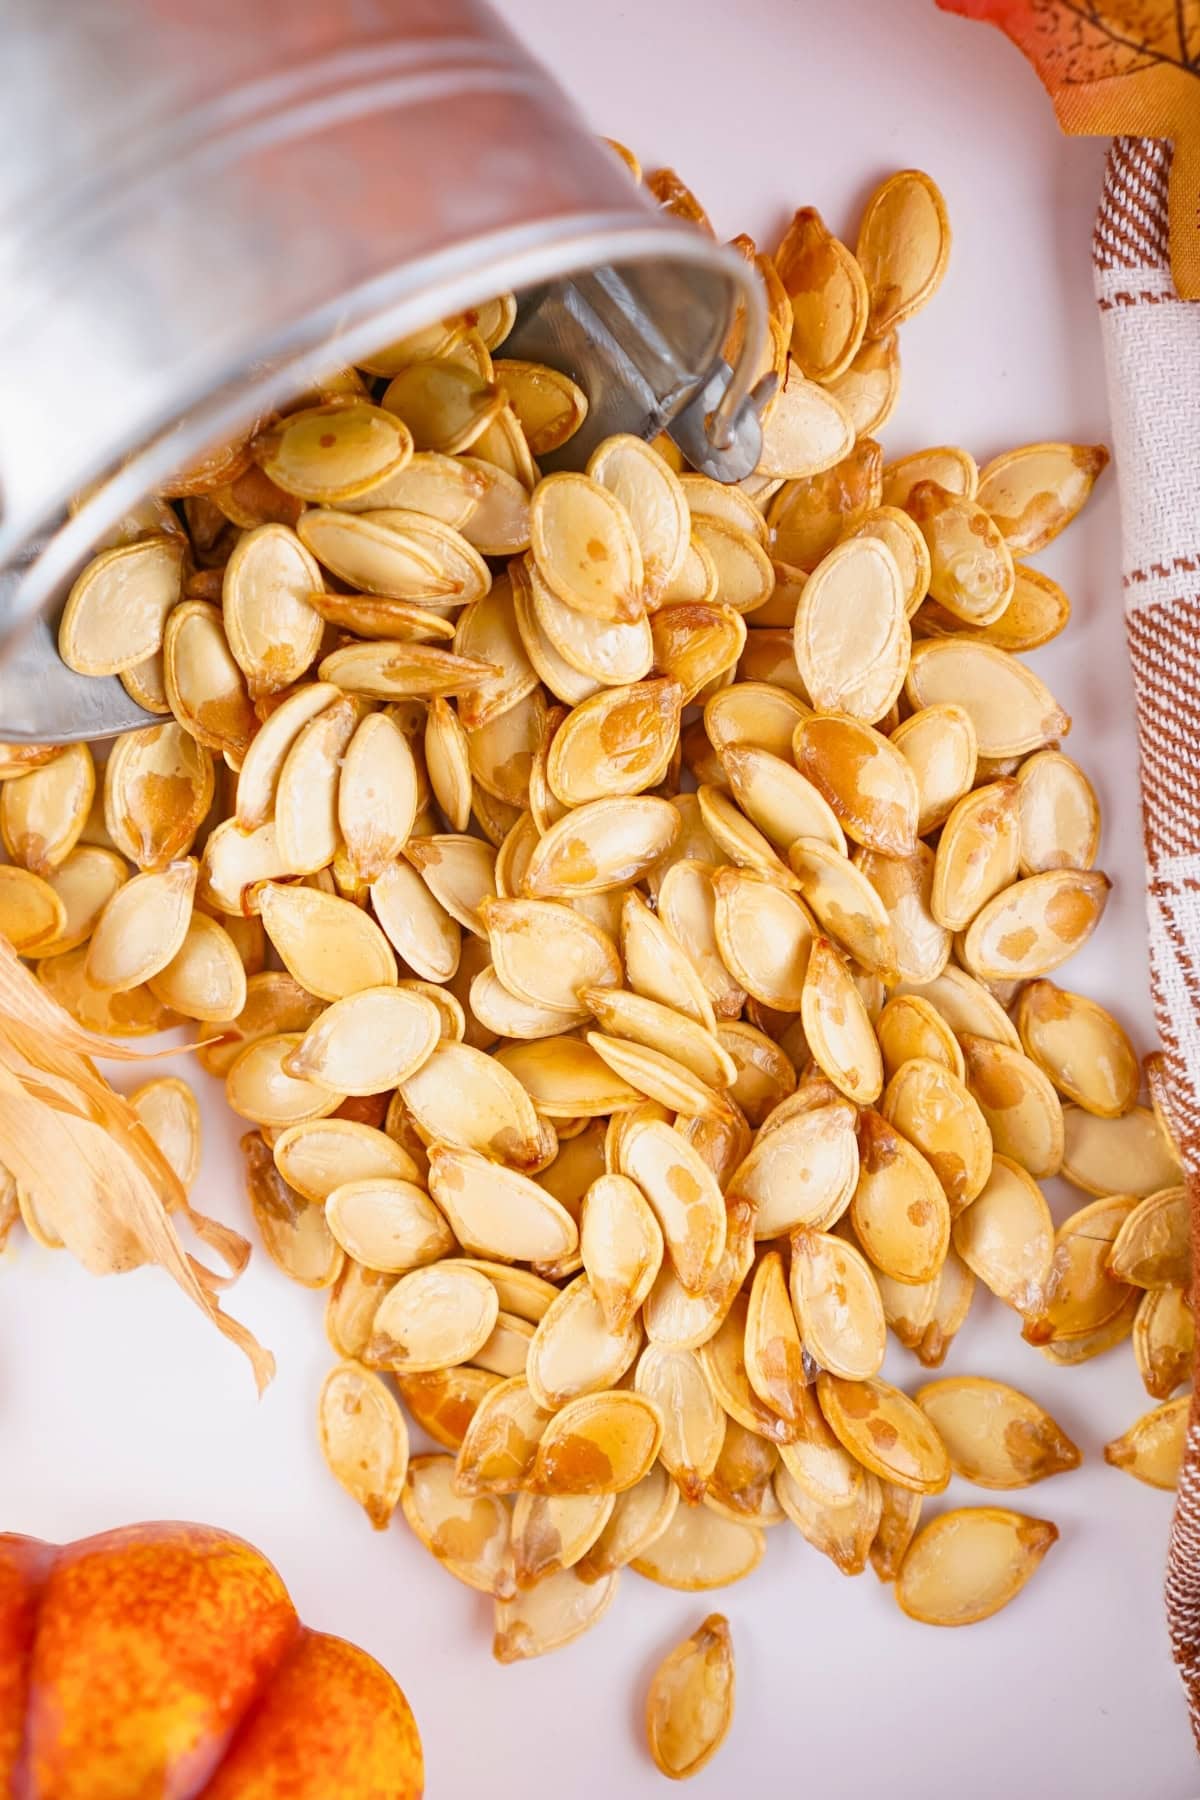
Oven Baked Pumpkin Seeds (Crispy in 20 Minutes!)

When you’re carving pumpkins for fall or Halloween, don’t toss those seeds in the trash! Oven Baked Pumpkin Seeds are a simple, crunchy snack that takes just 20 minutes from start to finish. With only three ingredients, you’ll transform pumpkin guts into a healthy treat everyone will grab by the handful.
Save This Post!
This easy roasted pumpkin seeds recipe is perfect for busy families who want to get the most out of every pumpkin. Whether you’re prepping for a party or looking for a nutritious after-school snack, these baked seeds hit the spot every time.
Looking for more ways to enjoy pumpkin season? Try my Pumpkin Dump Cake for an easy dessert, or whip up some Pumpkin Whoopie Pies for a sweet treat. If you’re hosting a fall gathering, my Fall Chex Party Snack Mix is always a crowd-pleaser!
Reasons You’ll Love This Recipe
- Quick and Easy: This recipe takes only 5 minutes to prep and 15 minutes to bake. You can have fresh roasted pumpkin seeds ready in less time than it takes to watch a sitcom, making it perfect for last-minute snack attacks.
- Uses Every Part of the Pumpkin: Instead of wasting those pumpkin insides, you’re turning them into something delicious. This is a great way to teach kids about reducing food waste while creating a tasty snack they’ll actually want to eat.
- Customizable Flavor: While this recipe keeps things simple with just salt, you can easily swap in your favorite seasonings. Try garlic powder, cinnamon sugar, or even a spicy cayenne kick to match your mood.
- Healthy Snacking: Pumpkin seeds are packed with protein, fiber, and healthy fats. They make a much better choice than chips or candy when you need an energy boost during busy fall days.
Oven Baked Pumpkin Seeds Ingredients
See the recipe card below for the full list of ingredients and exact measurements.
- Pie or Carving Pumpkin – You’ll need one 8-inch pumpkin to get about ¾ cup of seeds. The size of your pumpkin will determine how many seeds you get, so don’t worry if your yield varies slightly from batch to batch.
- Vegetable Oil – Just one teaspoon of oil helps the seeds crisp up beautifully in the oven and helps the salt stick to each seed. You can substitute with olive oil or melted coconut oil if you prefer.
- Salt – A small amount of salt brings out the natural nutty flavor of the seeds. You can adjust this to taste or skip it entirely if you’re watching sodium intake.
Substitutions and Additions
- Seasonings – Try garlic powder, onion powder, paprika, chili powder, or Italian seasoning for savory seeds. For a sweet version, use cinnamon and sugar instead of salt.
- Oil Options – Swap vegetable oil for olive oil, avocado oil, or melted butter for different flavor profiles.
- Spicy Seeds – Add a pinch of cayenne pepper or hot sauce to the oil mixture for a kick.
- Sweet and Salty – Toss the seeds with a mixture of brown sugar, cinnamon, and a tiny pinch of salt before roasting.
How to Make Oven Baked Pumpkin Seeds (step-by-step directions)
STEP 1. Start by cutting open your pumpkin and scooping out all the seeds and stringy pulp. This is the messy part, but kids usually love helping with this step! Once you’ve got everything out, place the seeds in a strainer and rinse them under cool water while picking out any remaining pumpkin strings.
STEP 2. Pat the seeds completely dry with paper towels. This step matters because wet seeds won’t get as crispy in the oven. Toss the dried seeds in a bowl with the vegetable oil and salt until every seed is lightly coated.
STEP 3. Line a 9×13 baking sheet with parchment paper and spread the seeds in a single layer. Make sure none of the seeds overlap, as this helps them bake evenly. Bake at 350 degrees Fahrenheit for about 15 minutes, checking occasionally, until the seeds are golden and crunchy but not overly browned.
Recipe Tips
- Dry Seeds Thoroughly – The drier your seeds are before roasting, the crunchier they’ll become. Let them sit on paper towels for 10-15 minutes if you have time.
- Don’t Overcrowd the Pan – If your seeds overlap, they’ll steam instead of bake properly. Use two pans if needed to give each seed its own space.
- Watch the Temperature – Cooking at 350 degrees gives you the best results for oven baked pumpkin seeds. Higher temperatures will brown the outside before the inside gets crunchy.
- Check Often – Pumpkin seeds can go from perfectly roasted to burnt quickly. Start checking at the 12-minute mark and shake the pan once or twice during baking.
- Seed Yield Varies – Every pumpkin is different, so you might get more or less than ¾ cup depending on your pumpkin’s size and variety.
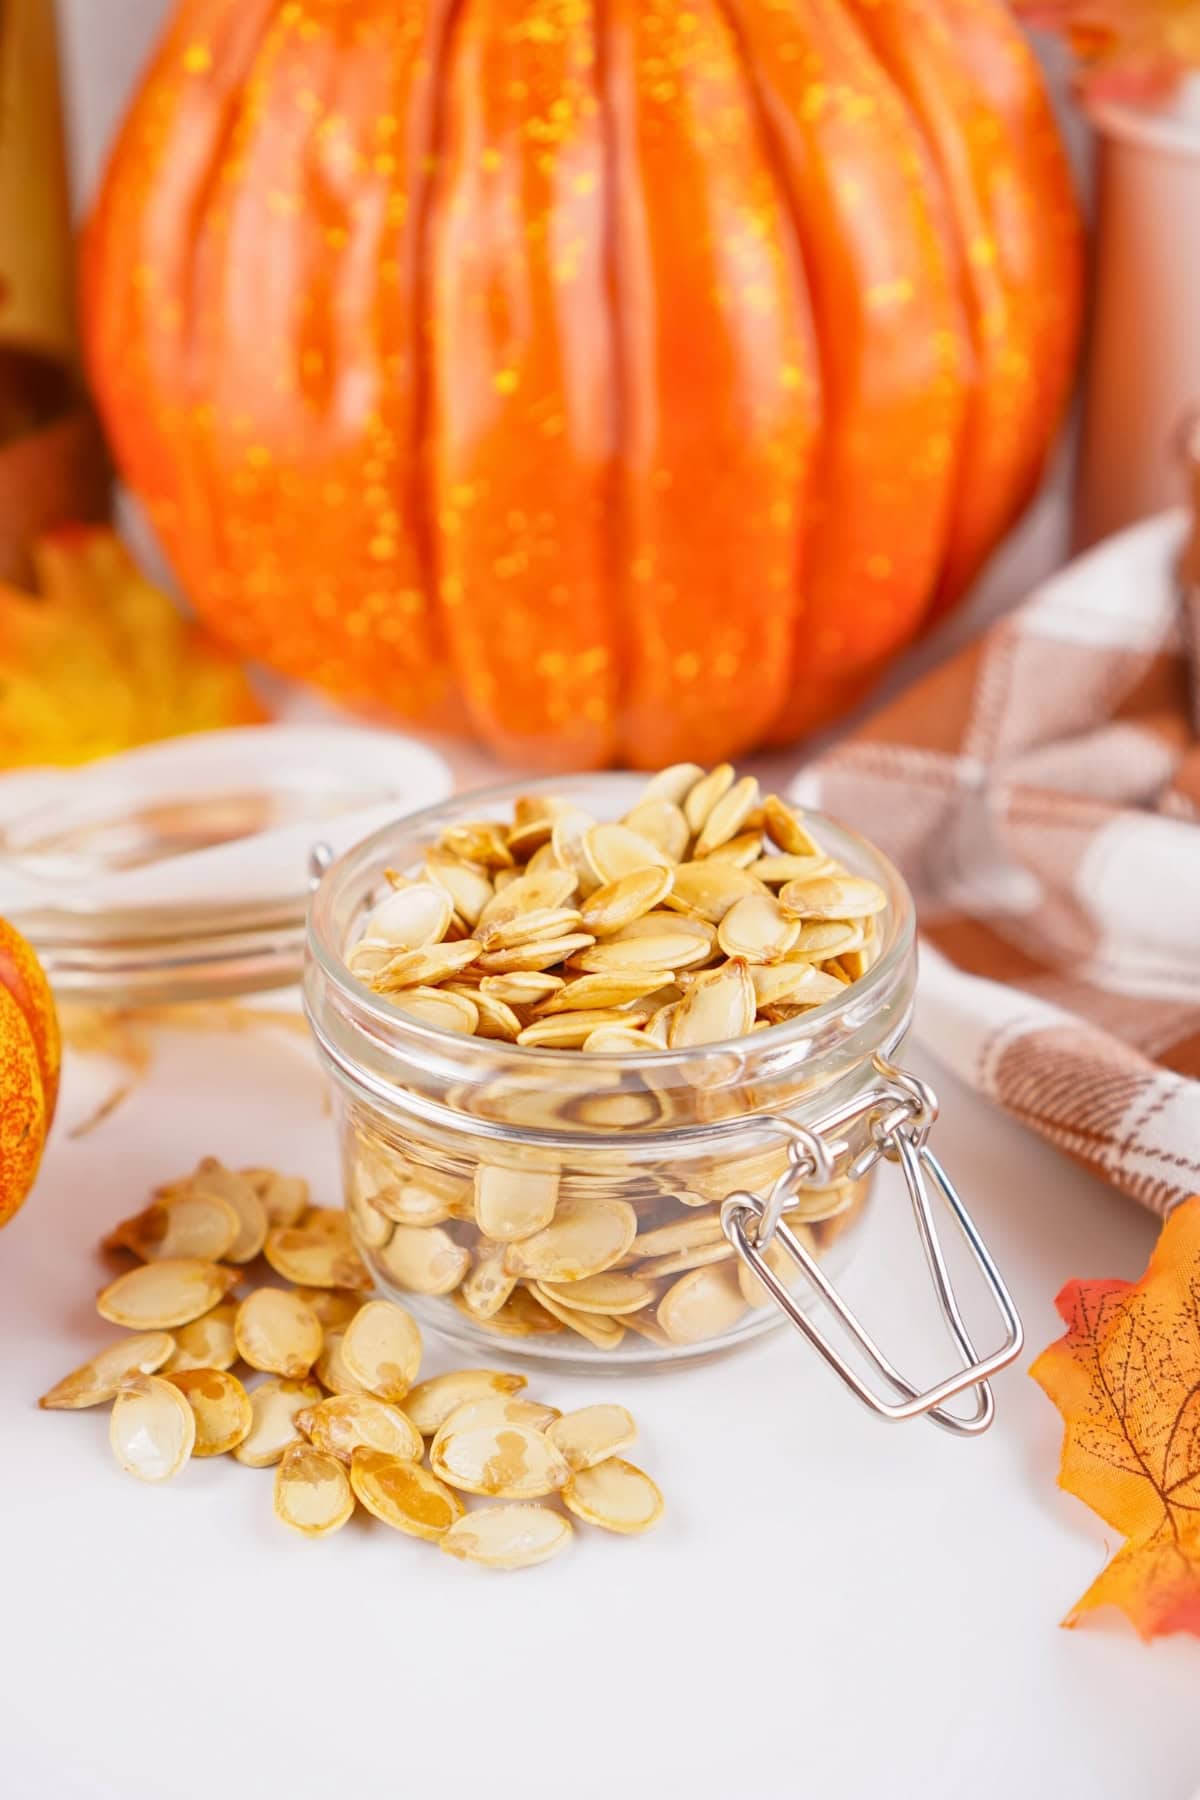
Storing Tips
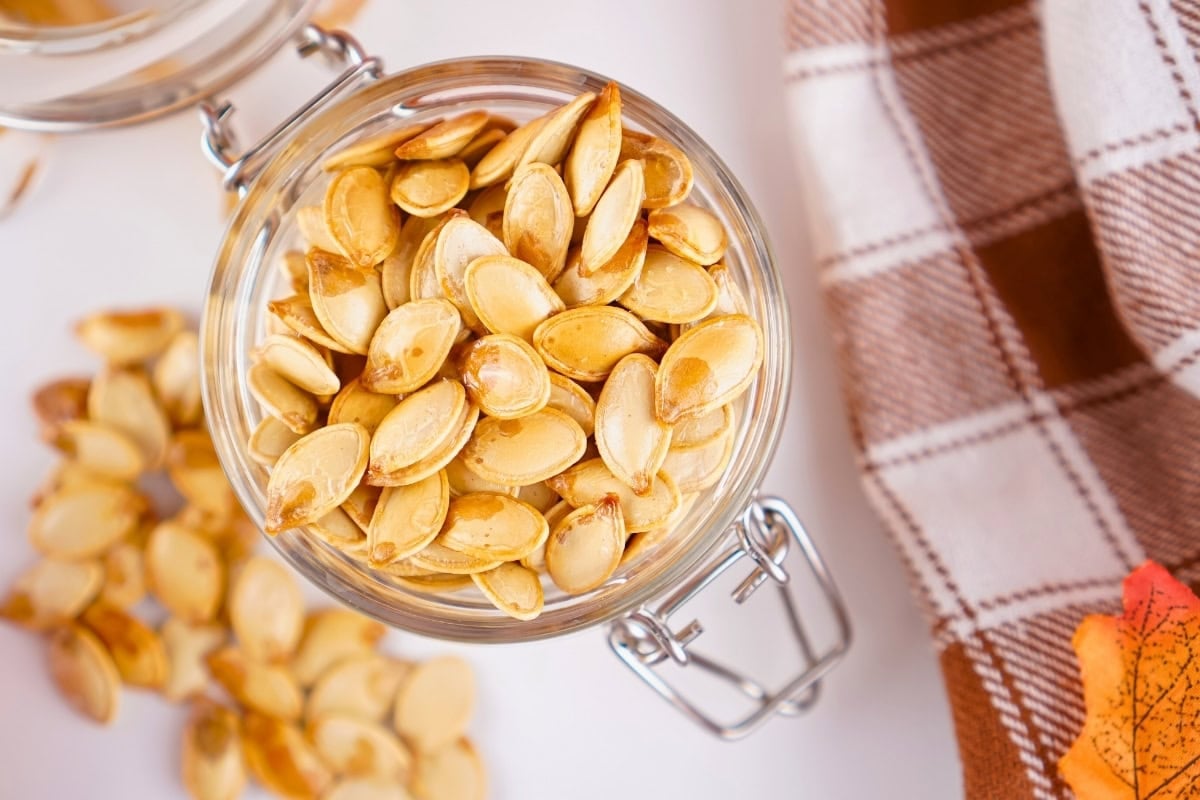
- Storage: Keep your pumpkin seeds in a sealed container or baggie at room temperature. They’ll stay fresh and crunchy for up to one week when stored properly.
- Refrigerator: While you can refrigerate these seeds, it’s not necessary. Room temperature storage in an airtight container works best and prevents them from getting soft.
- Freezing: I don’t recommend freezing baked seeds as they tend to lose their crunch when thawed. These are best enjoyed fresh within the first week.
- Reheating: If your seeds lose some crispness after a few days, pop them back in a 300-degree oven for 3-5 minutes to refresh their crunch.
Serving Suggestions
Pumpkin seeds are perfect on their own as a quick snack, but they’re also great sprinkled over salads or soups for added crunch. Try tossing some on top of my Pumpkin Bread Pudding or Baked Pumpkin French Toast Casserole for a fun texture contrast. You can also mix them into trail mix with dried cranberries and chocolate chips, or package them in small bags as party favors for Halloween gatherings.
If you’re serving these at a party, set them out alongside other fall snacks like my Grinch Popcorn or Acorn Shaped Mini Pumpkin Muffins. For more pumpkin recipe ideas, check out my Best Pumpkin Cheesecake Bars or Pumpkin Snickerdoodles.
Recipe FAQs
Yes! Both pie pumpkins and carving pumpkins work great for oven baked pumpkin seeds. Larger pumpkins will give you more seeds, but smaller pumpkins often have seeds that are a bit more tender.
This usually happens when the seeds weren’t dried thoroughly before baking or when they were cooked at too low a temperature. Make sure to pat them completely dry and bake at 350 degrees for the full 15 minutes.
Lower your oven temperature to 325 degrees and continue baking. Ovens can vary, so you may need to adjust the temperature or time based on how your oven performs.
Absolutely! The whole seed is edible and adds extra fiber and crunch. Some people prefer to crack them open and eat just the inner seed, but eating them whole is perfectly fine and actually gives you more nutrients.
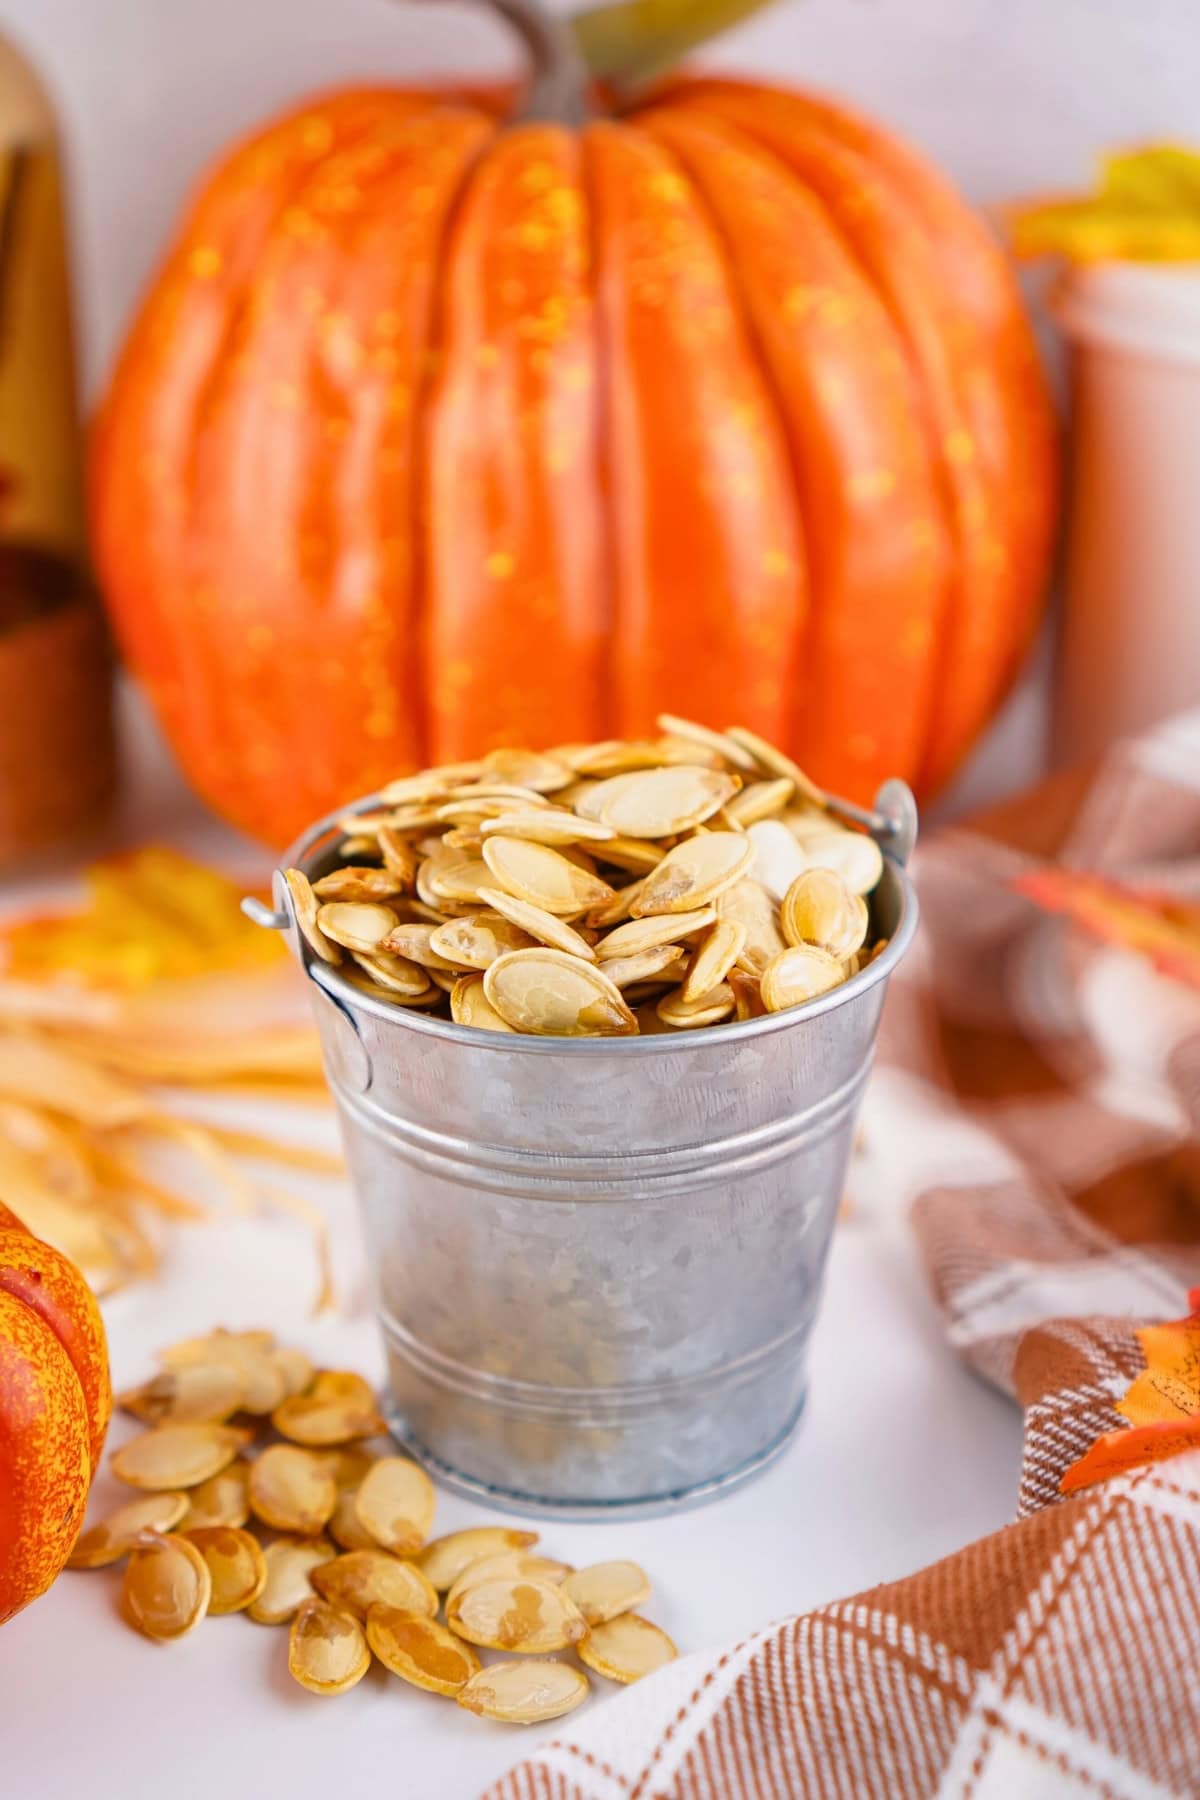
Your roasted pumpkin seeds are ready when they’re golden in color, feel dry to the touch, and make a slight cracking sound when you bite into them. They should be crunchy throughout, not soft or chewy in the middle.
Need More Snack Recipes? Try These:

Oven Roasted Pumpkin Seeds
Ingredients
- 1 8- Inch Pie or Carving Pumpkin
- 1 Teaspoon Vegetable Oil
- ⅛ Teaspoon Salt
Instructions
- Start by cutting open your pumpkin and scooping out all the seeds and stringy pulp. This is the messy part, but kids usually love helping with this step! Once you’ve got everything out, place the seeds in a strainer and rinse them under cool water while picking out any remaining pumpkin strings.
- Pat the seeds completely dry with paper towels. This step matters because wet seeds won’t get as crispy in the oven. Toss the dried seeds in a bowl with the vegetable oil and salt until every seed is lightly coated.
- Line a 9×13 baking sheet with parchment paper and spread the seeds in a single layer. Make sure none of the seeds overlap, as this helps them bake evenly. Bake at 350 degrees Fahrenheit for about 15 minutes, checking occasionally, until the seeds are golden and crunchy but not overly browned.
Notes
- Dry Seeds Thoroughly – The drier your seeds are before roasting, the crunchier they’ll become. Let them sit on paper towels for 10-15 minutes if you have time.
- Don’t Overcrowd the Pan – If your seeds overlap, they’ll steam instead of bake properly. Use two pans if needed to give each seed its own space.
- Watch the Temperature – Cooking at 350 degrees gives you the best results for oven baked pumpkin seeds. Higher temperatures will brown the outside before the inside gets crunchy.
- Check Often – Pumpkin seeds can go from perfectly roasted to burnt quickly. Start checking at the 12-minute mark and shake the pan once or twice during baking.
- Seed Yield Varies – Every pumpkin is different, so you might get more or less than ¾ cup depending on your pumpkin’s size and variety.
Nutrition Information
Hungry for more?
Follow me on Pinterest and make sure to comment below!